Direct Phone Prints – A New Printing Technique
Following a recent trip to Kennedy Space Center in Florida, I returned with several rolls of exposed film as well as dozens of digital photos taken with my smart phone. This is common; I usually shoot lots of phone photos along with my film shots. Most of these digital shots get forgotten about quickly, some of them get edited using downloaded apps, texted to friends, and then also forgotten about.
But this time I had some shots I really liked and didn’t want them to be forgotten, so I started thinking: what if there was a way to make silver gelatin prints of these photos directly from my phone?
Making prints of digital photos is fairly common, but the usual method is to upload the image to a computer, edit it using Photoshop, Lightroom, or similar program, then print the photo out as a negative transparency on special paper using a high-end inkjet printer. I don’t have the software or equipment, nor do I have the desire to learn how to use them.
Instead, I thought of a simpler, quicker way to do this. Using photo editing apps on my phone, I took one of the images, made it black and white, adjusted the contrast, reversed it left-right, and finally, inverted it negative and saved it as a new file.
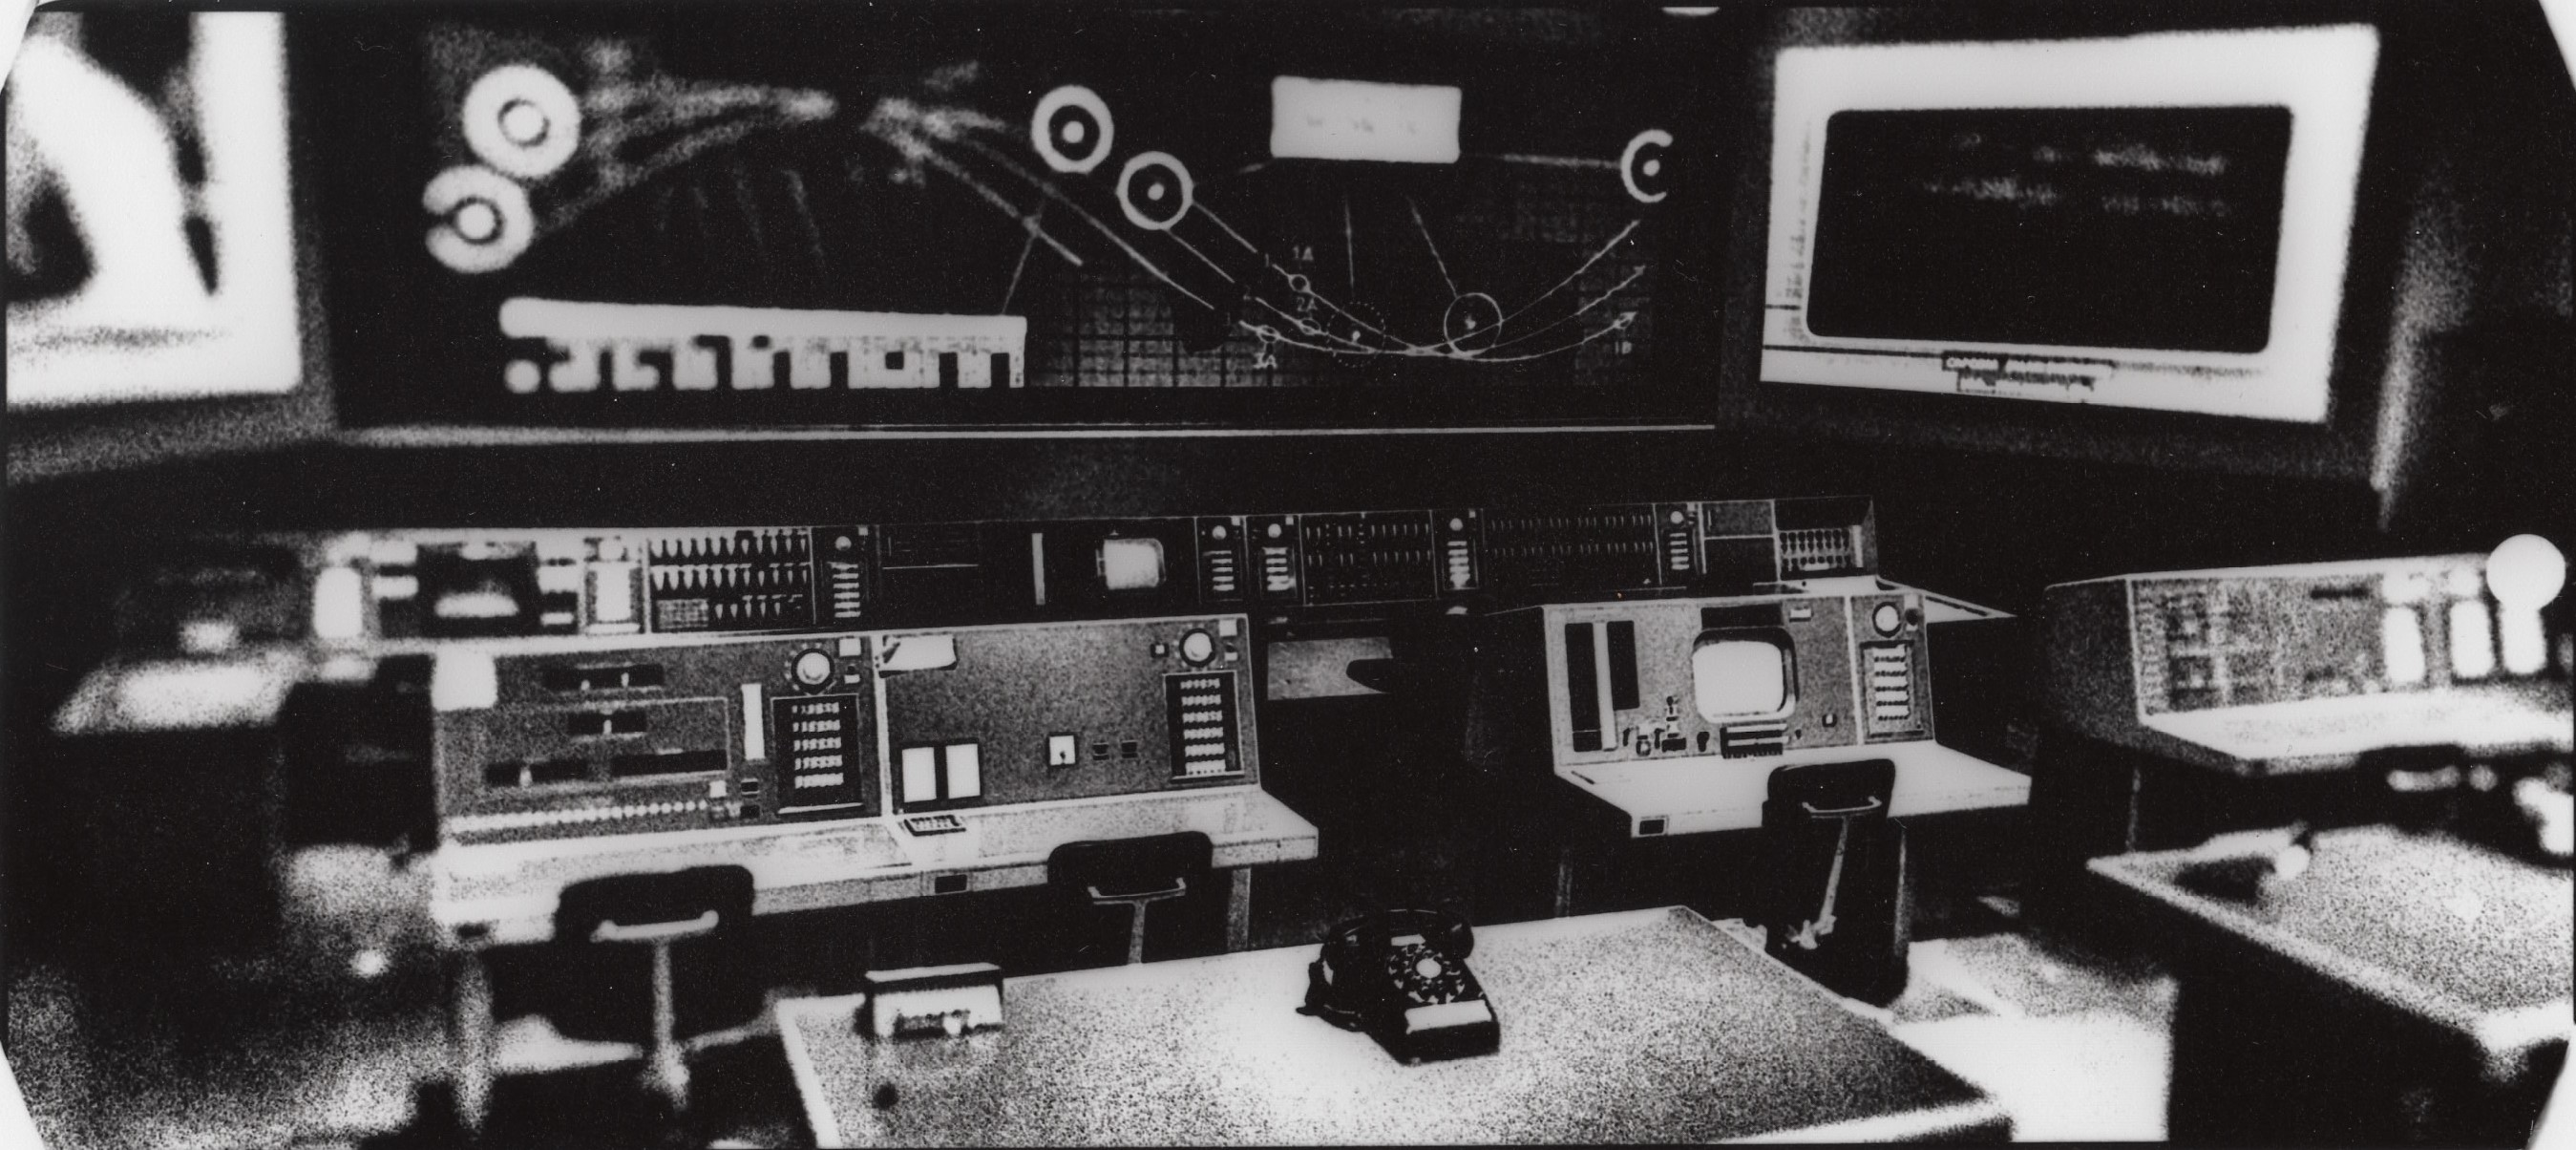
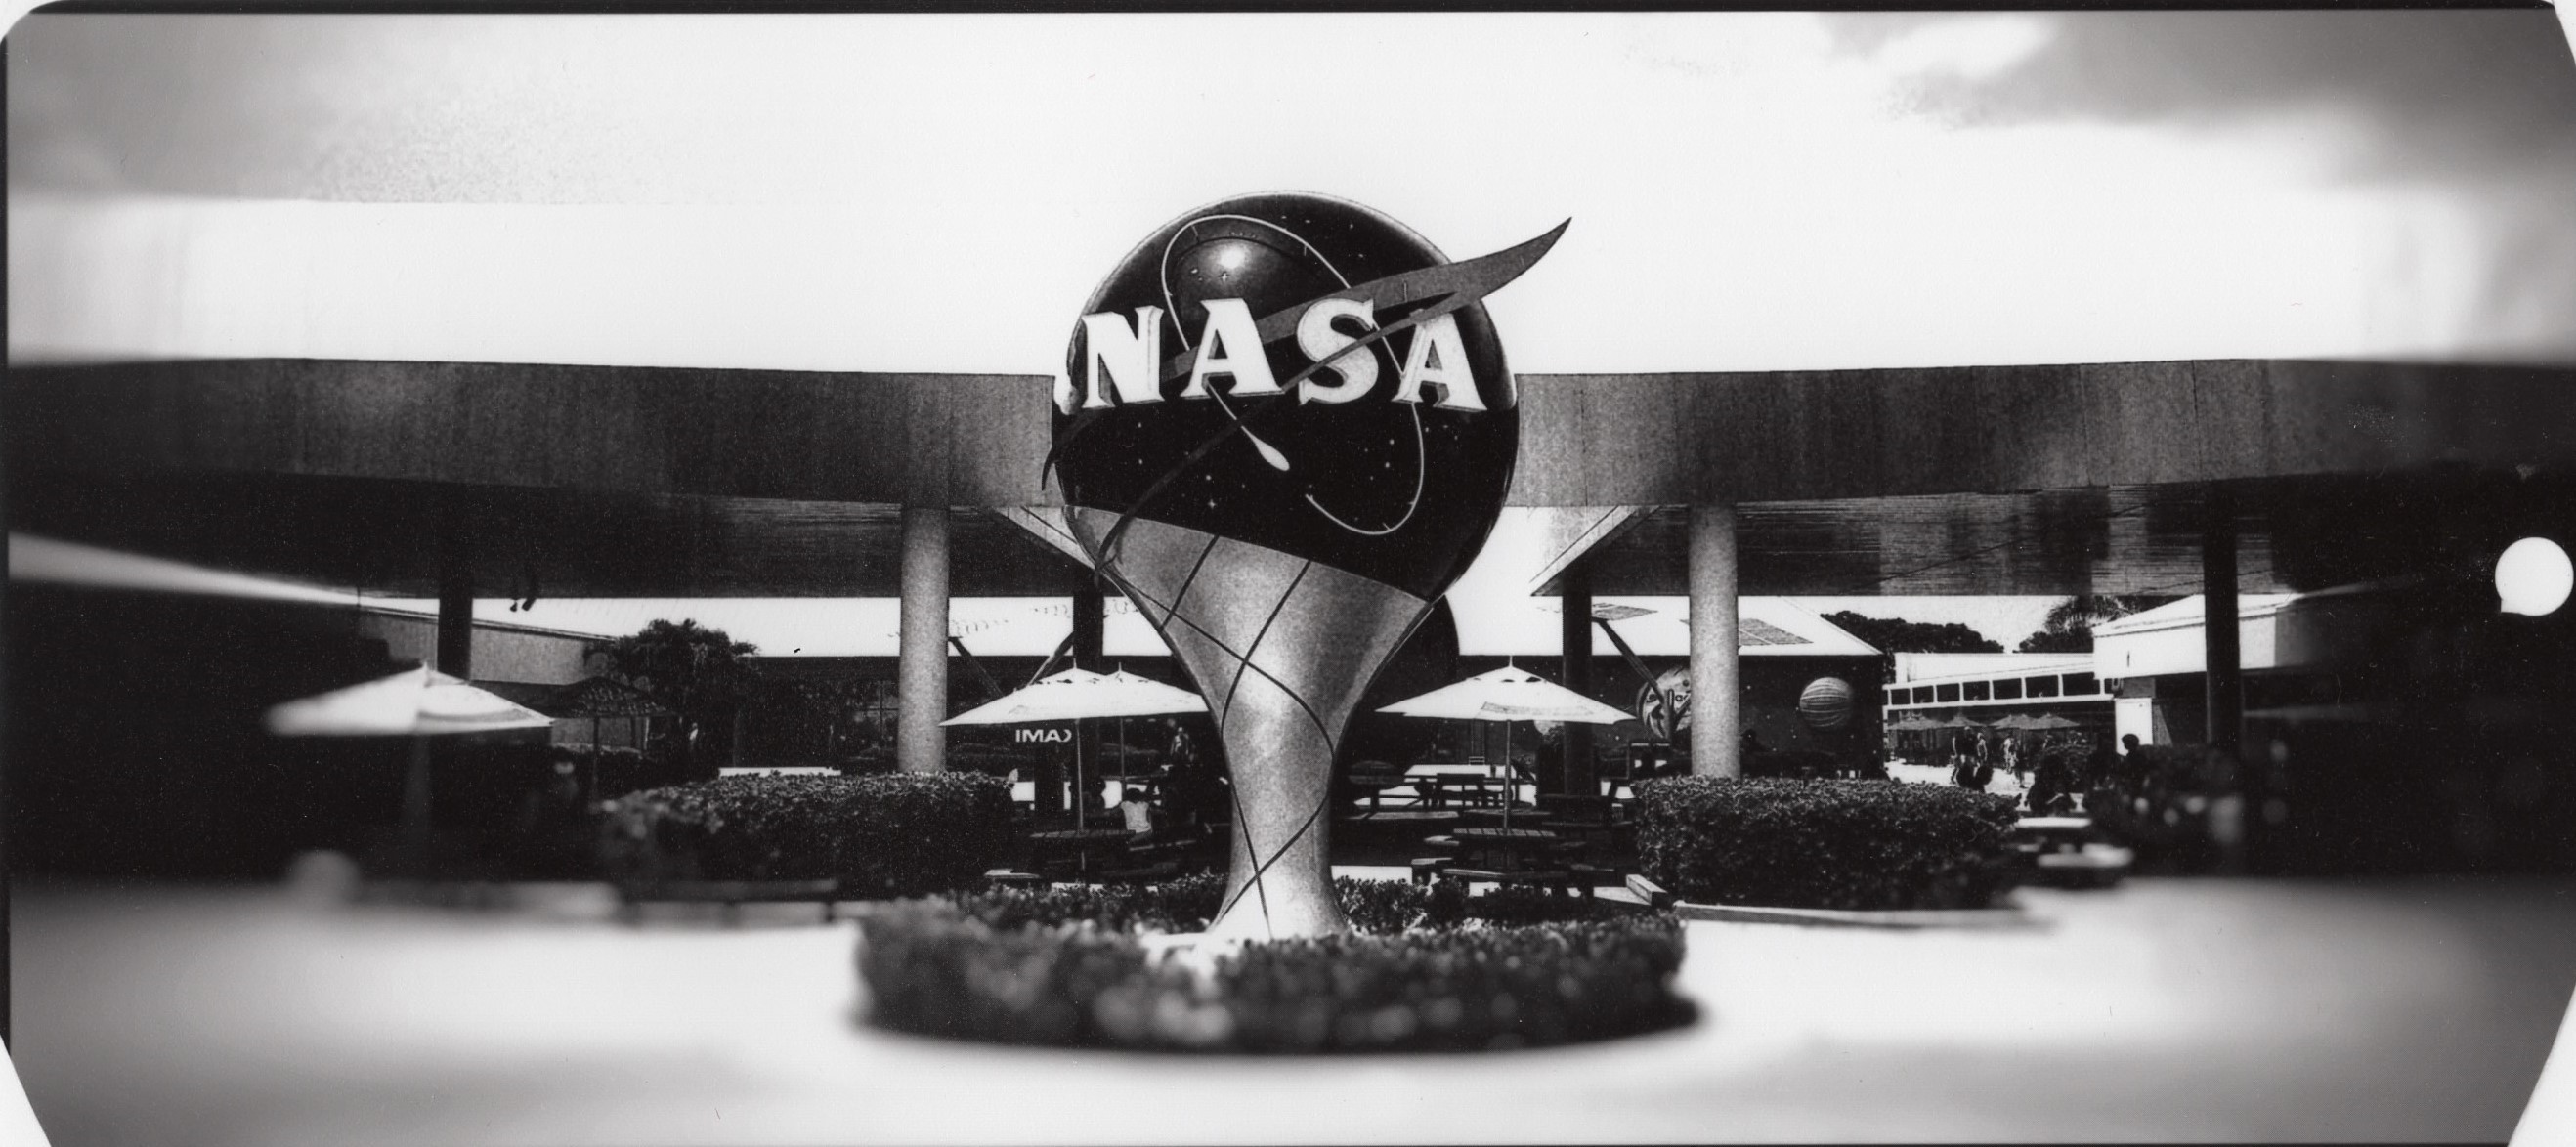
Going into the darkroom I brought the image up on my phone’s screen and experimented with placing the phone inside the enlarger directly above the lens bellows. After setting up the easel and focusing, I used a makeshift lens cap to turn the image “on” and “off”. It took me a while to find the right aperture and exposure time, but after a few pieces of paper I managed to get a very pleasing print of the Space Shuttle Atlantis.
From there I had the hang of it and am now able to repeat this process consistently. Here are some of the images I’ve printed so far. Note the format of these images is the length and width of my phone’s screen, and that each image has a white circle on one end where my phone’s front-facing camera lens is embedded in the screen. Looking at a properly focused print through a strong magnifier, one can even see orderly arrays of black silver dots representing the LEDs that form the image.
There is some irony to this post: these images started off as digital files, were manipulated and printed onto physical paper, and have now been scanned back into digital form to allow uploading and presentation on the Web.
Click on each image to enlarge:
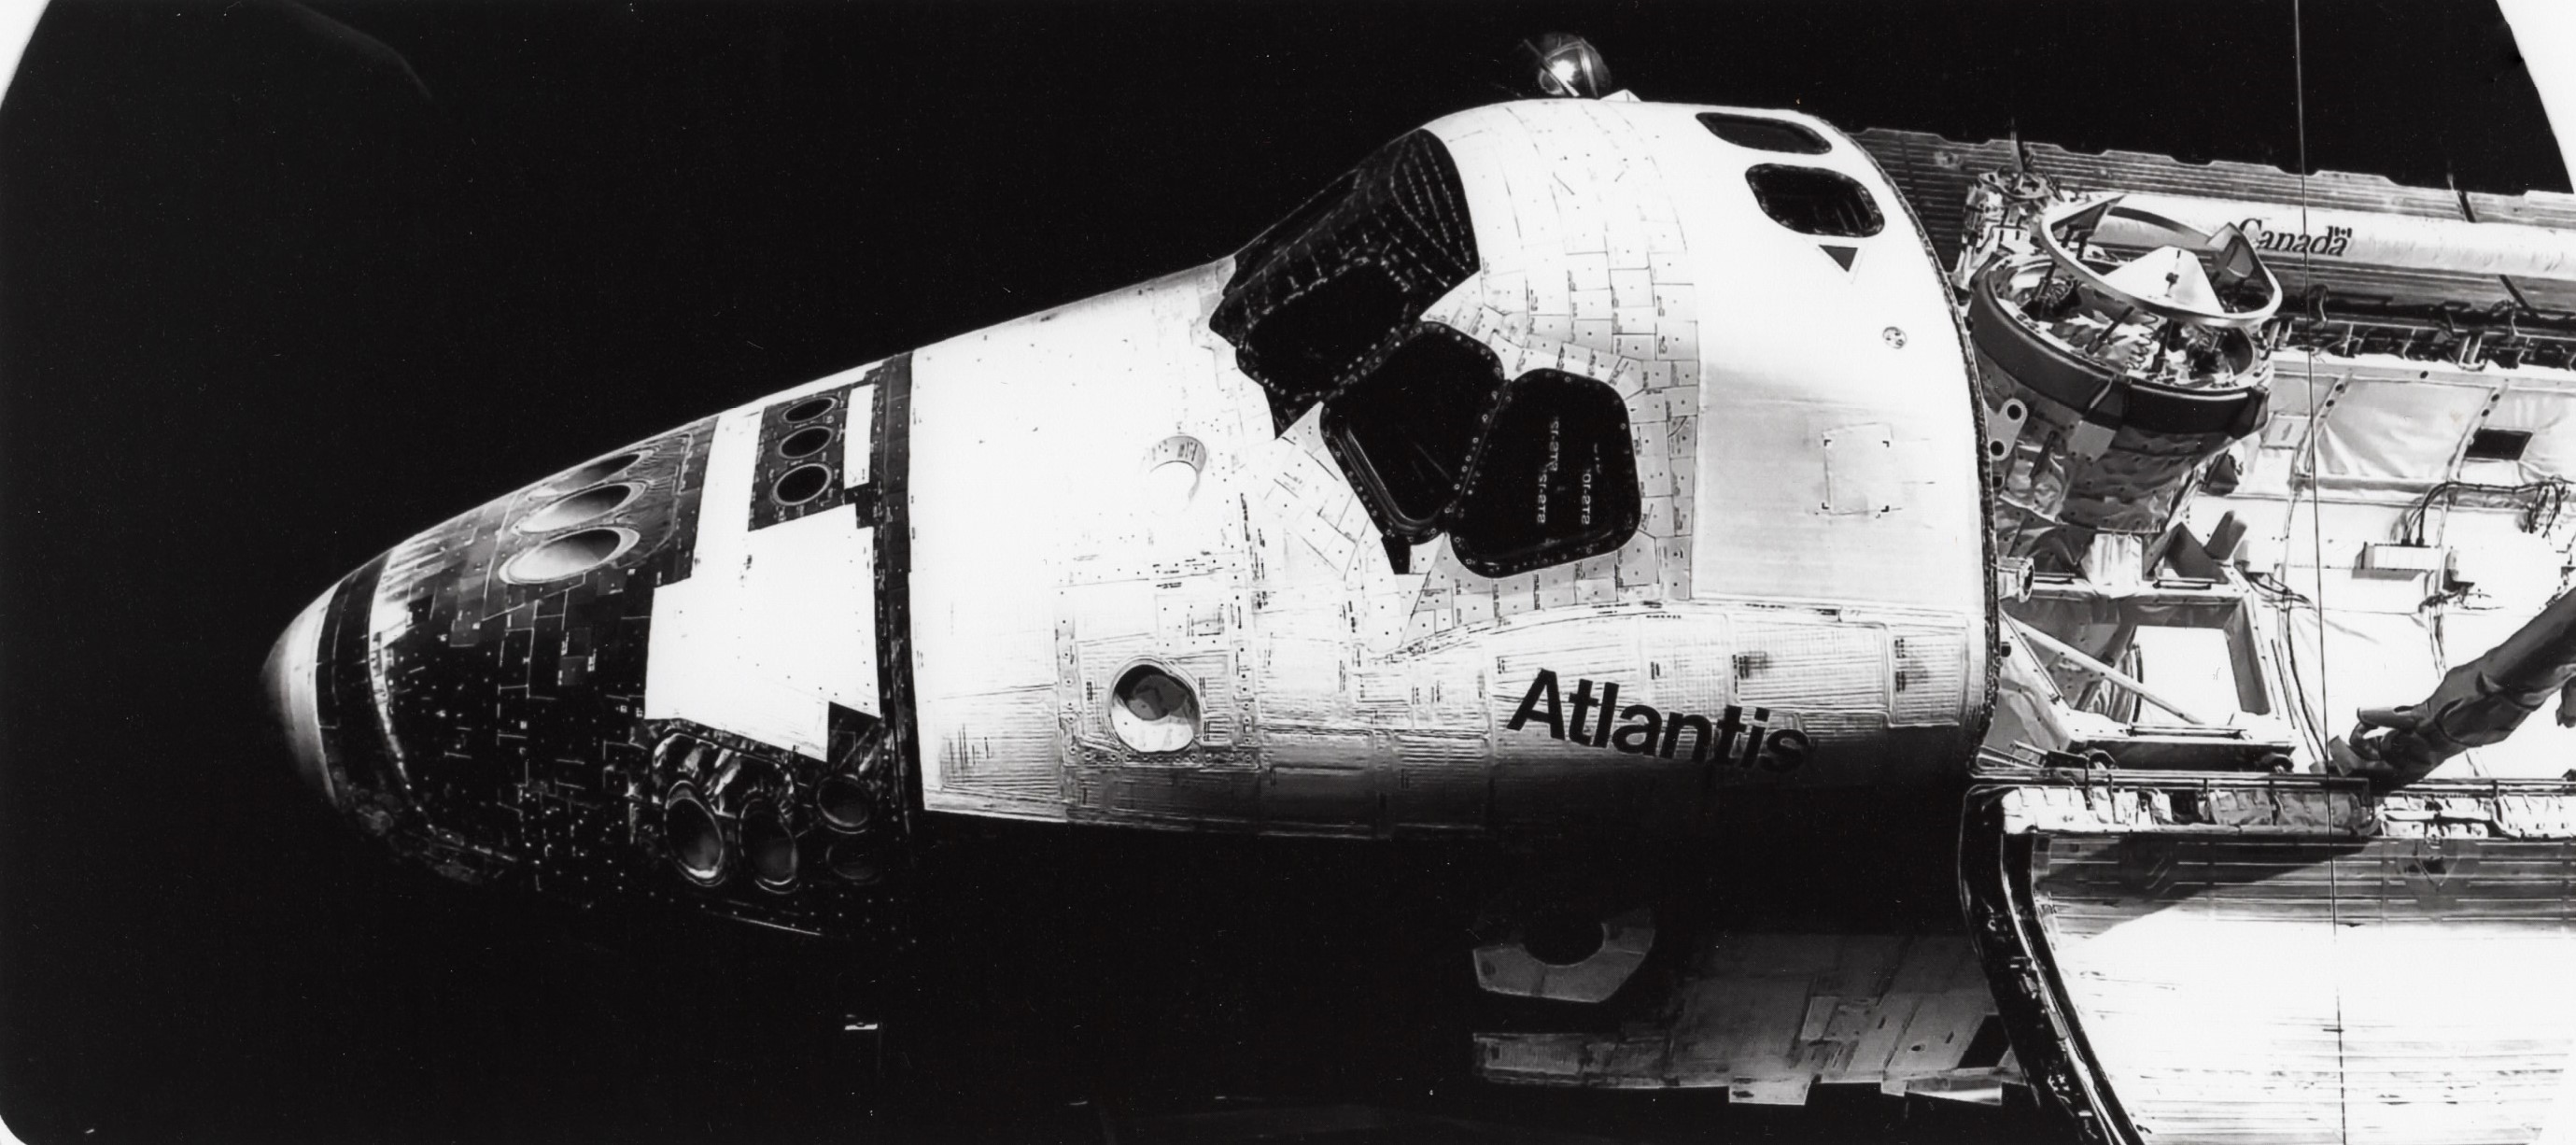
This was the first successful direct phone print.
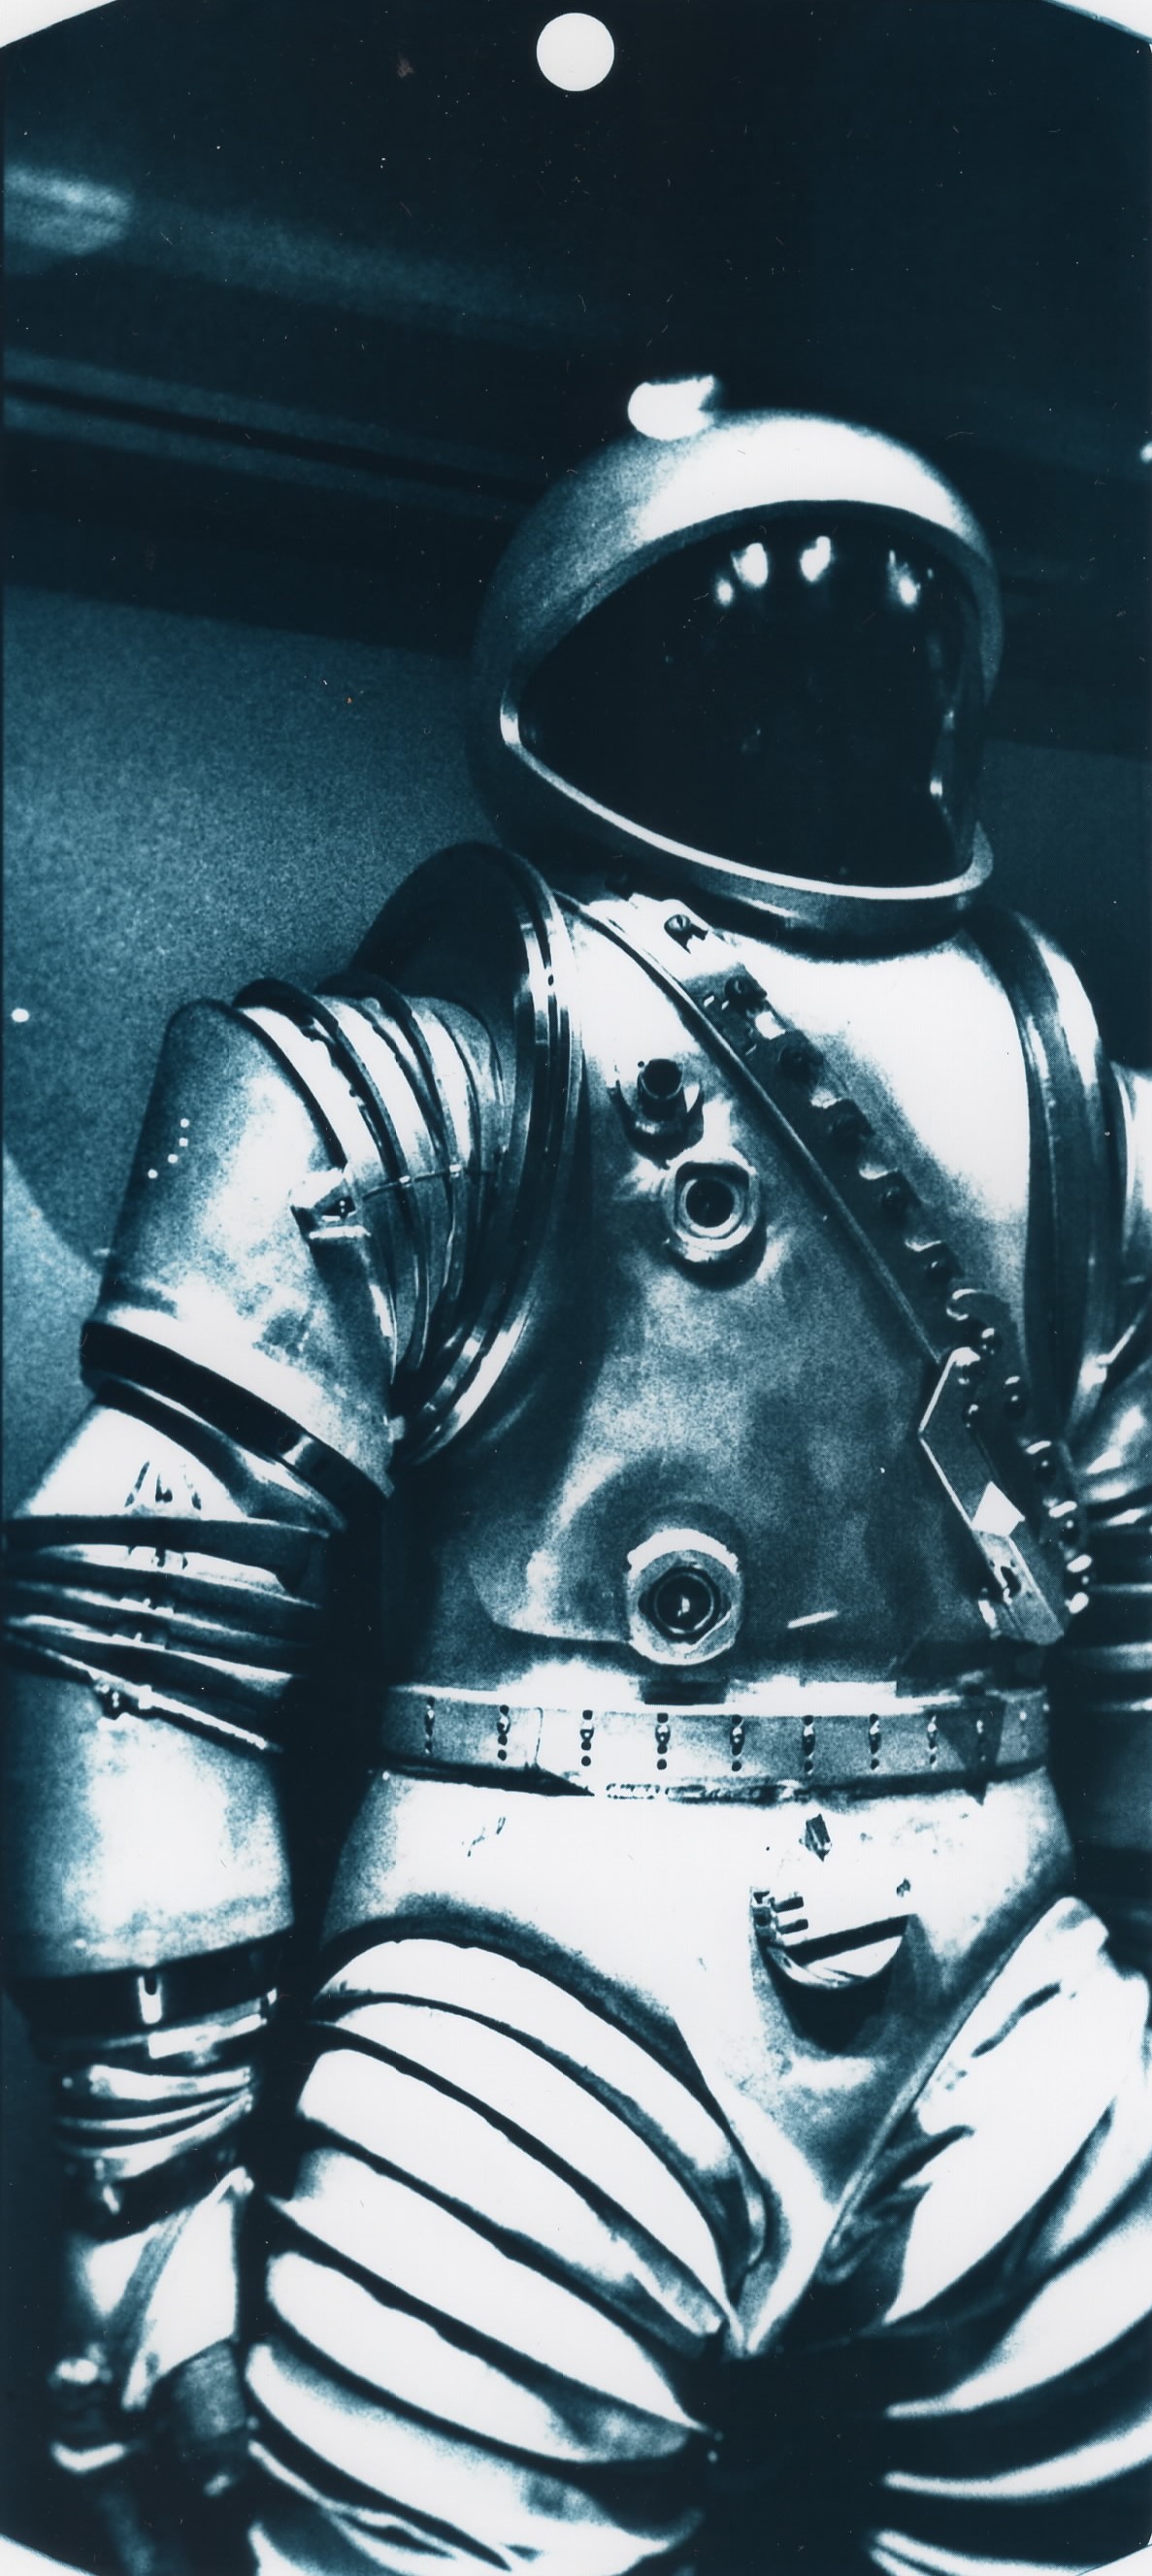
The below image was blue-toned after printing.


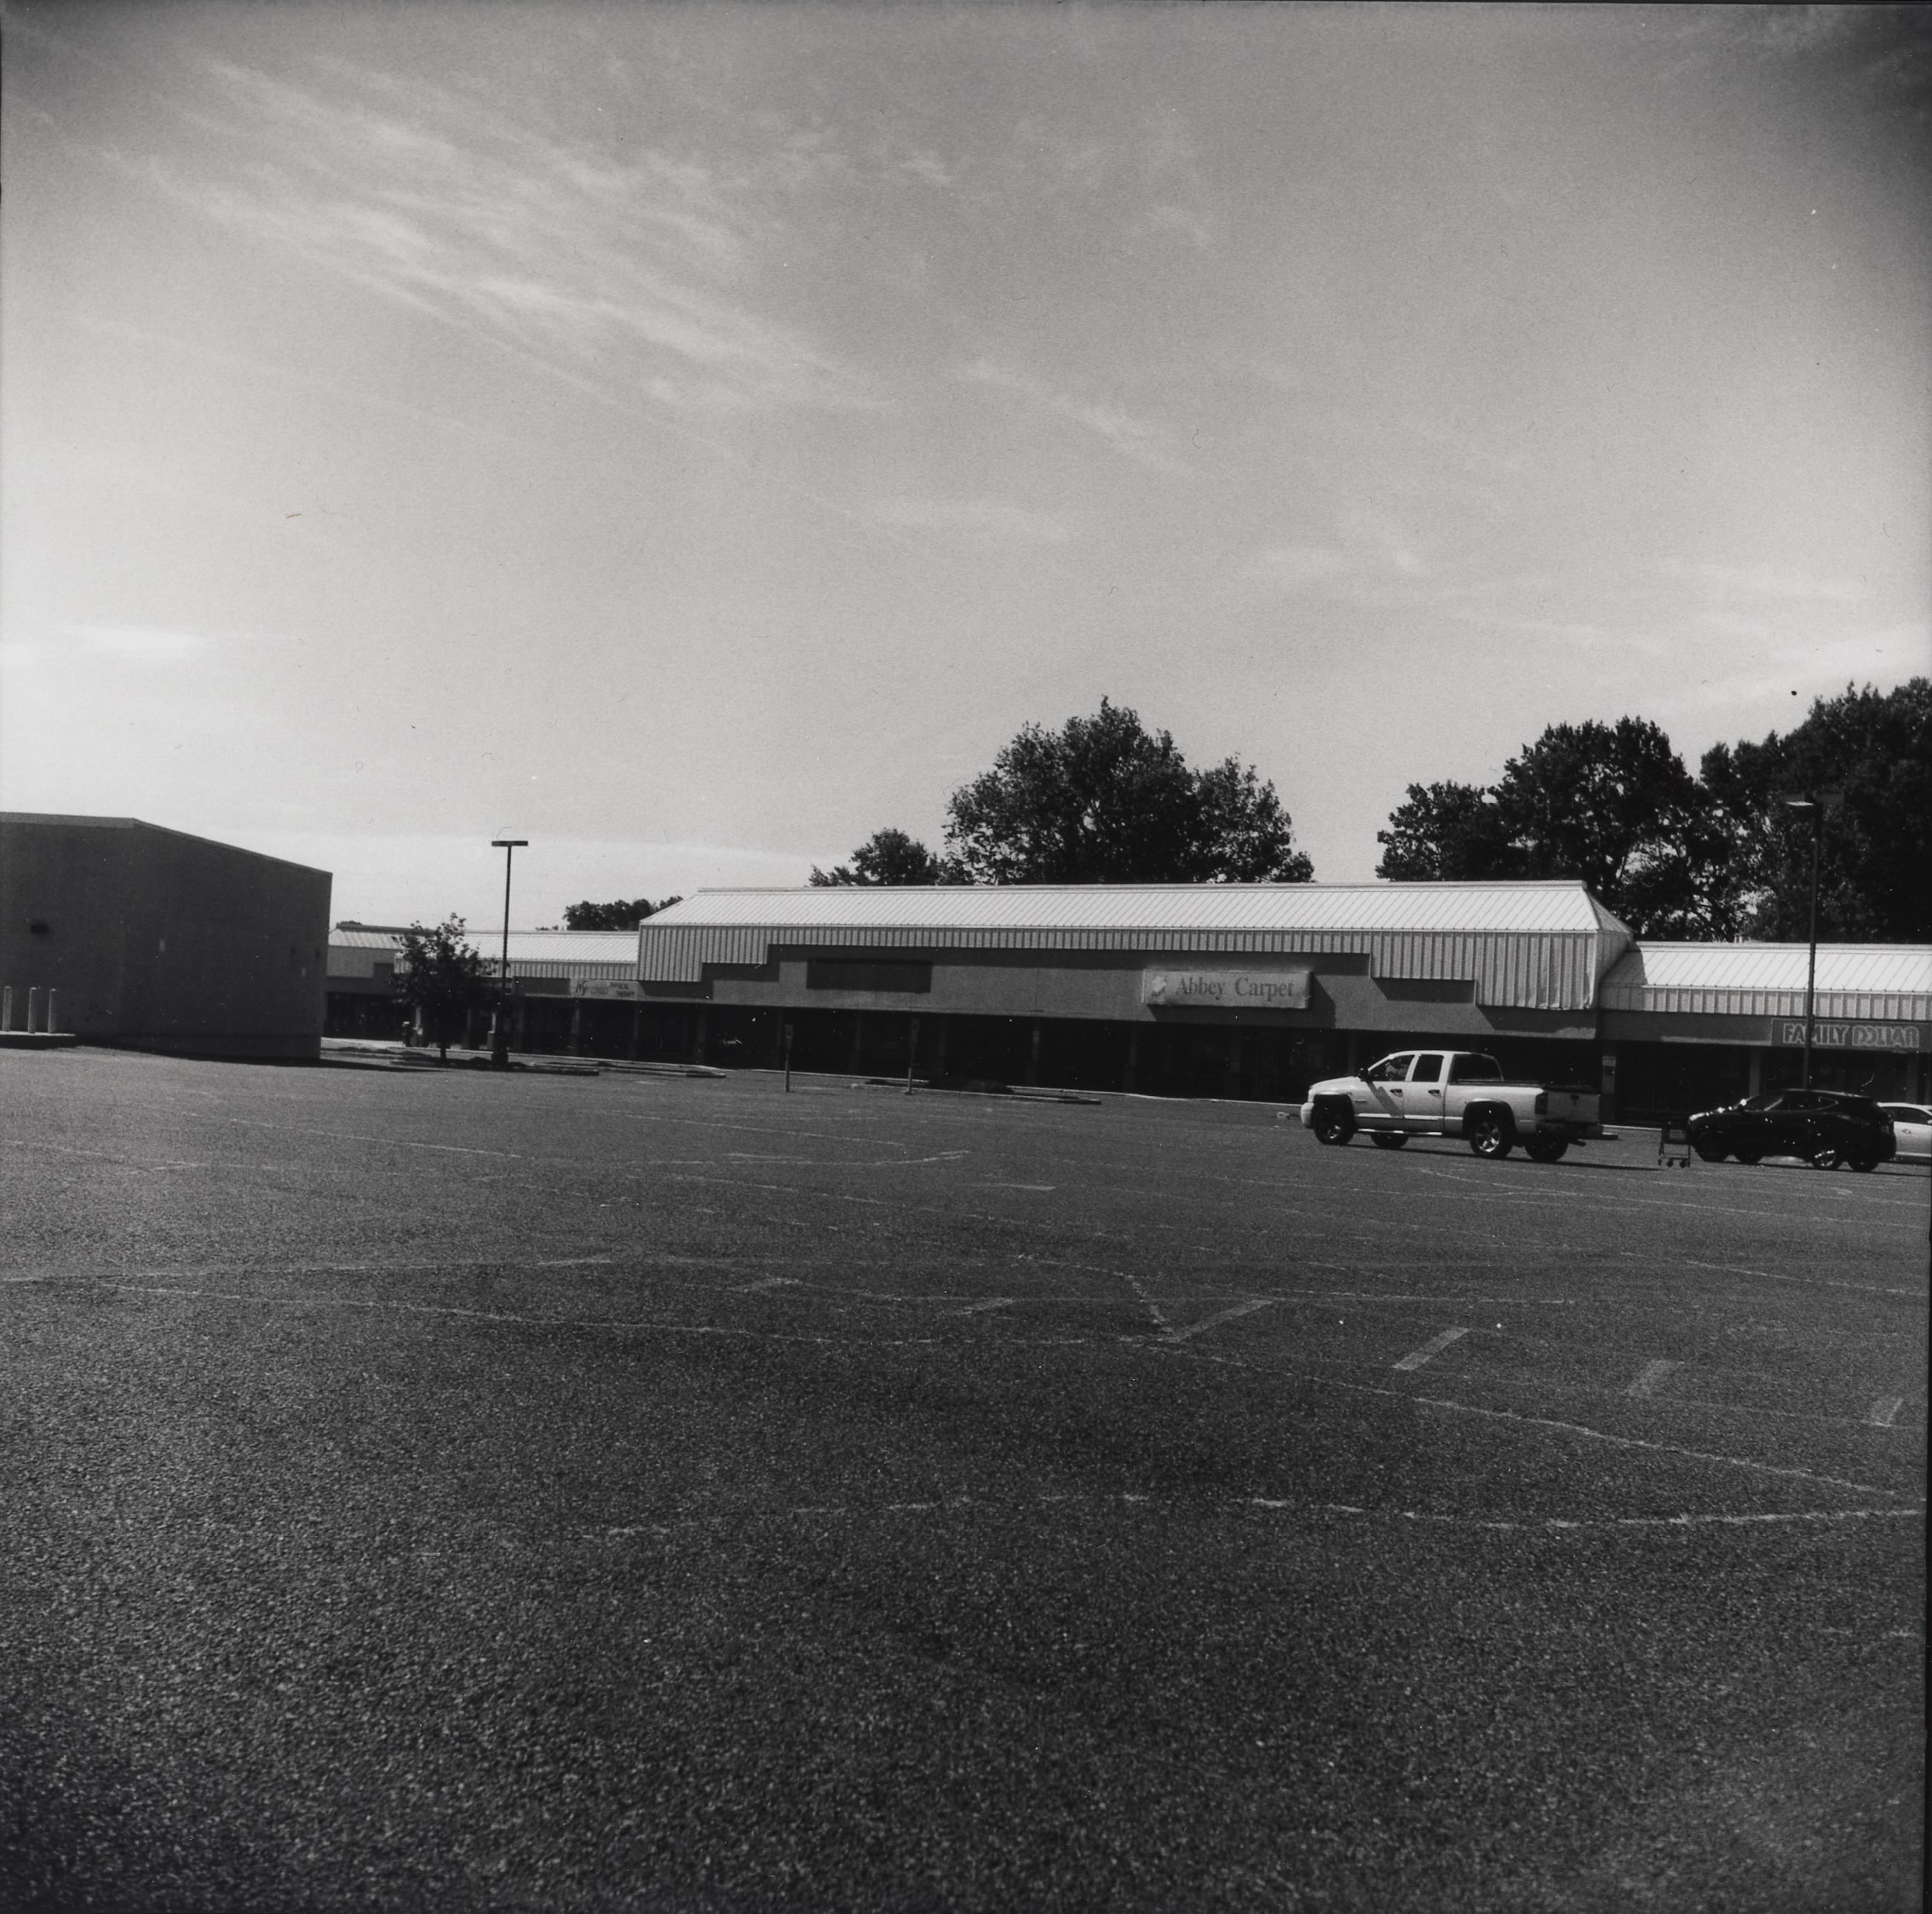
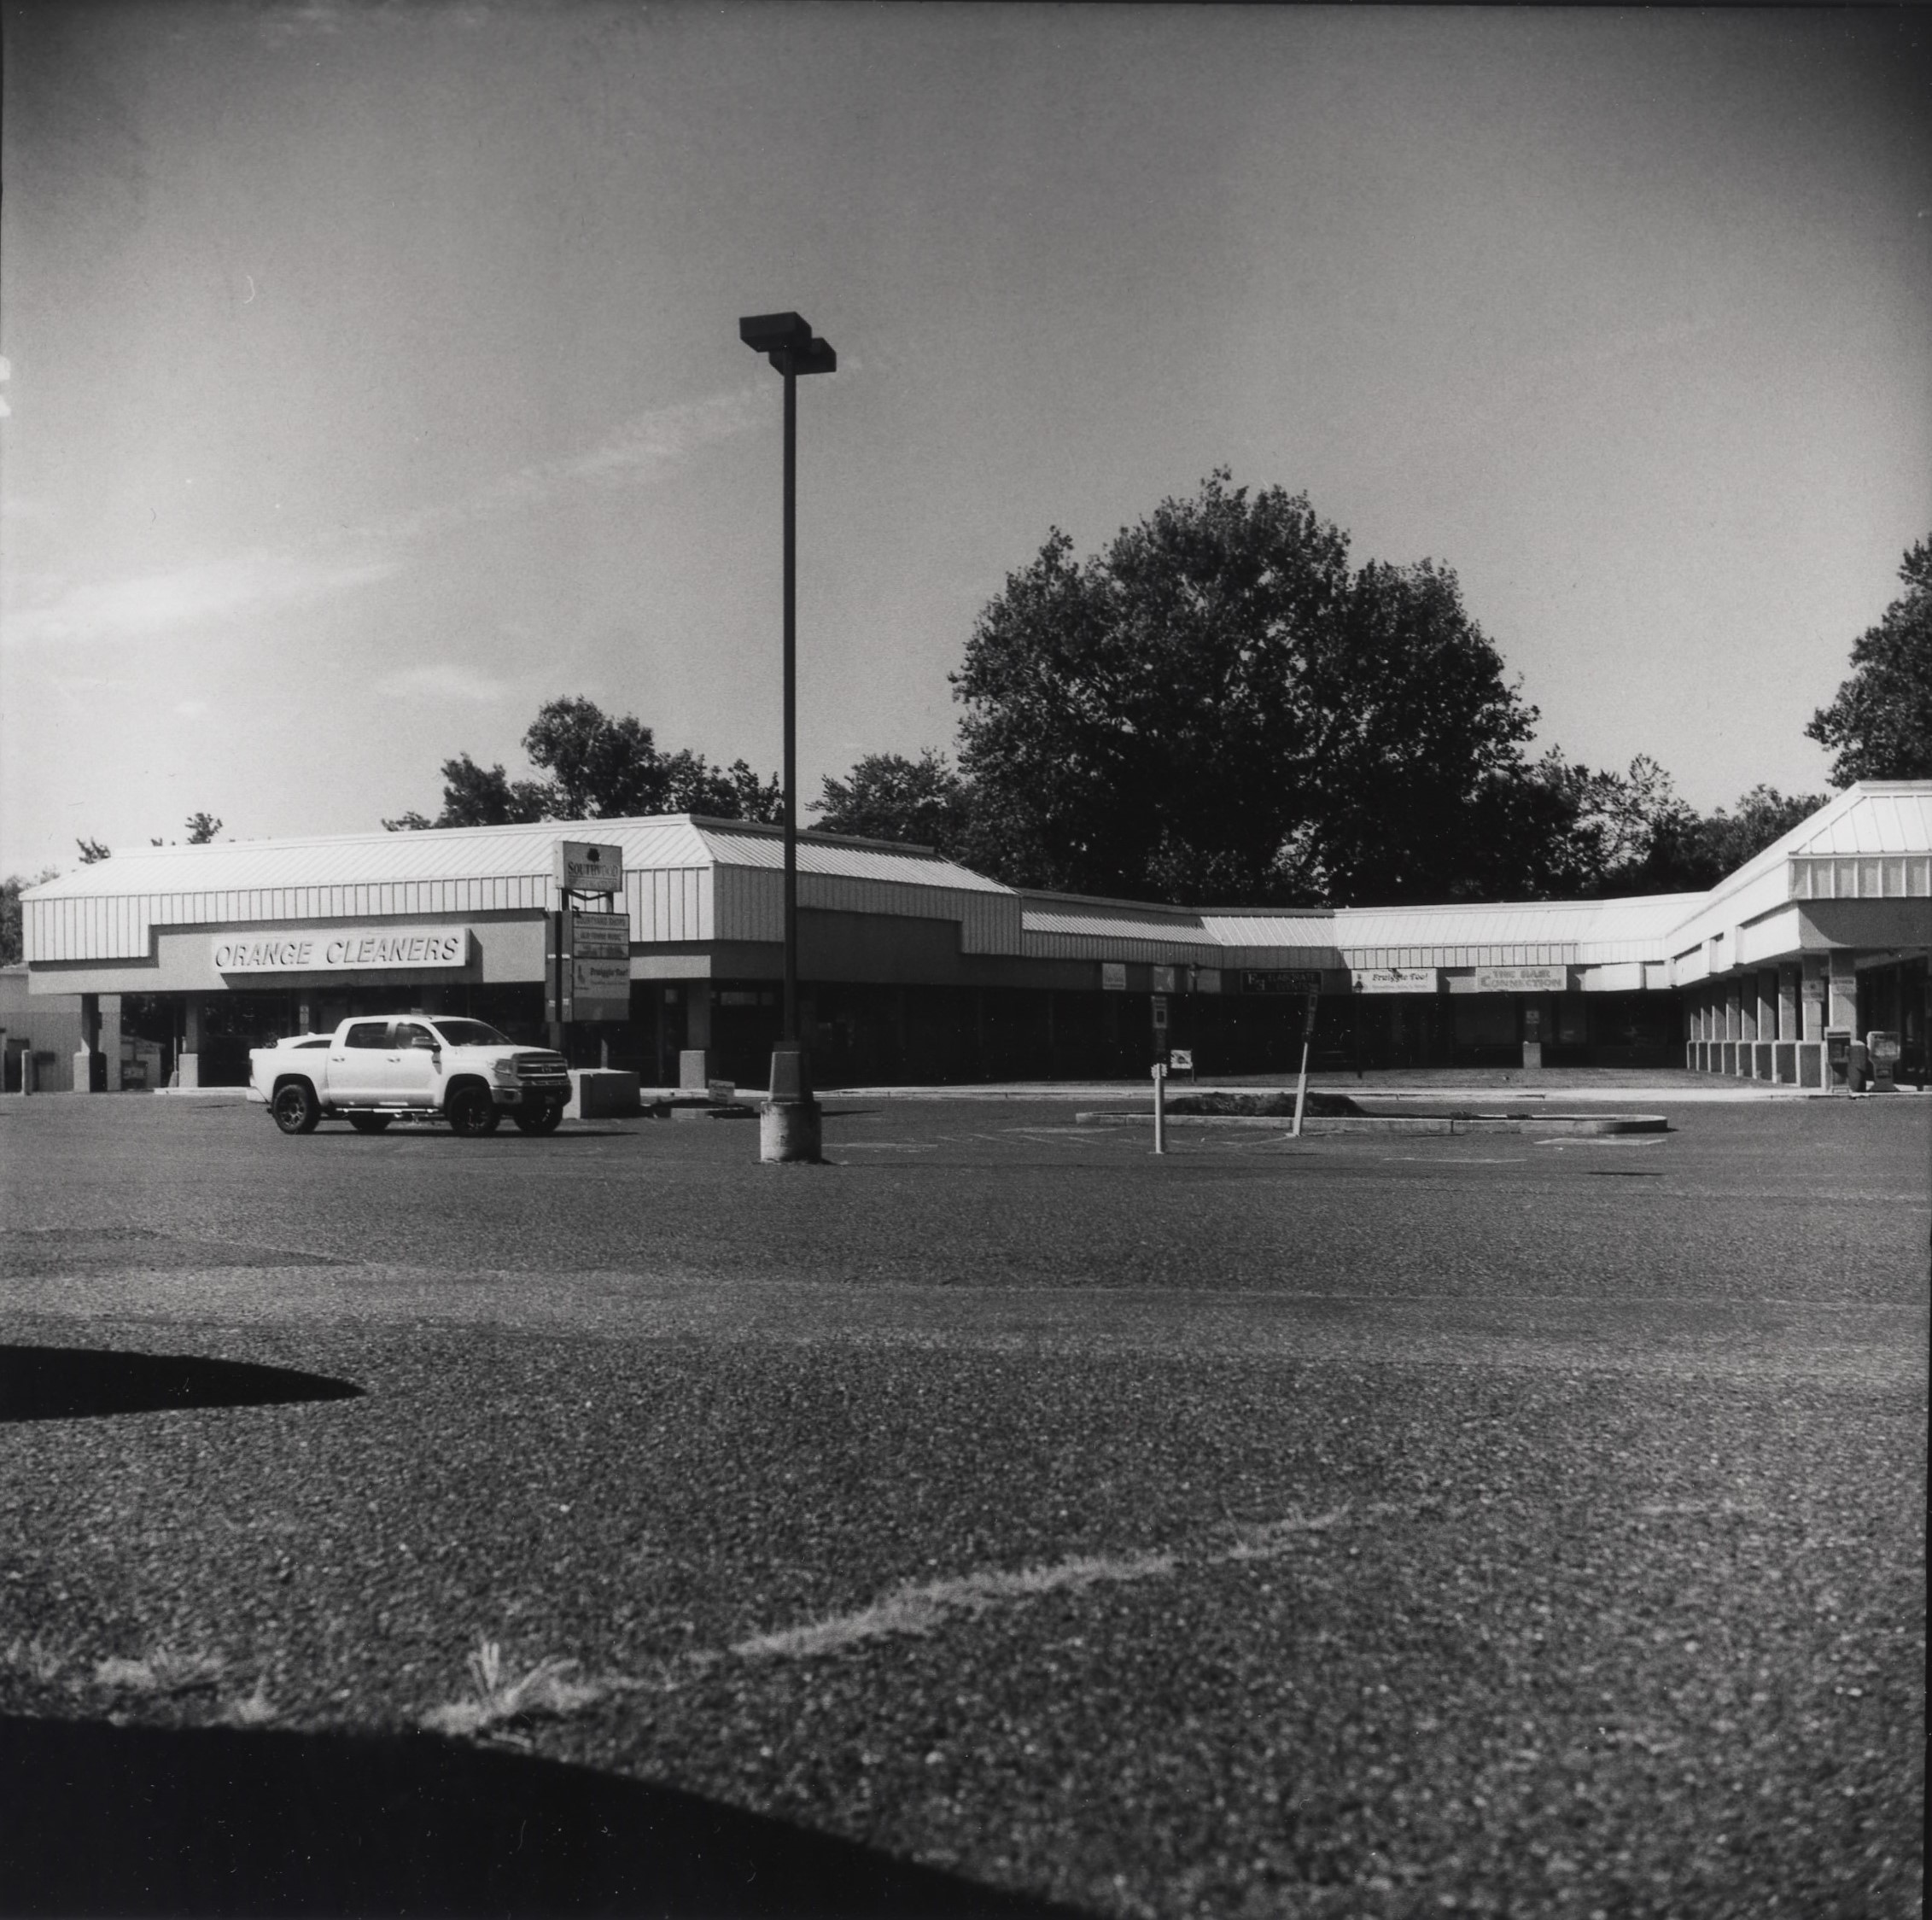
Exurbs
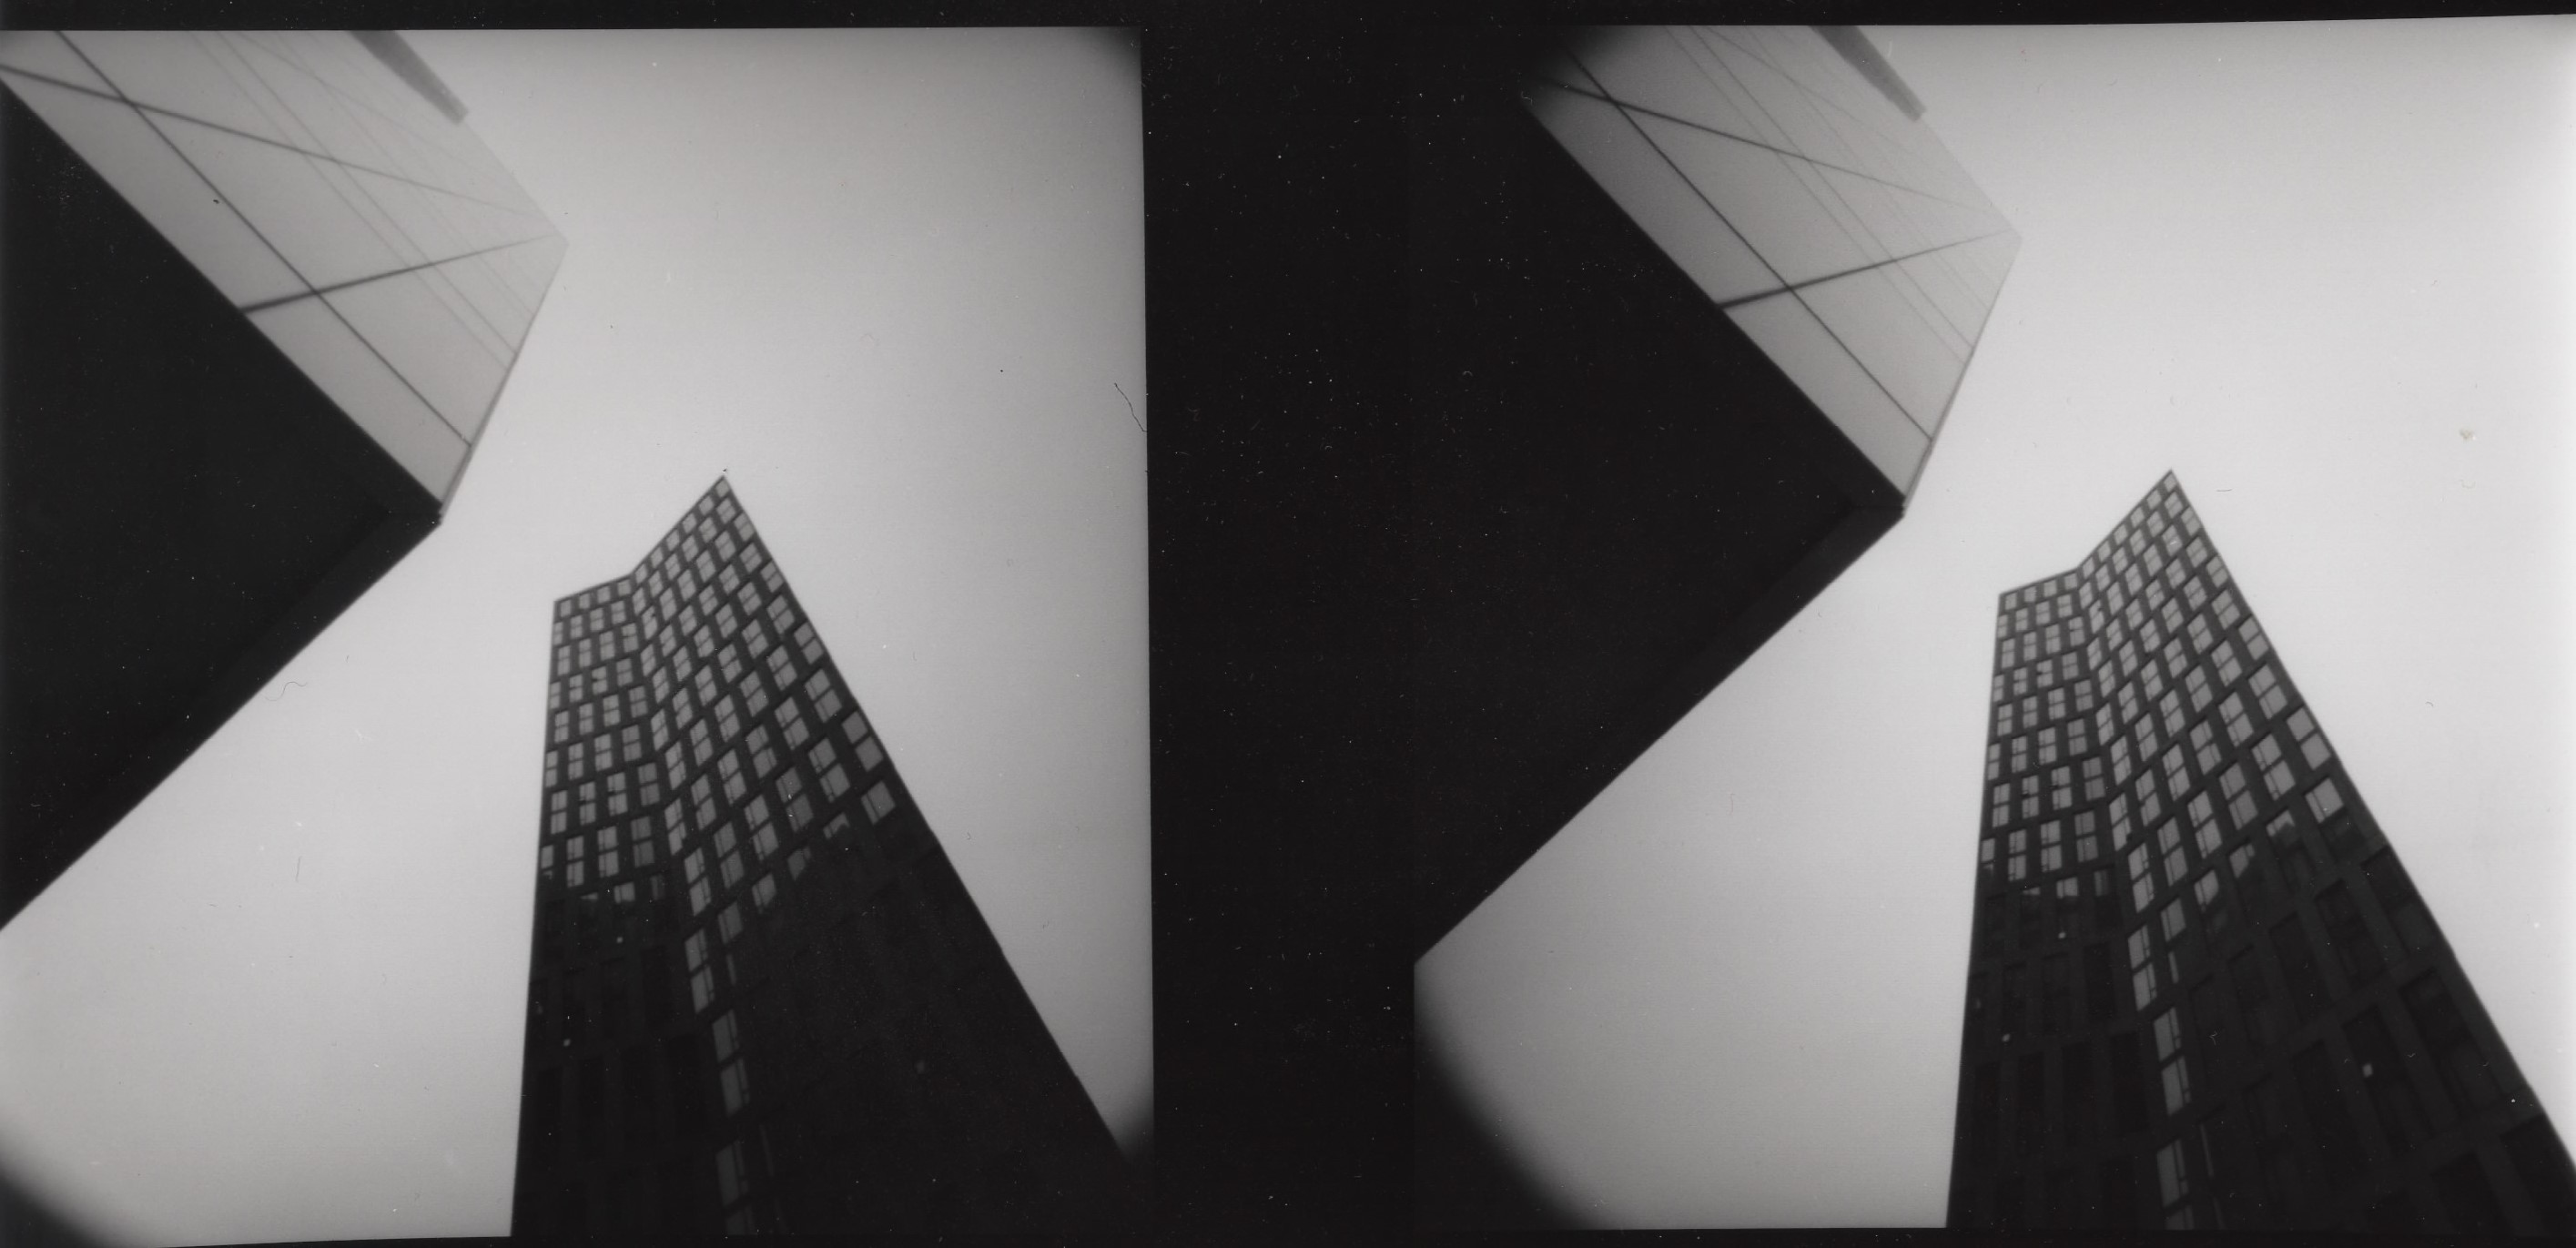
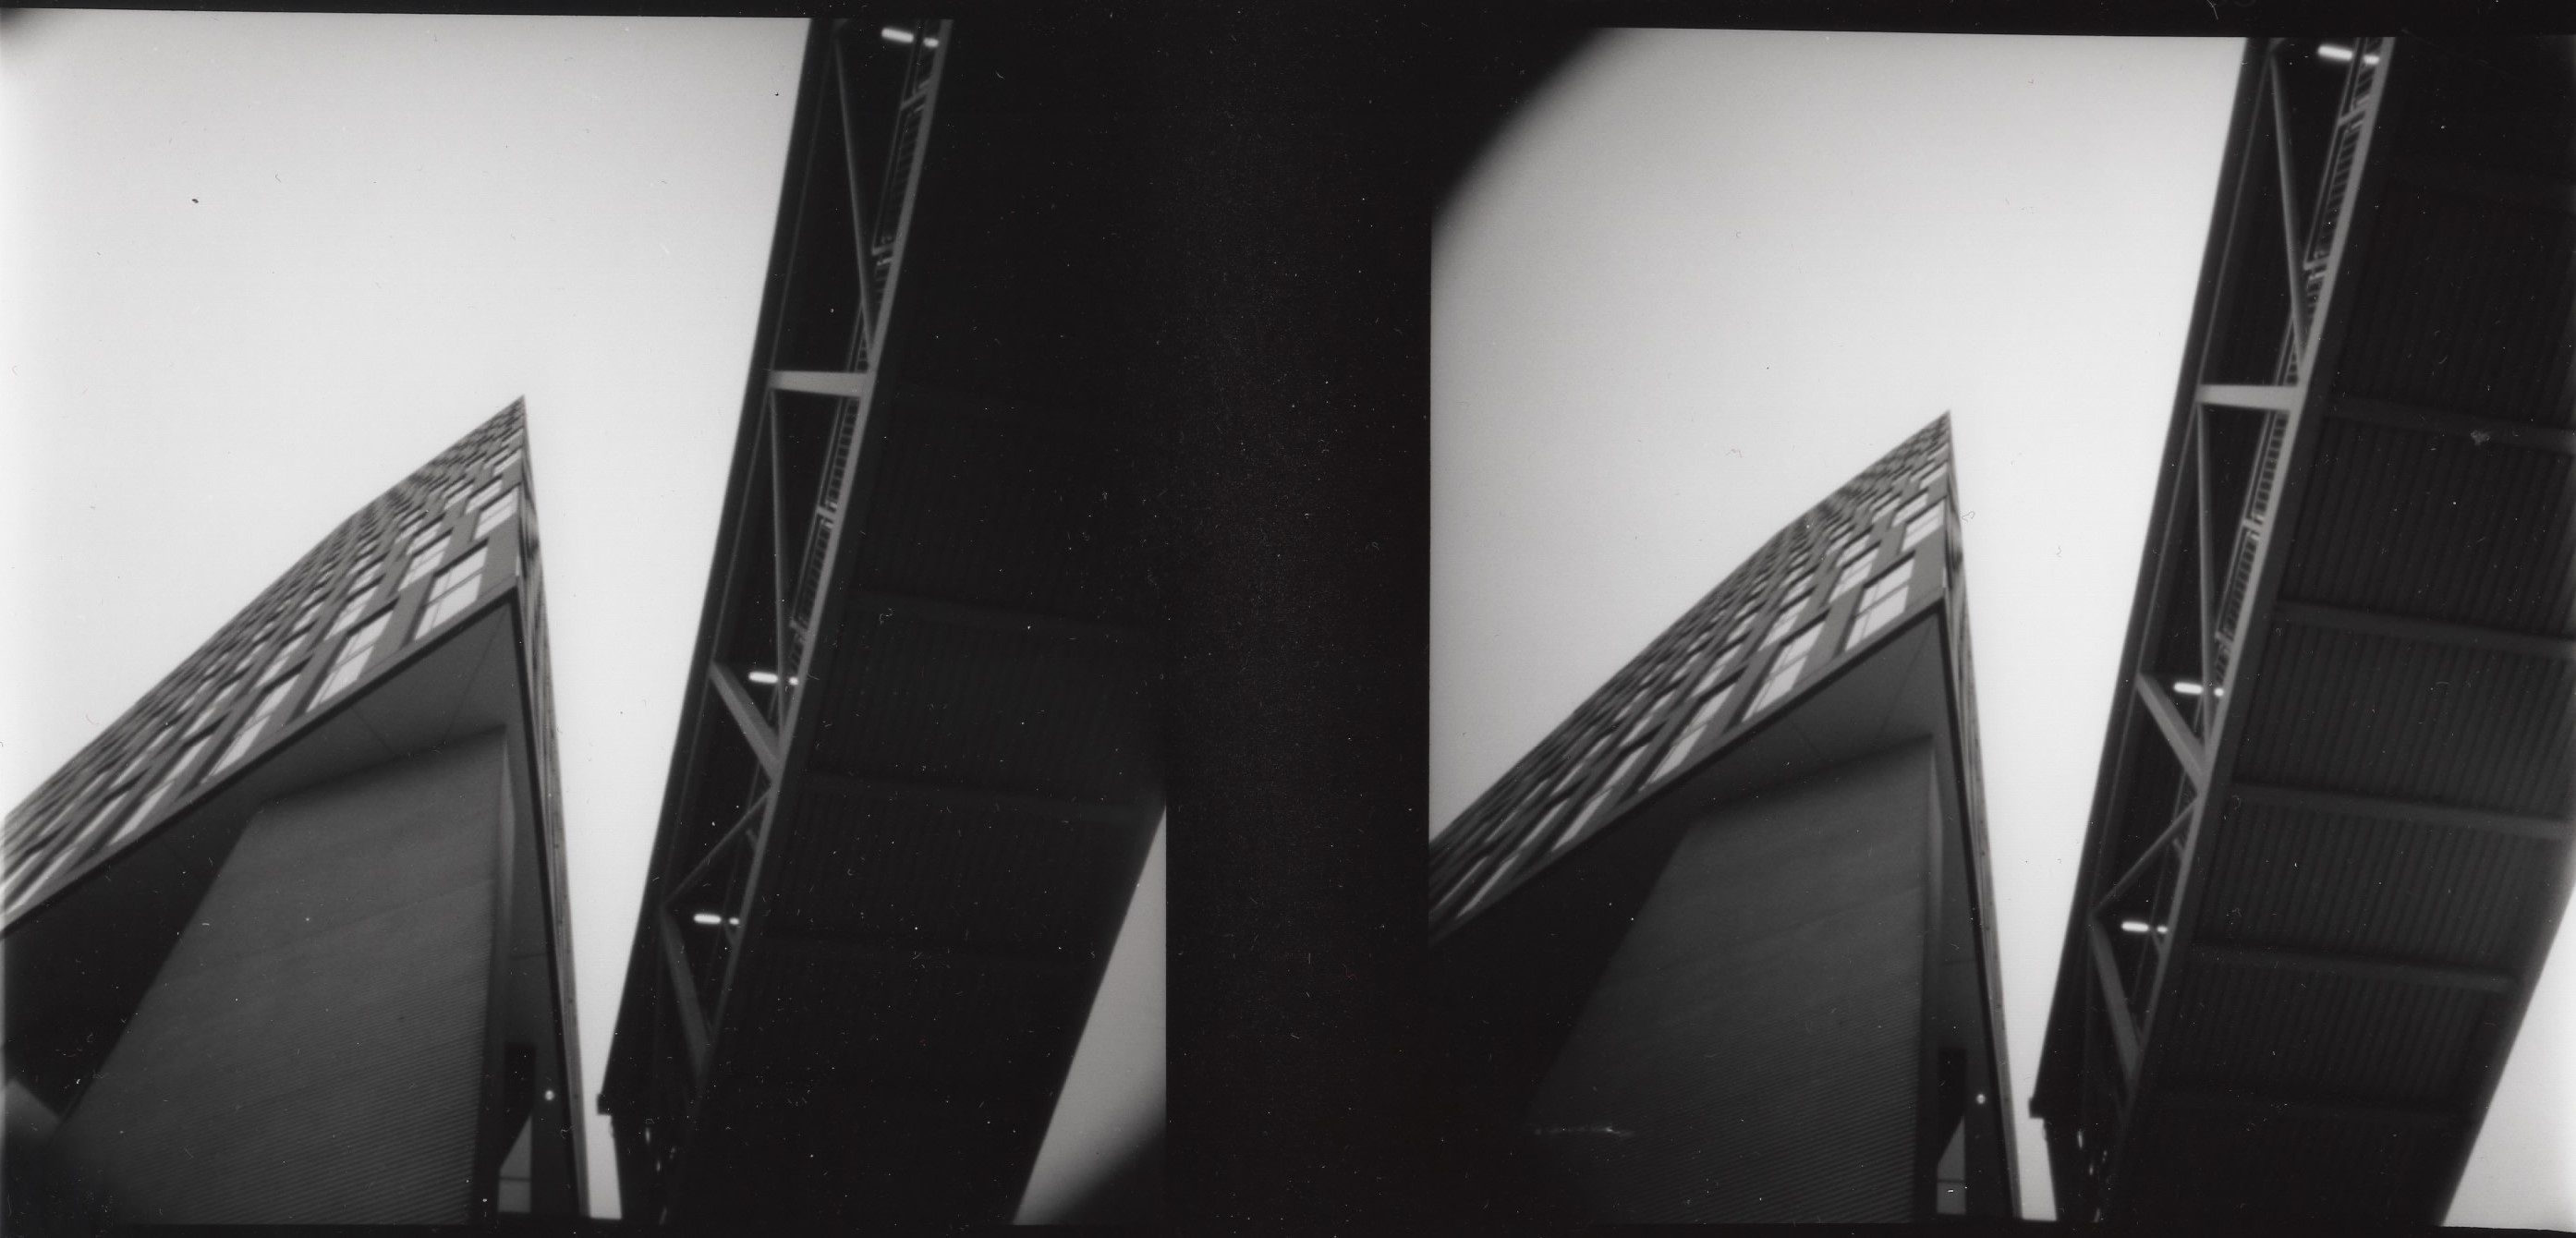
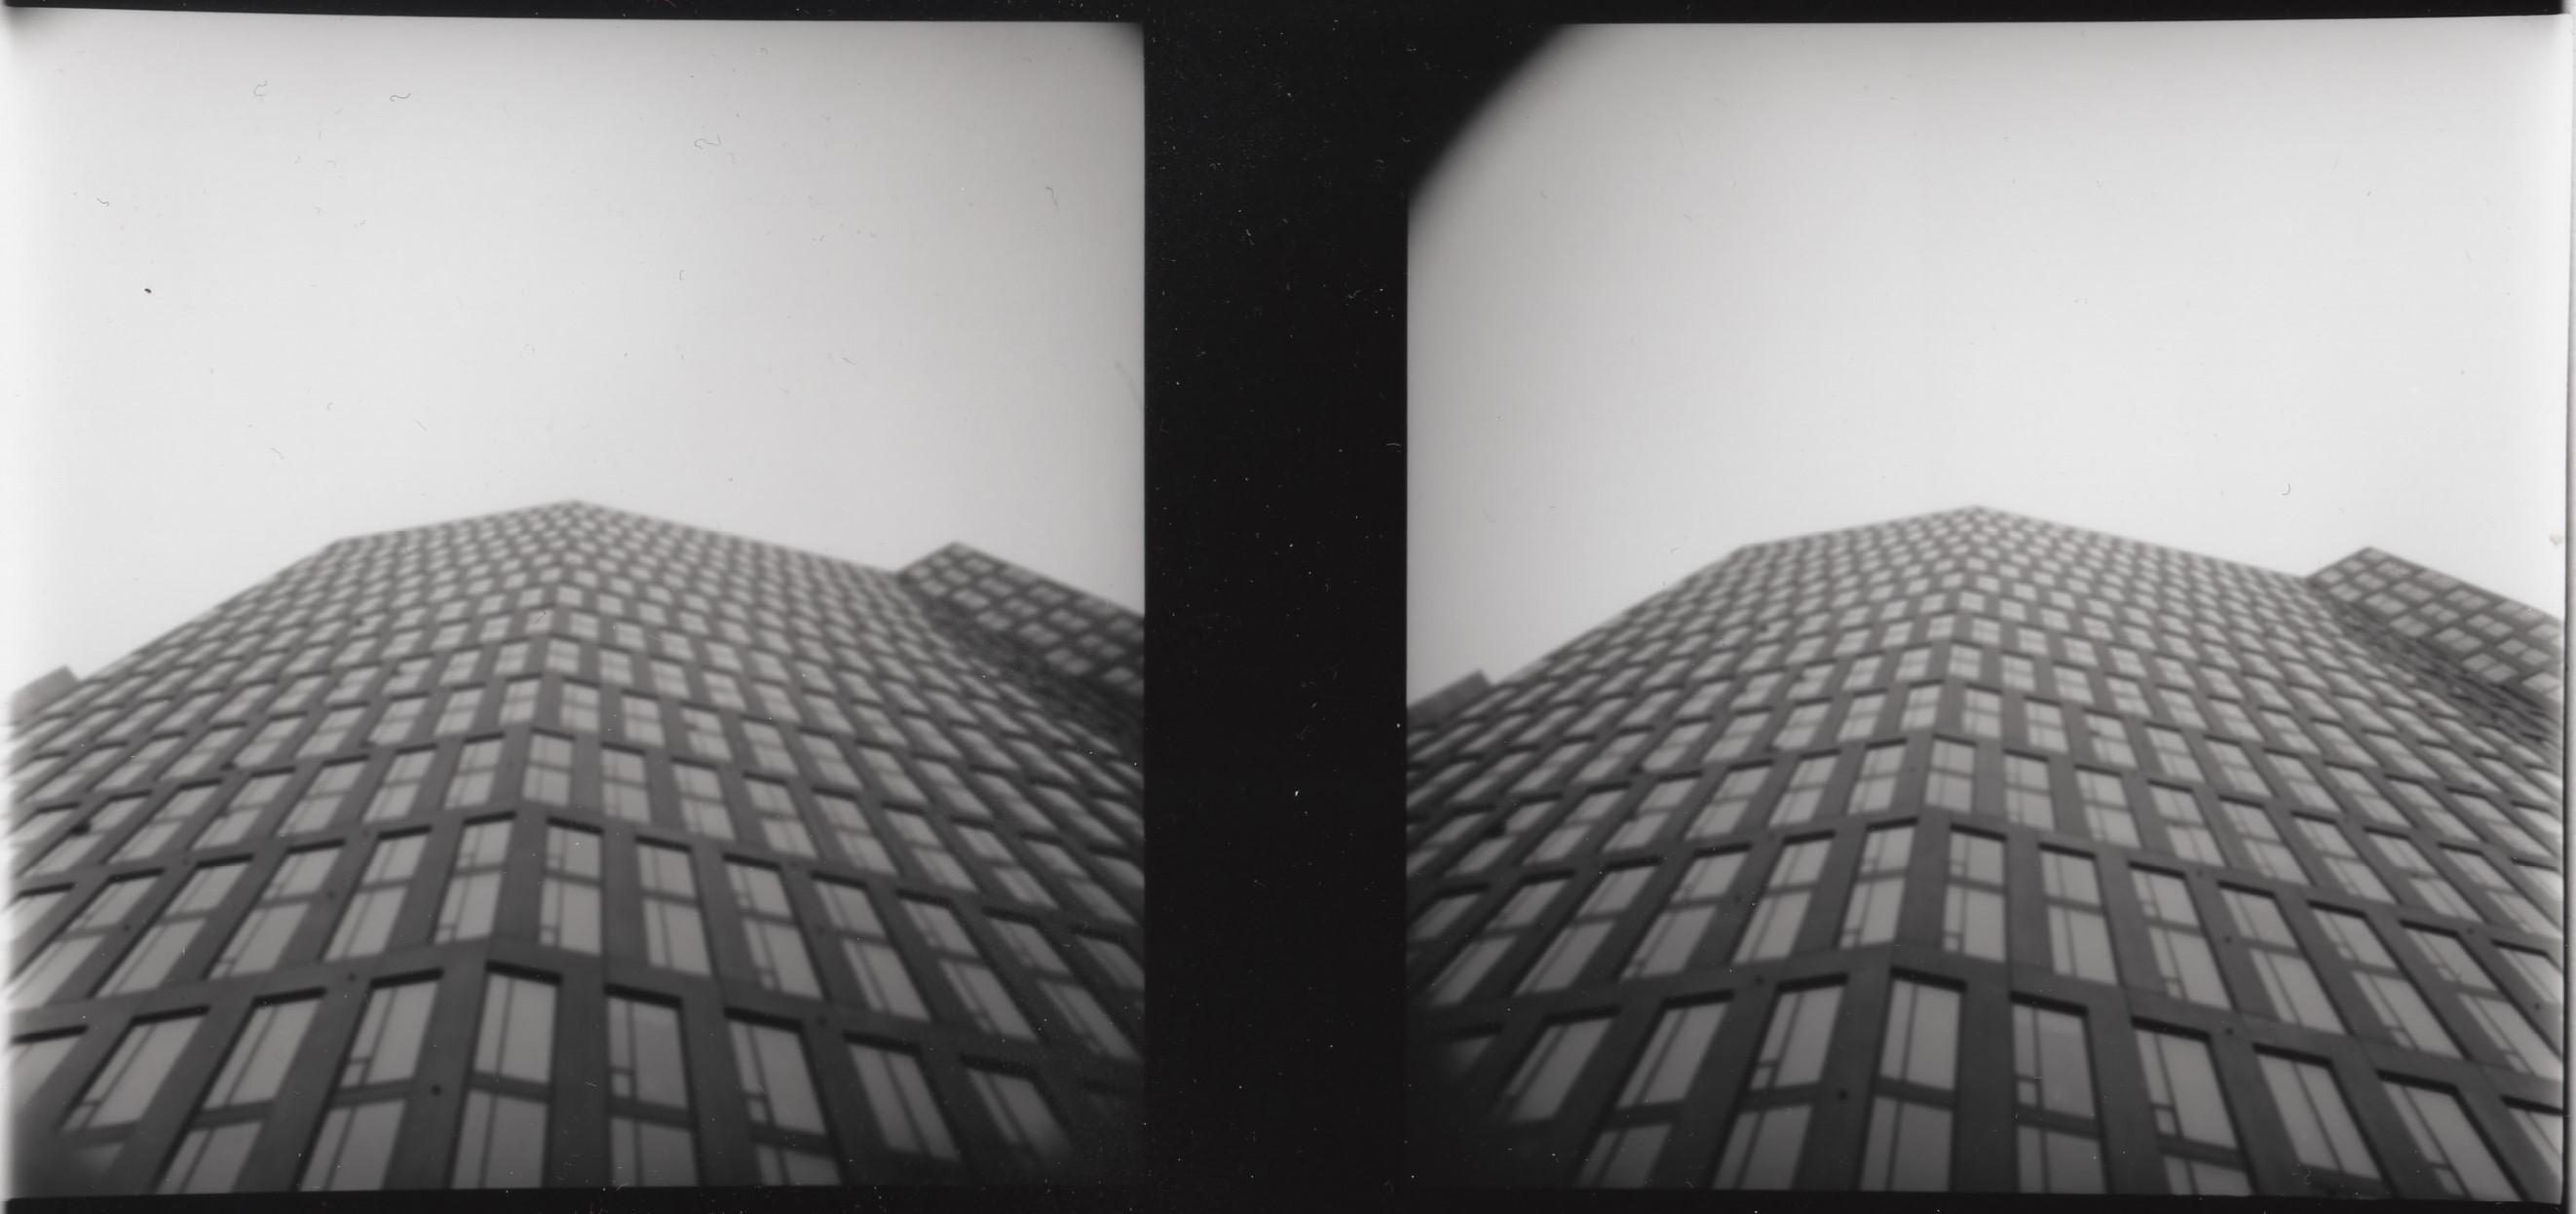
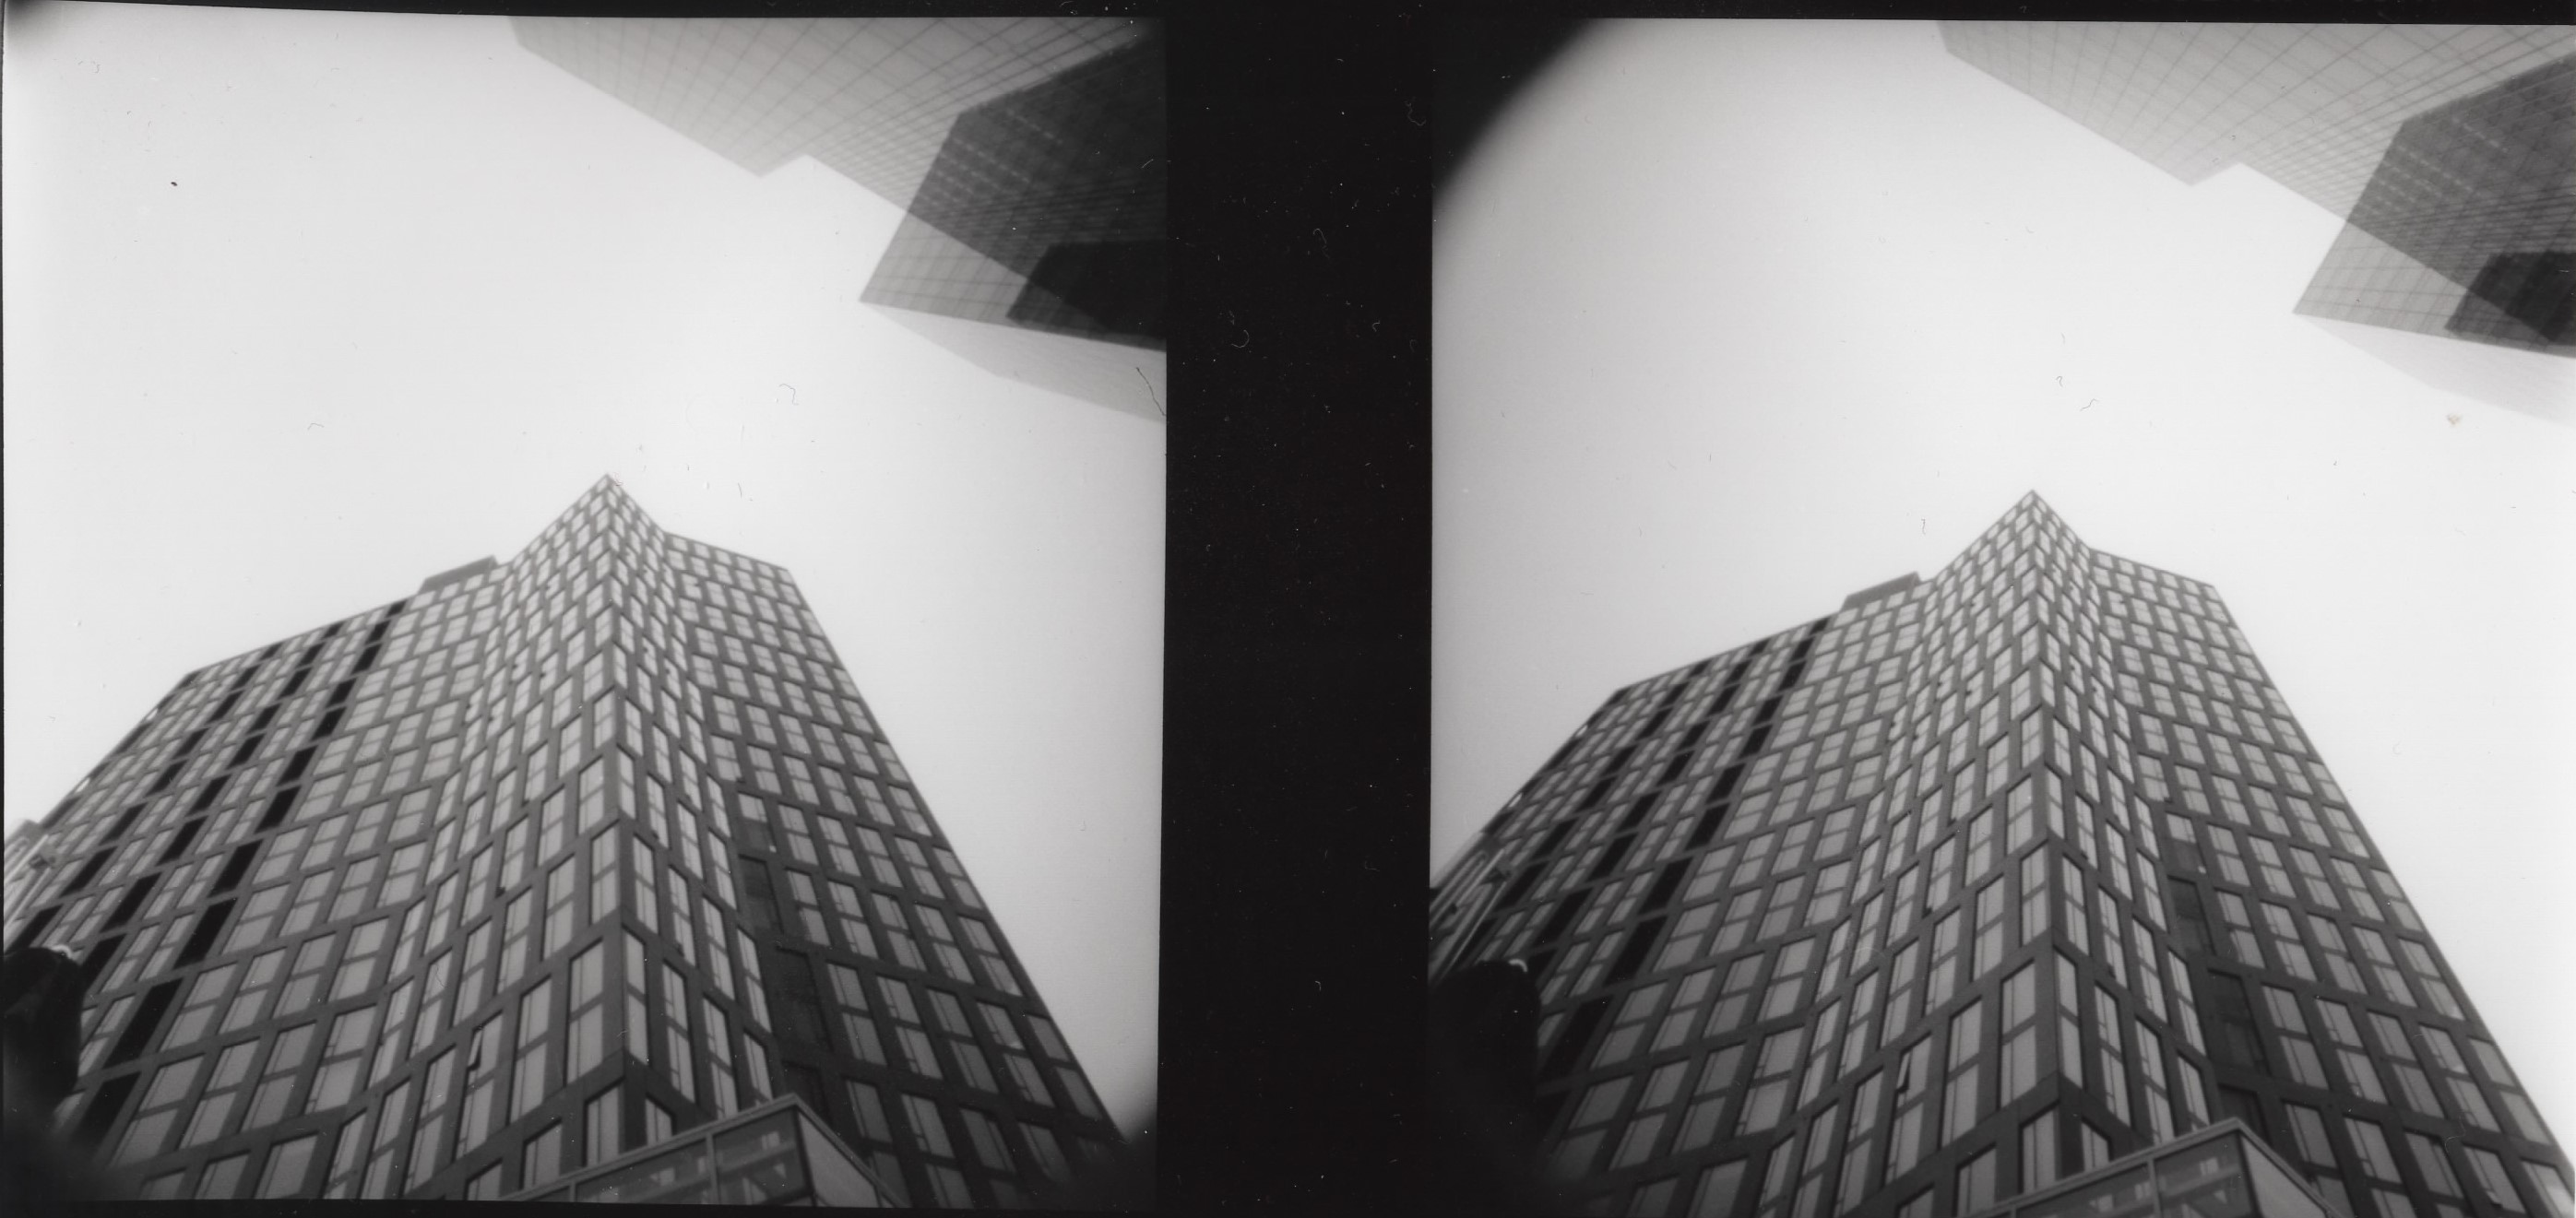
Exurbs in 3D
These were shot using a Holga stereo pinhole camera. To view them in 3D, look at the center of the two images and cross your eyes, focusing on the most distant object in the picture. It takes some getting used to. Clicking on the image to make it full screen might make it easier as well. Ideally, I will have a stereo viewer for the physical print someday.


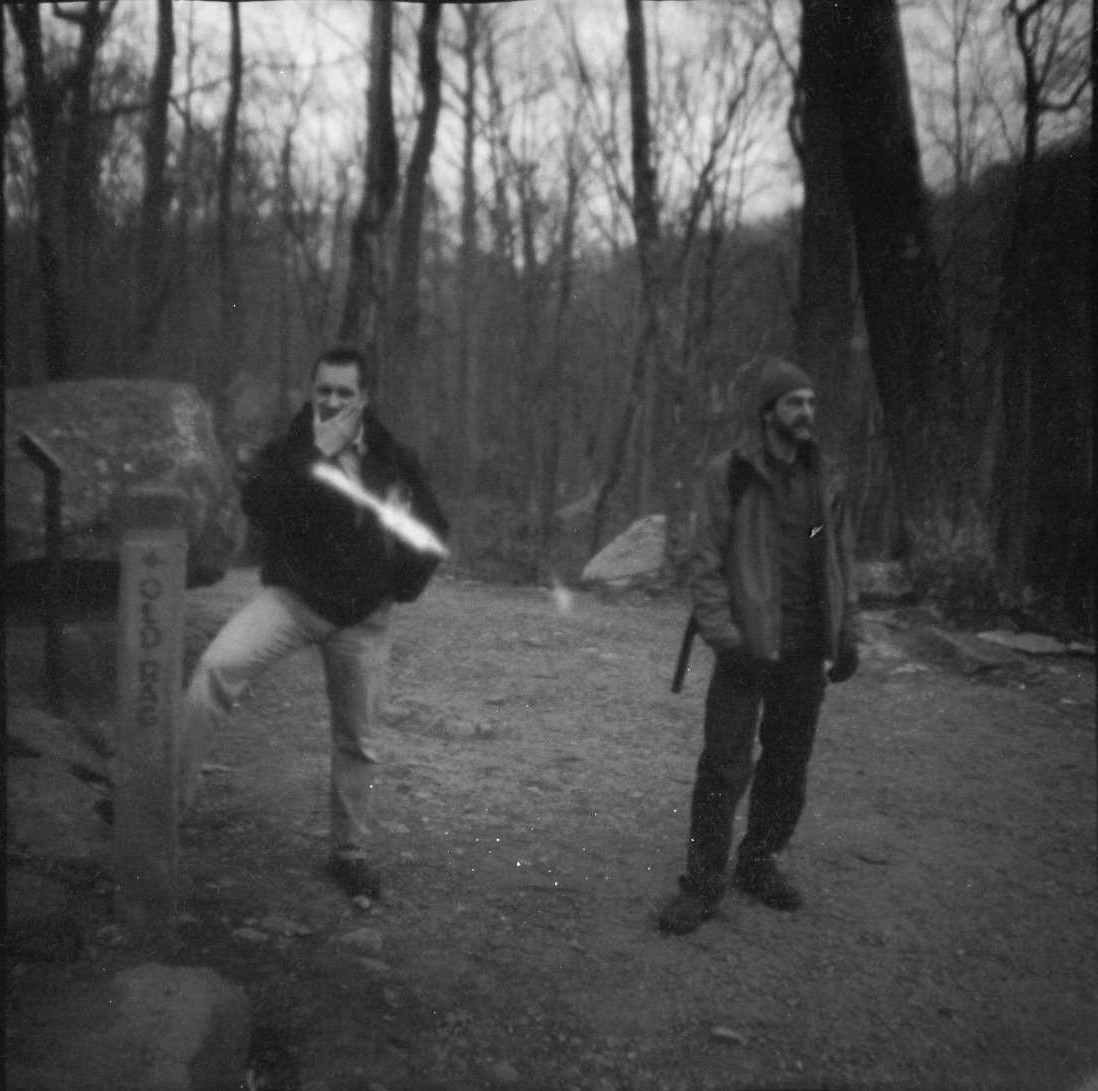
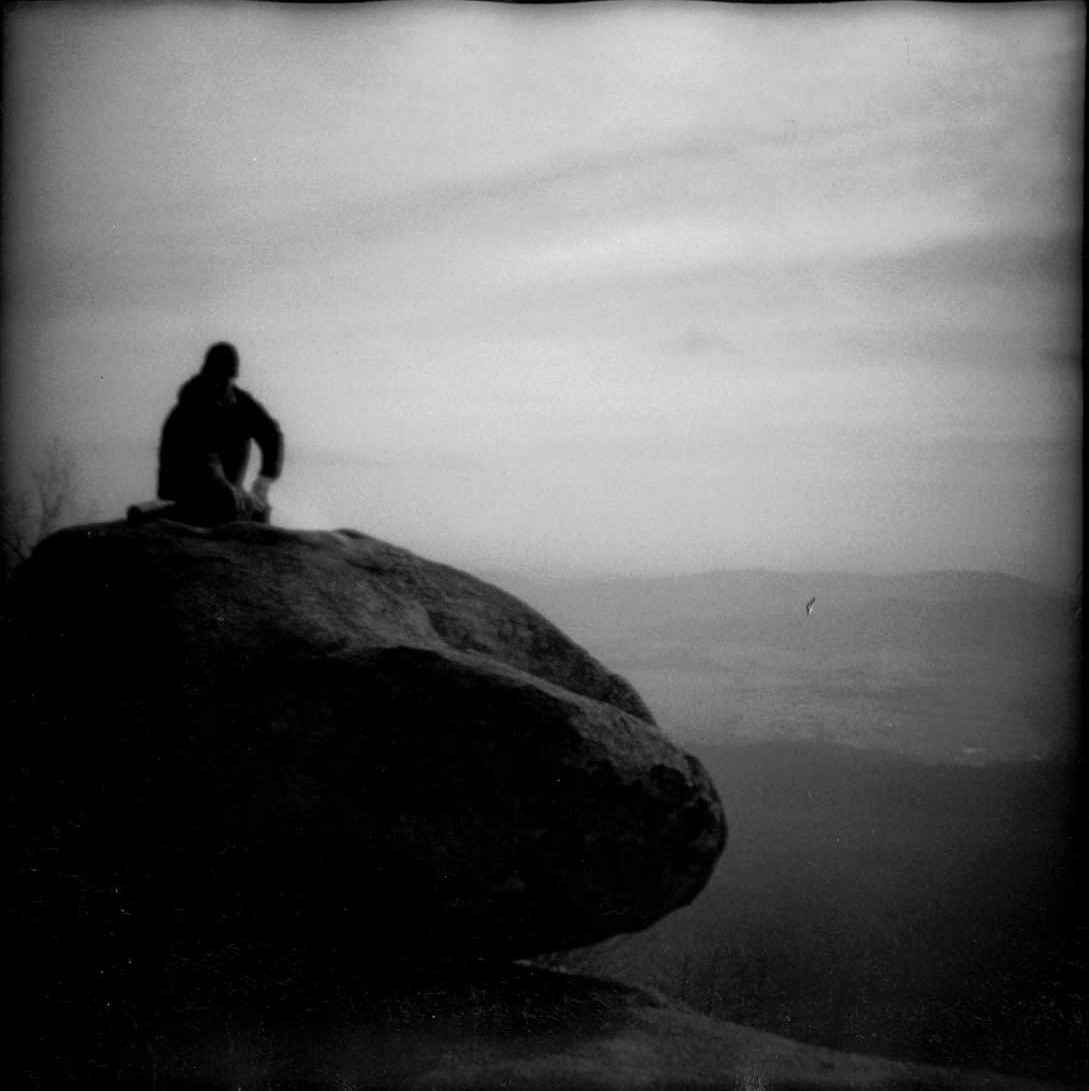
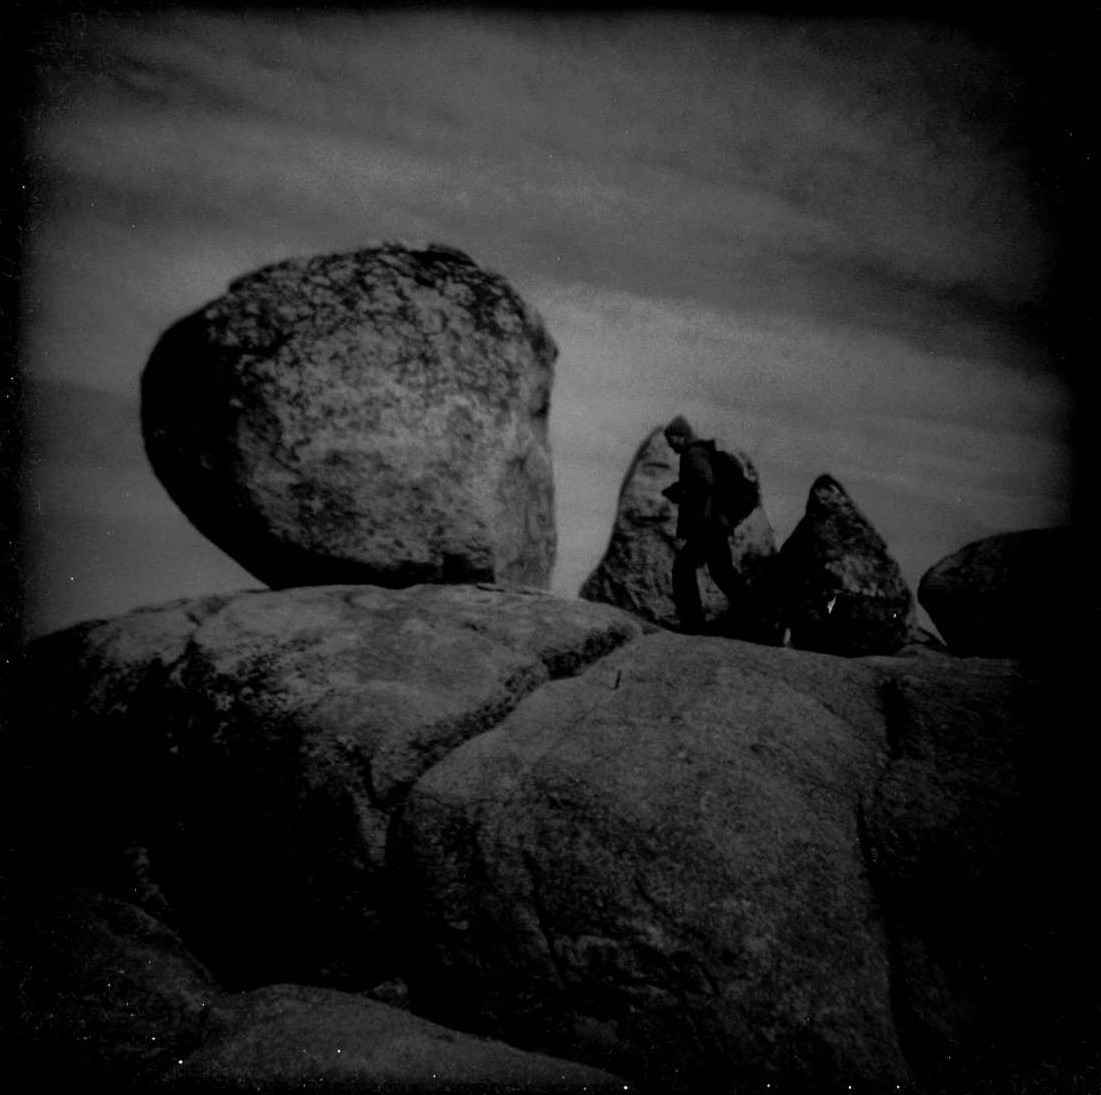
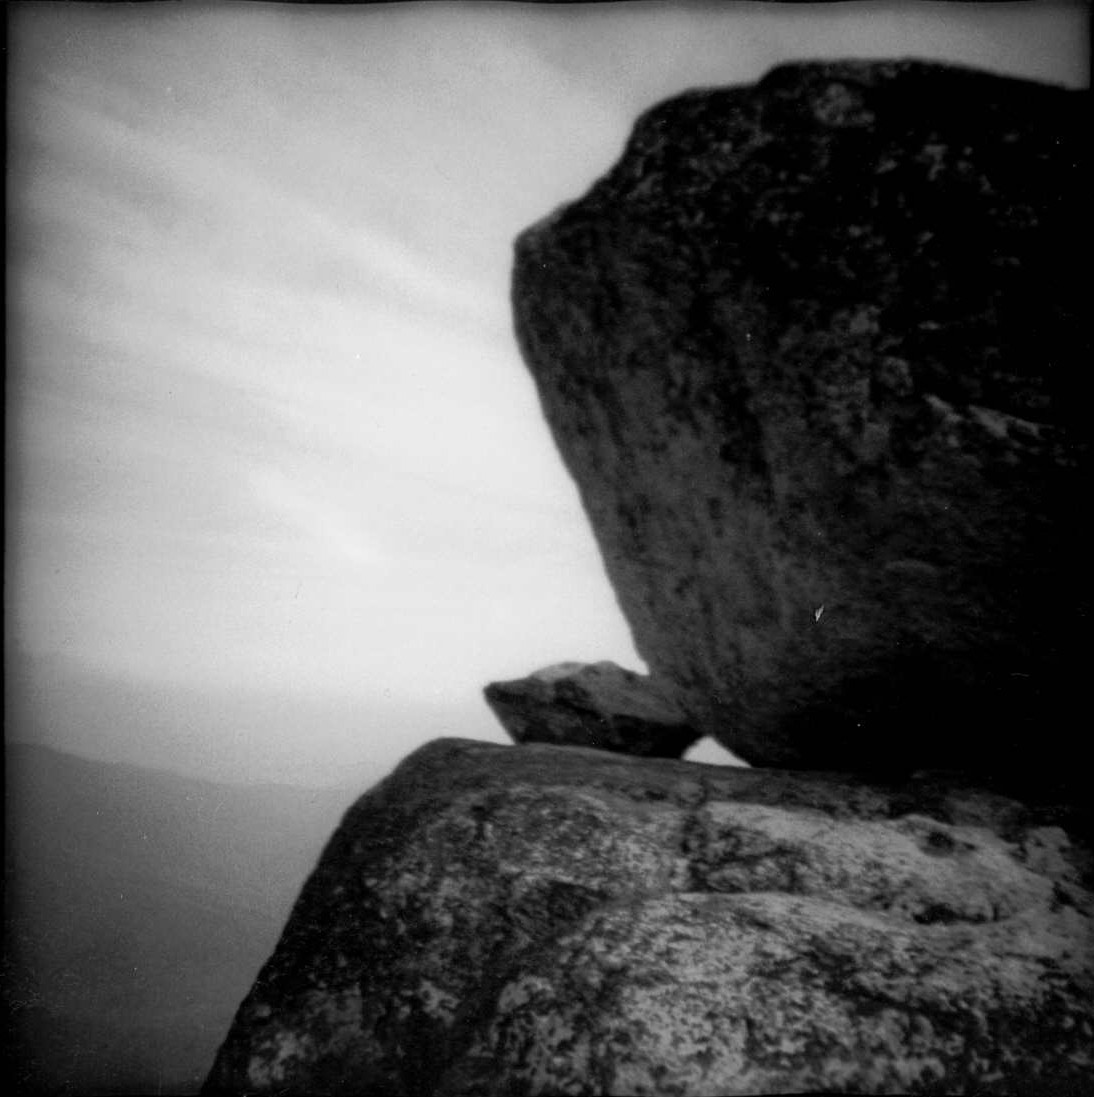
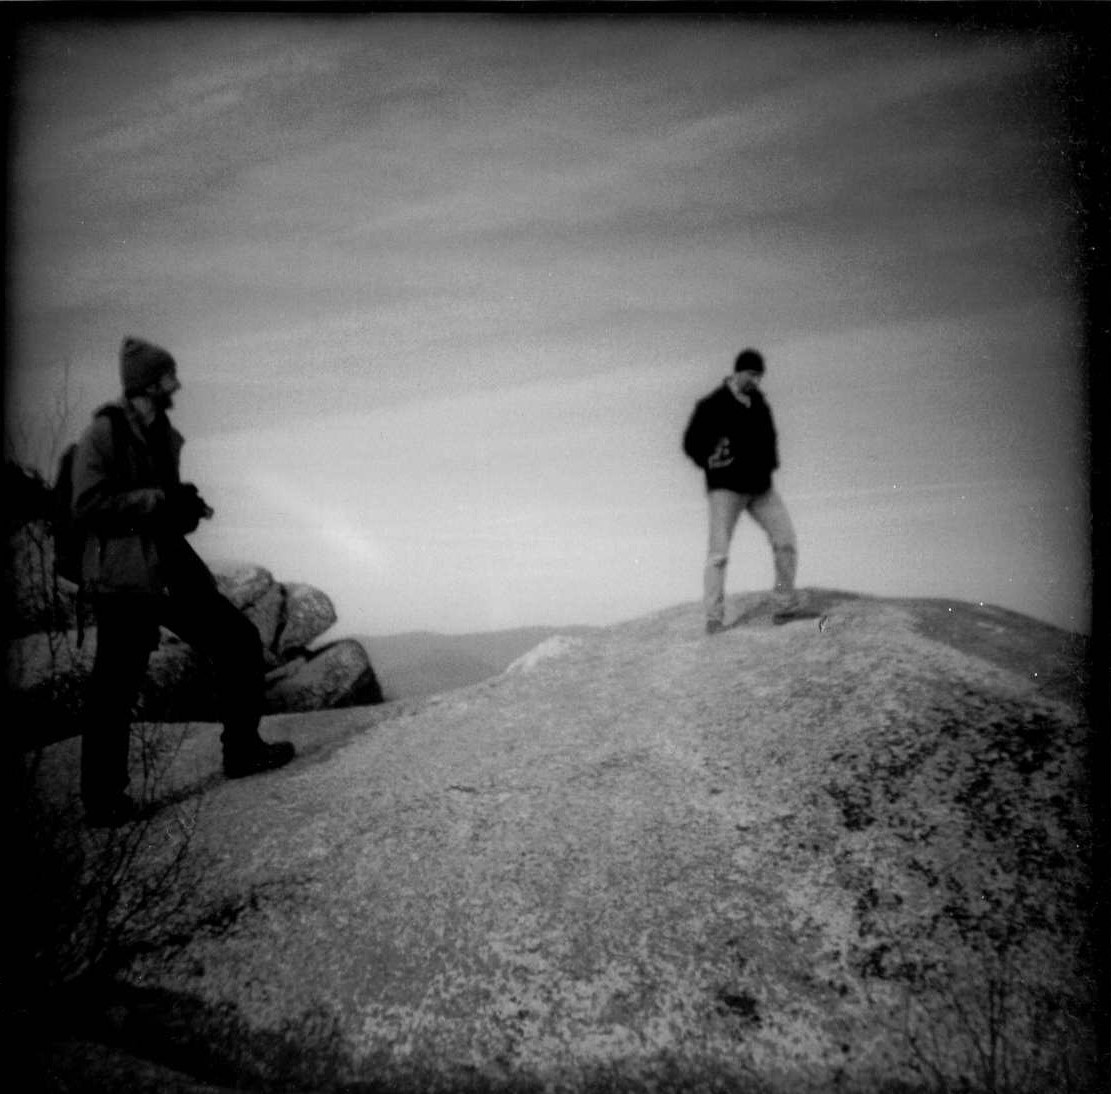
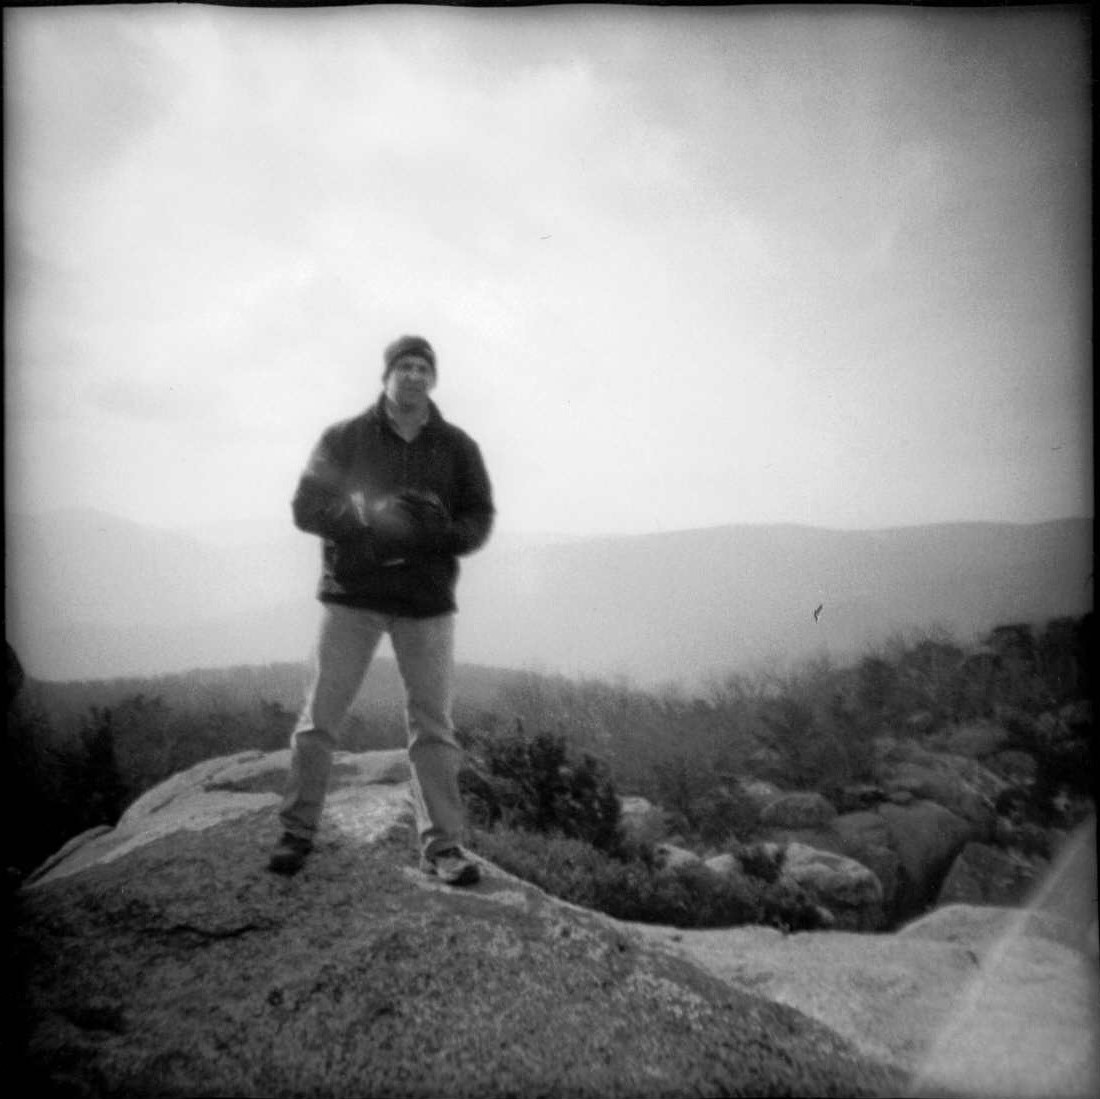
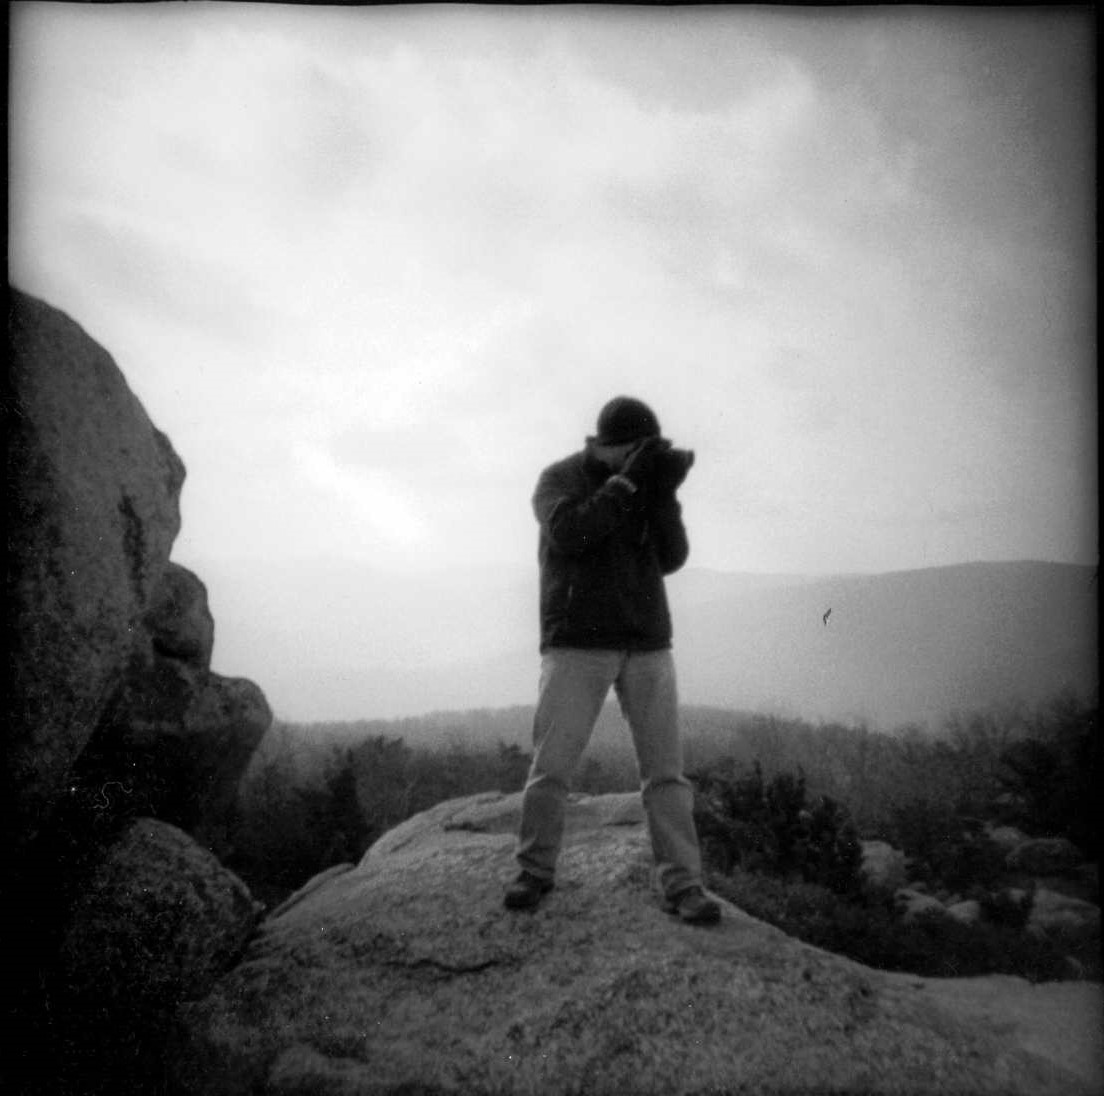
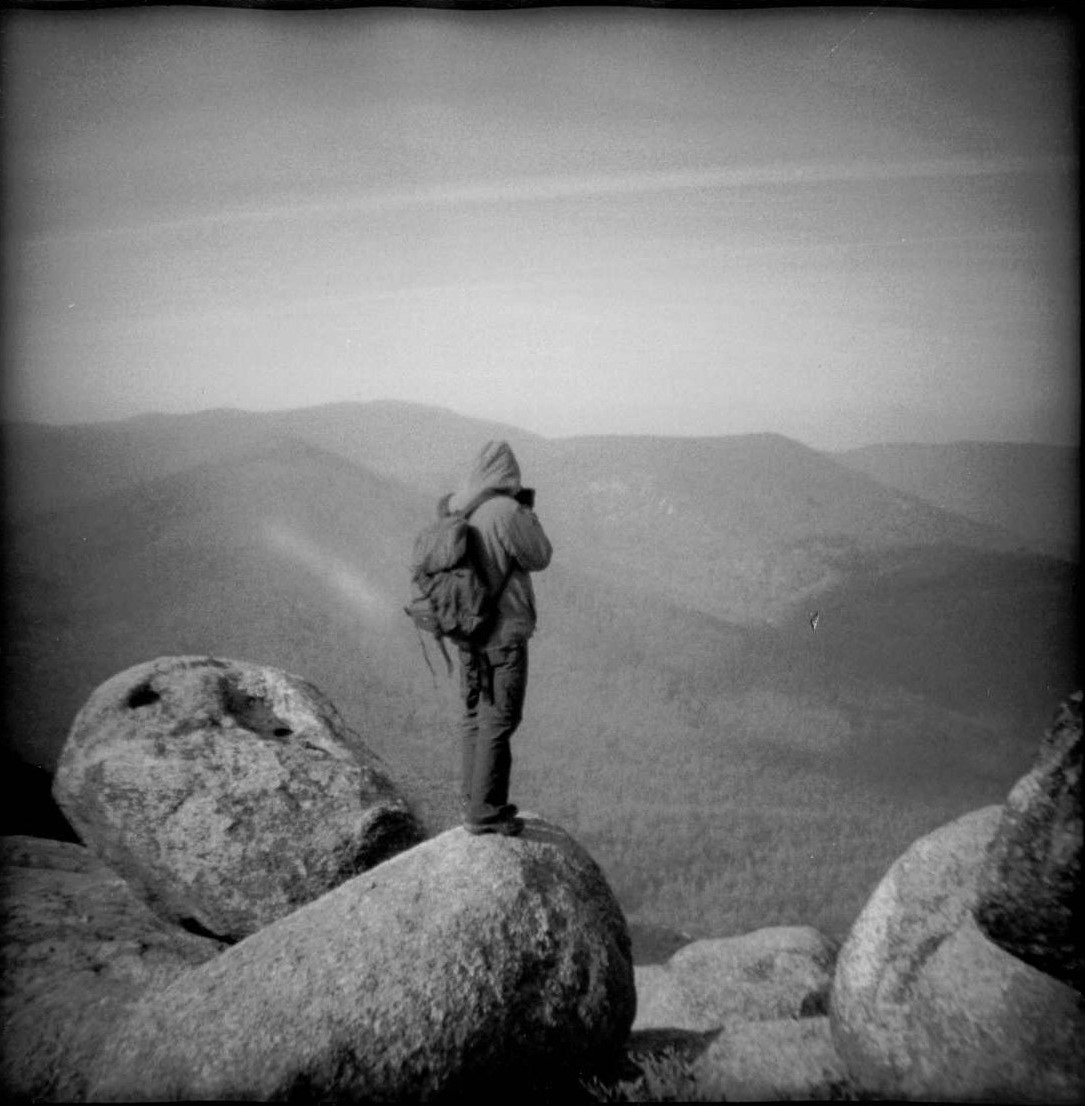
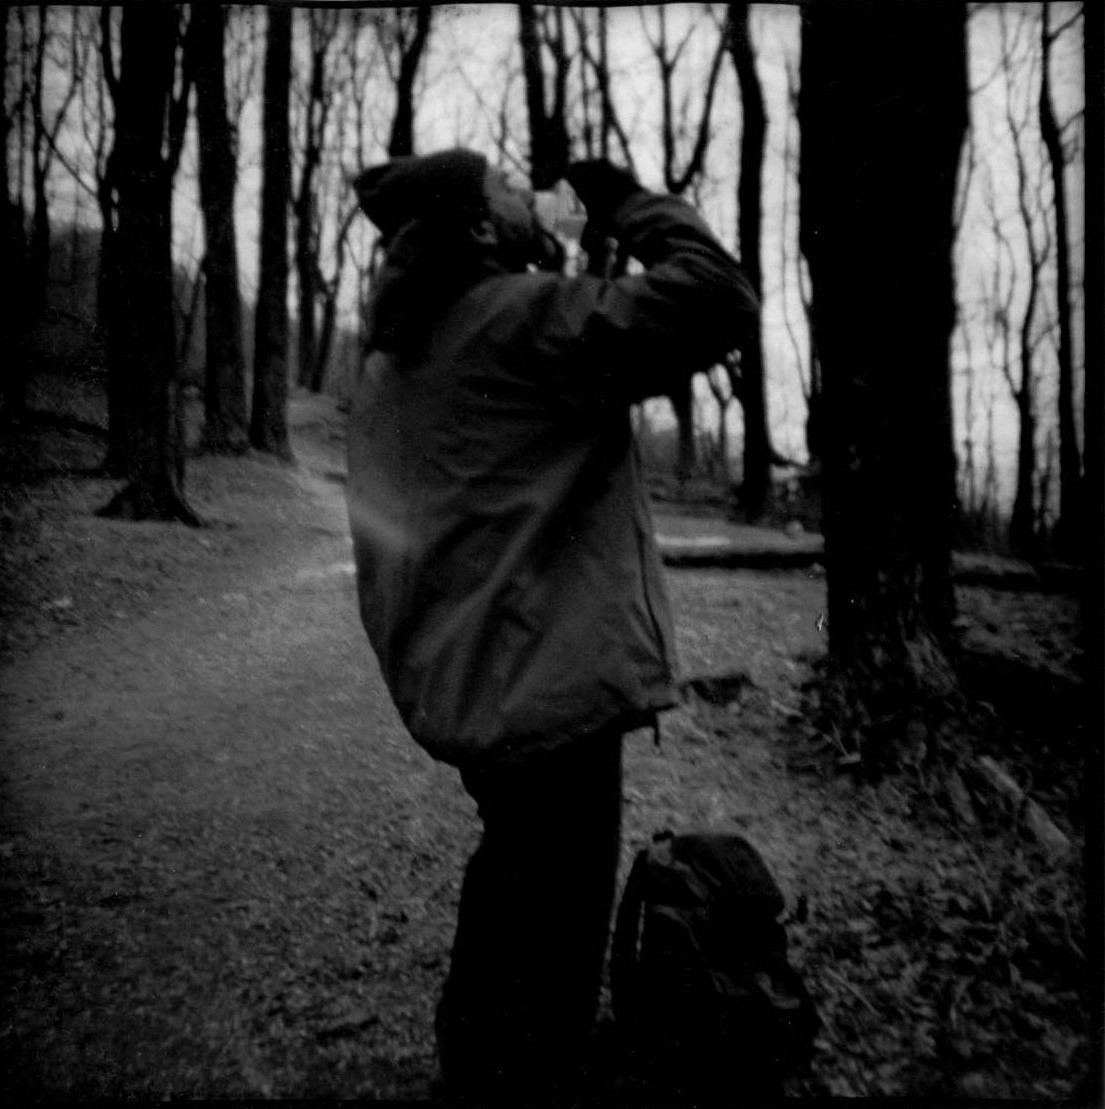
Buddies
A hike up Old Rag Mountain with some buddies of mine about ten years ago, shot on the Diana Mini camera.
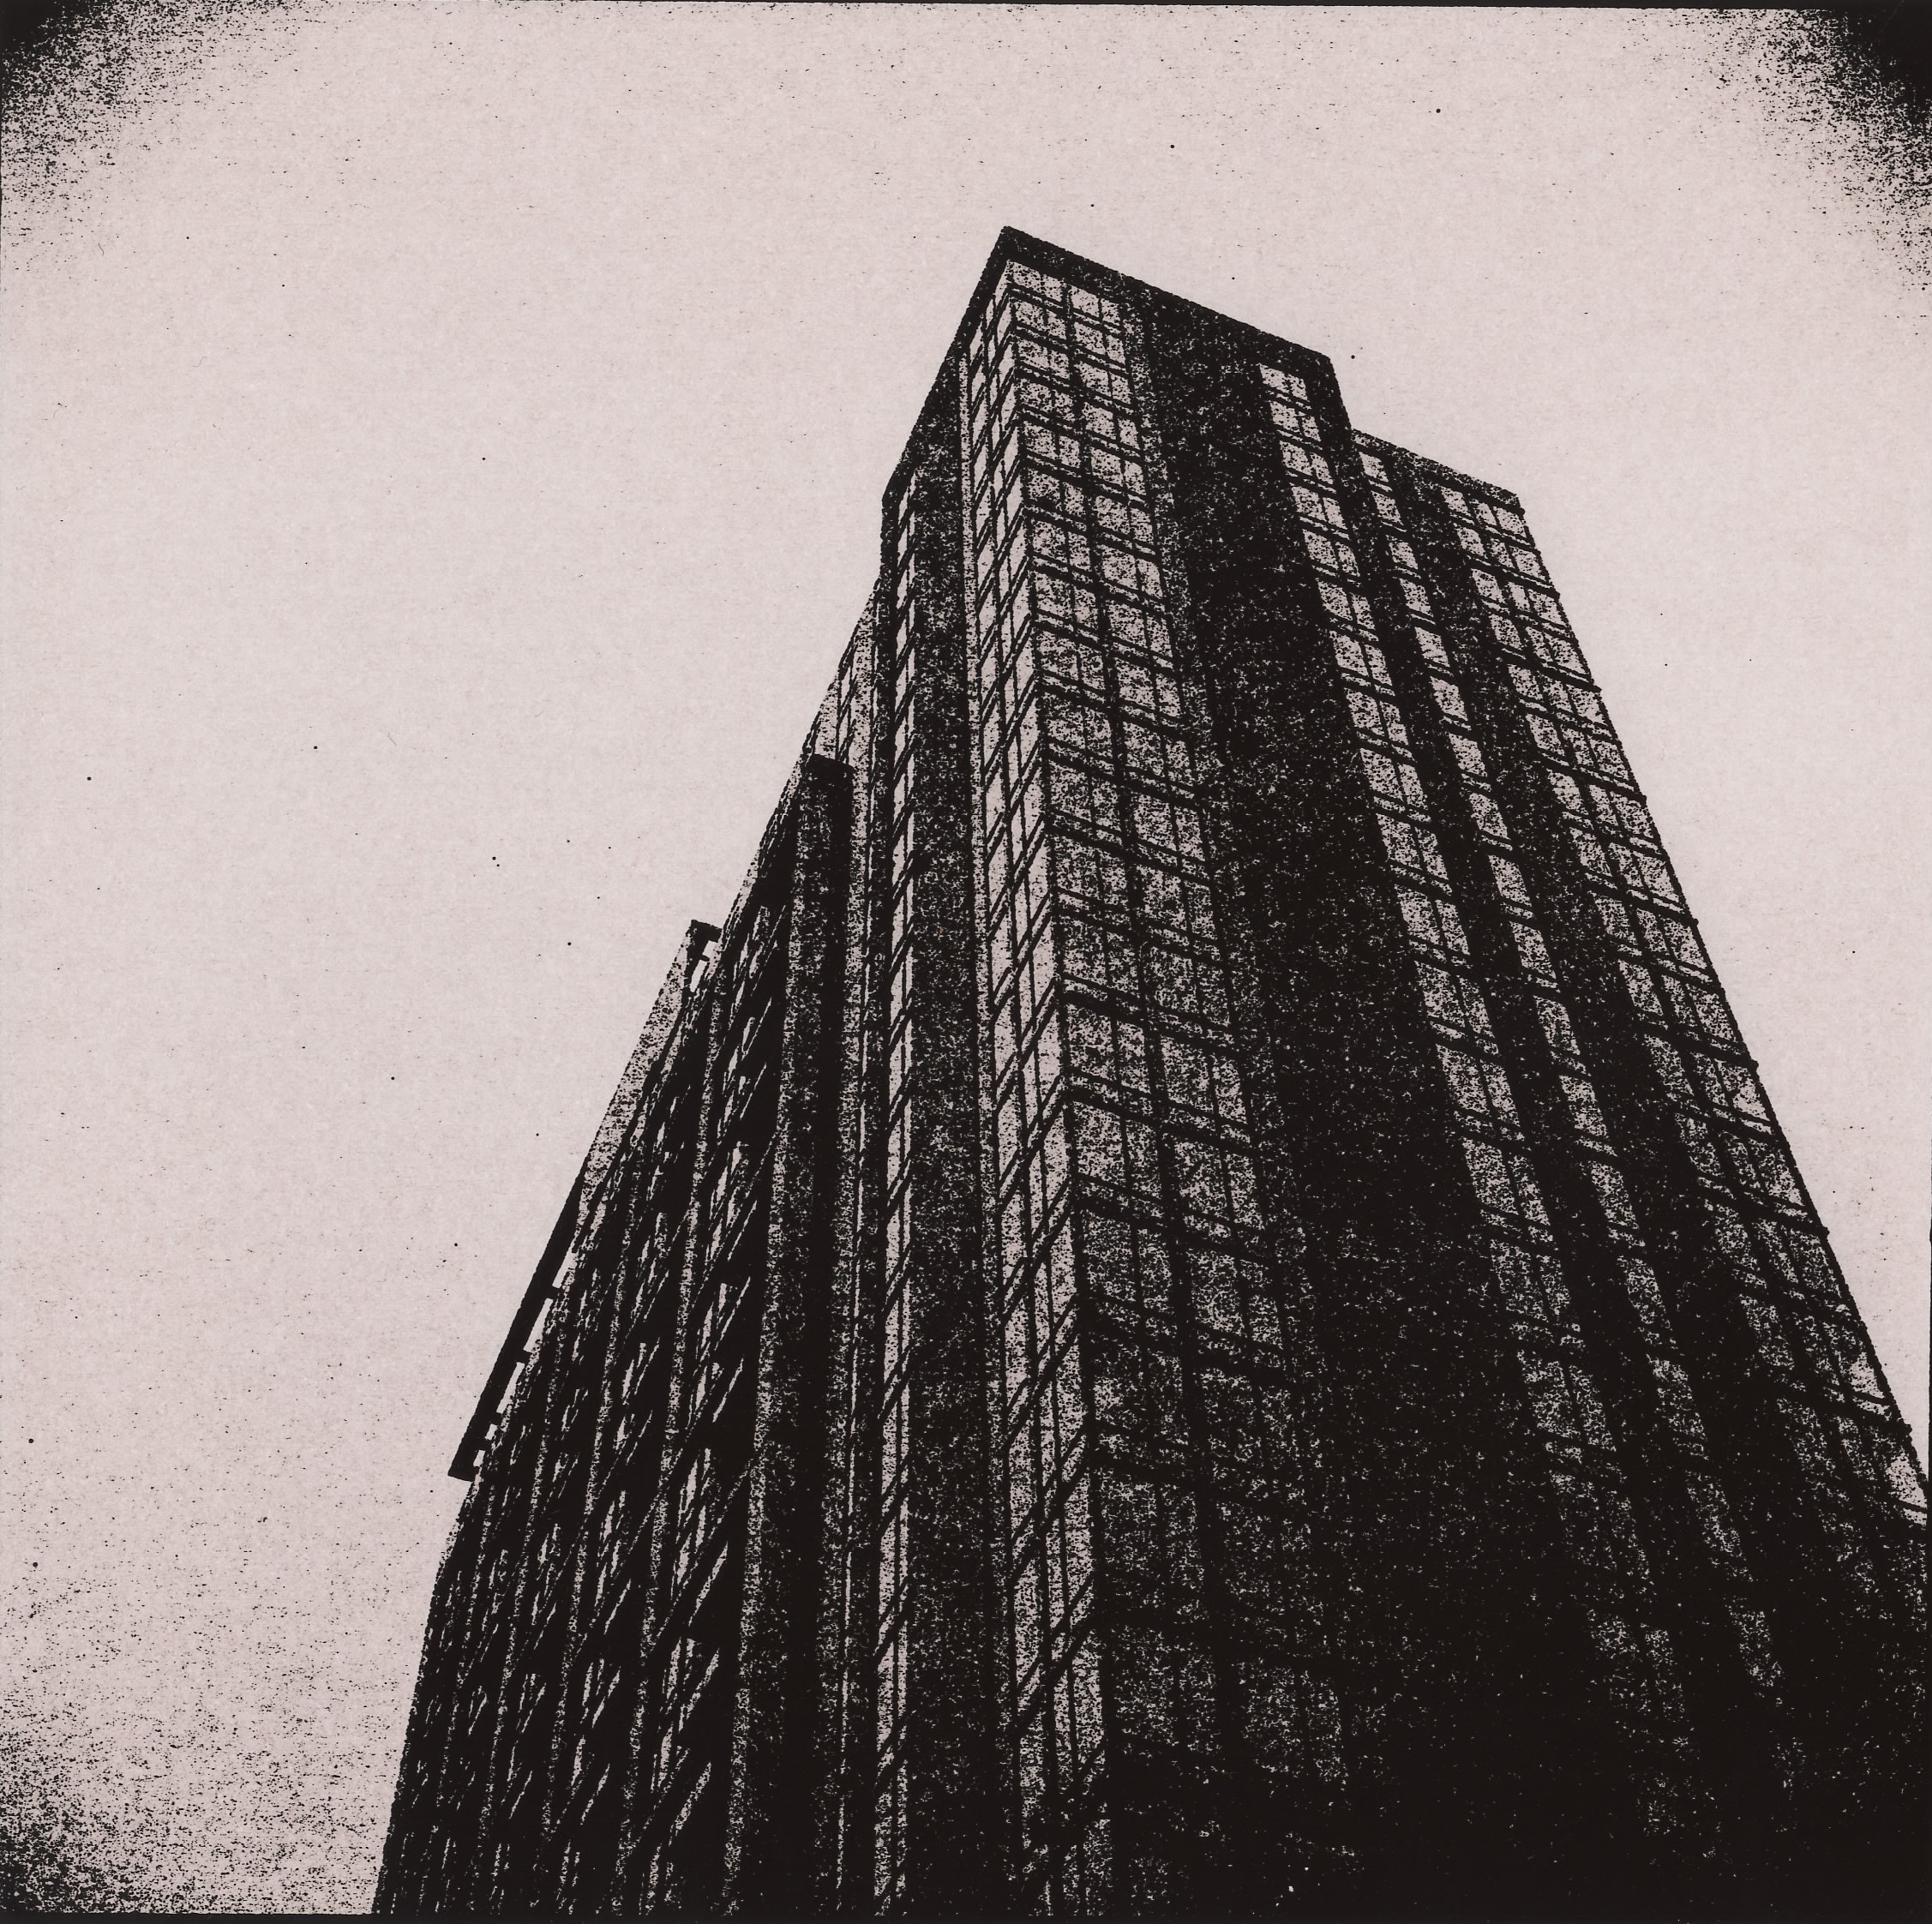
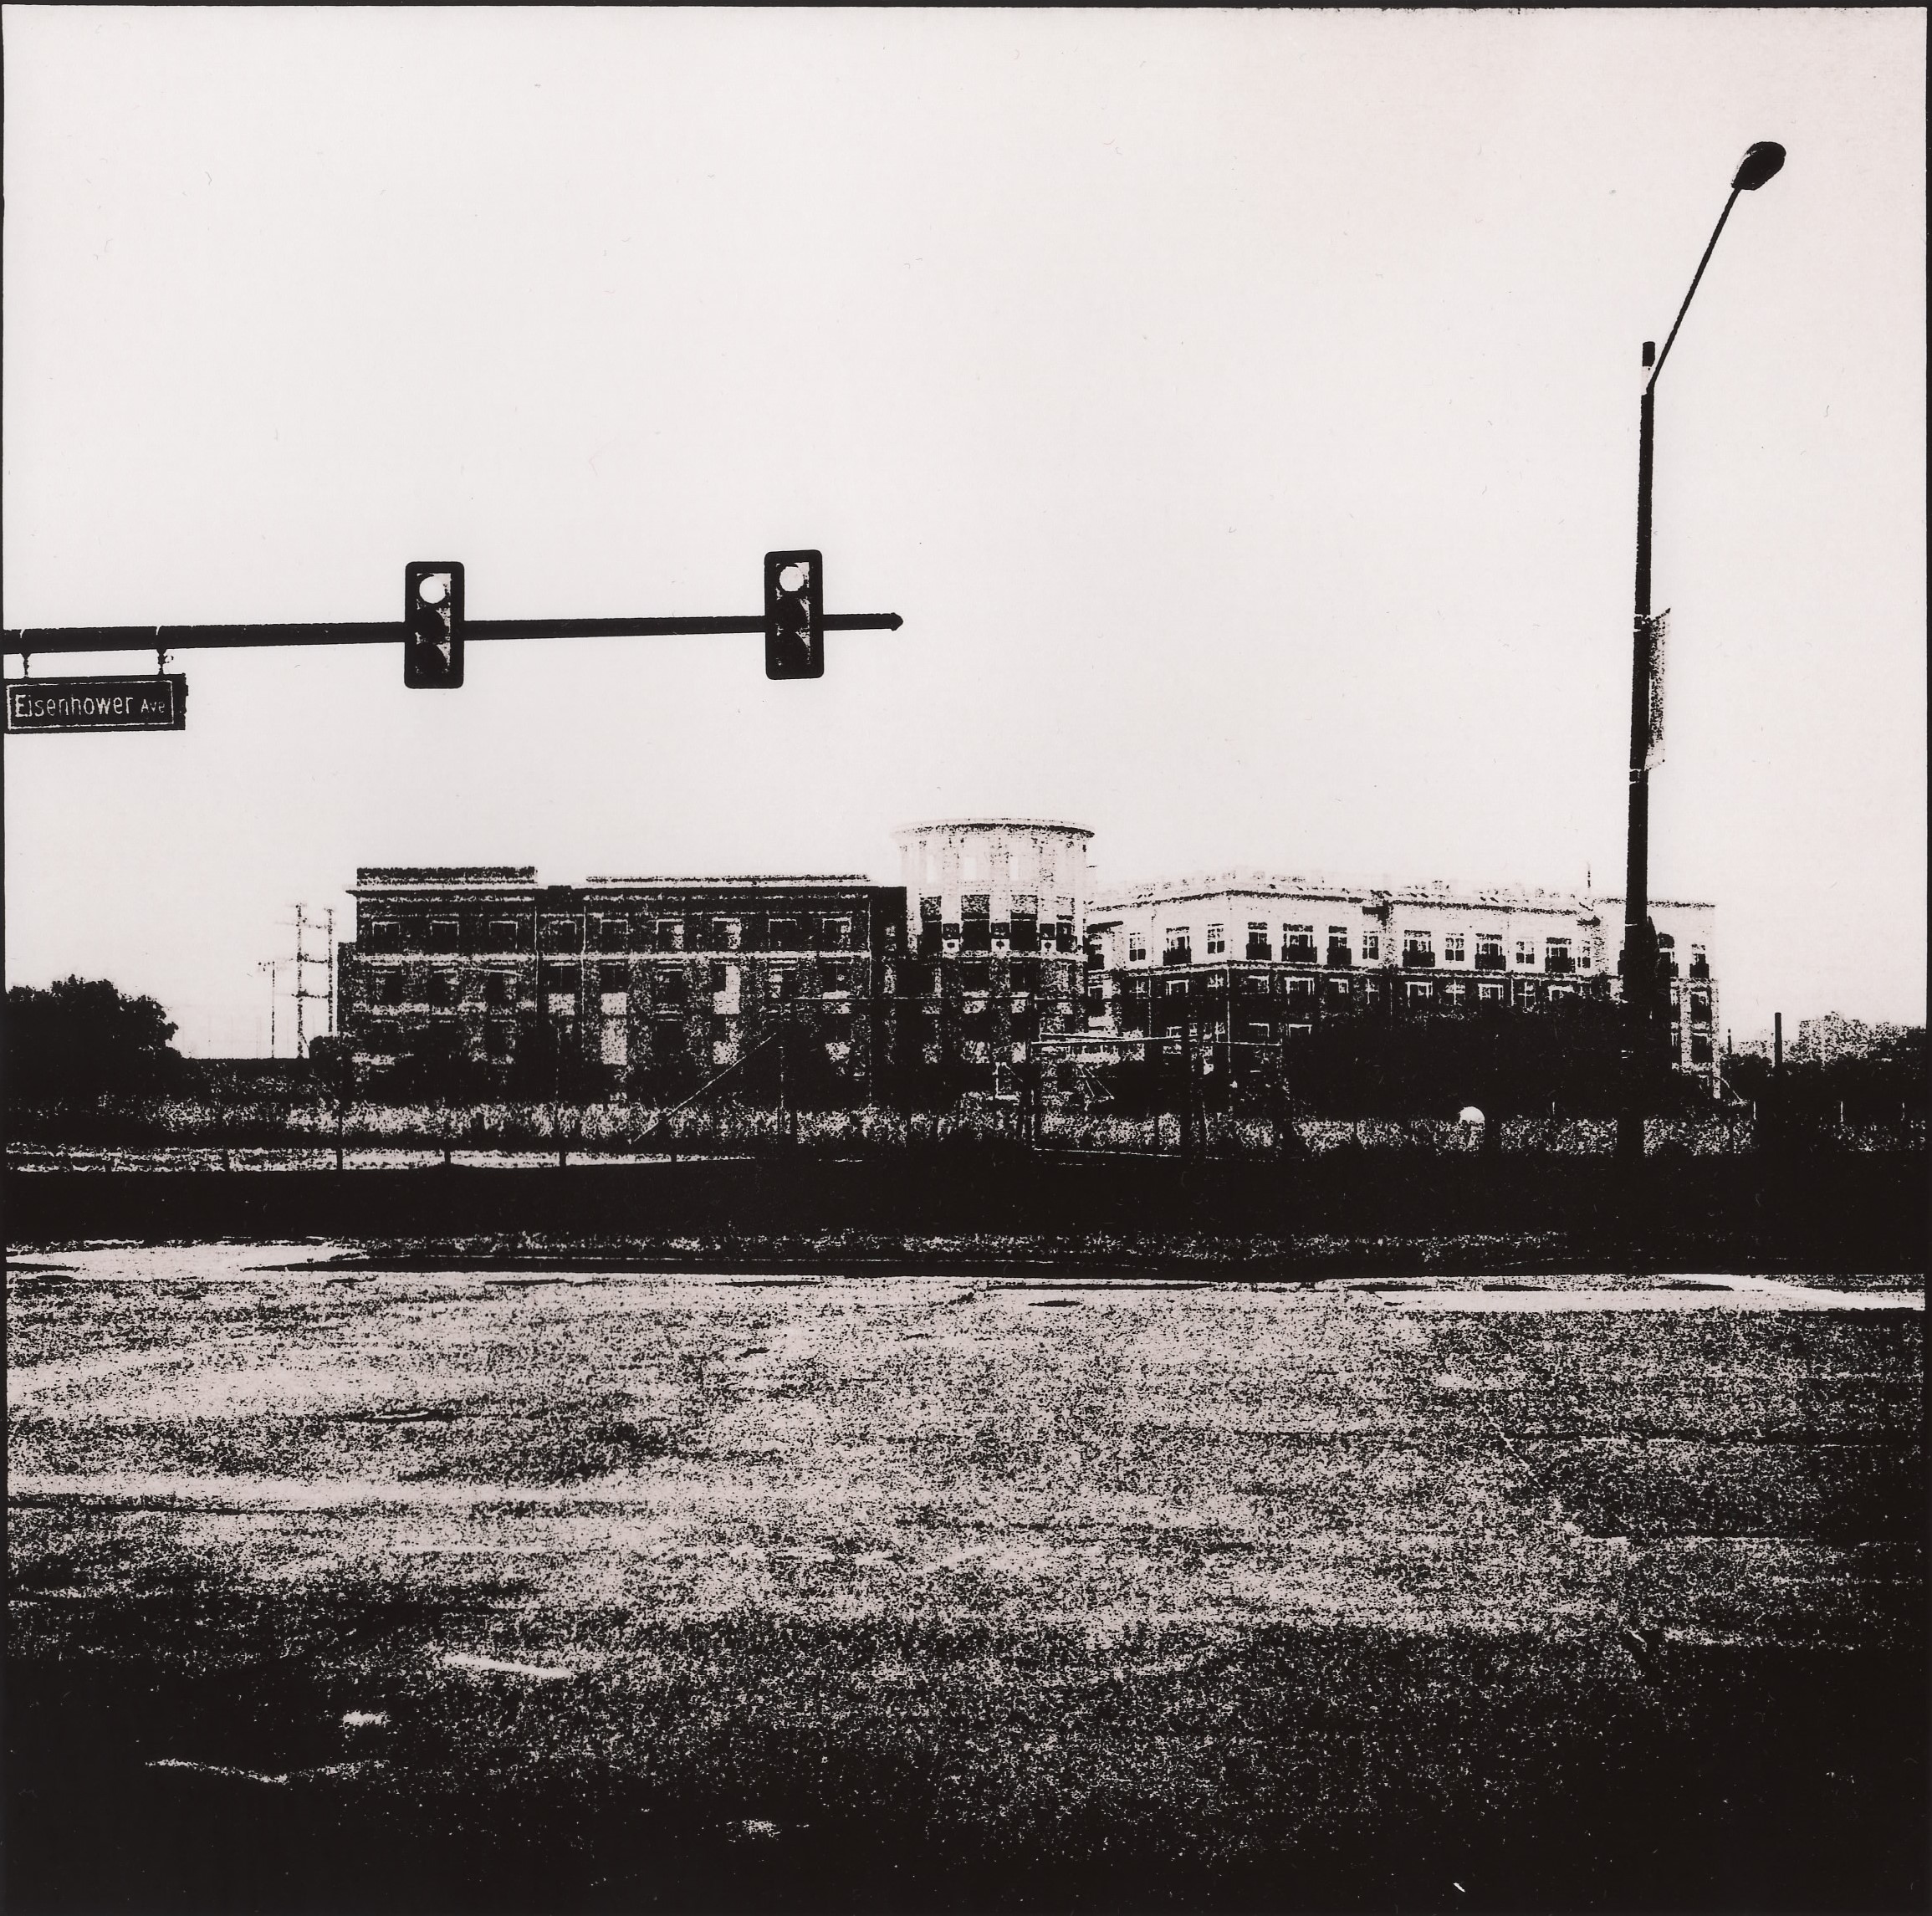
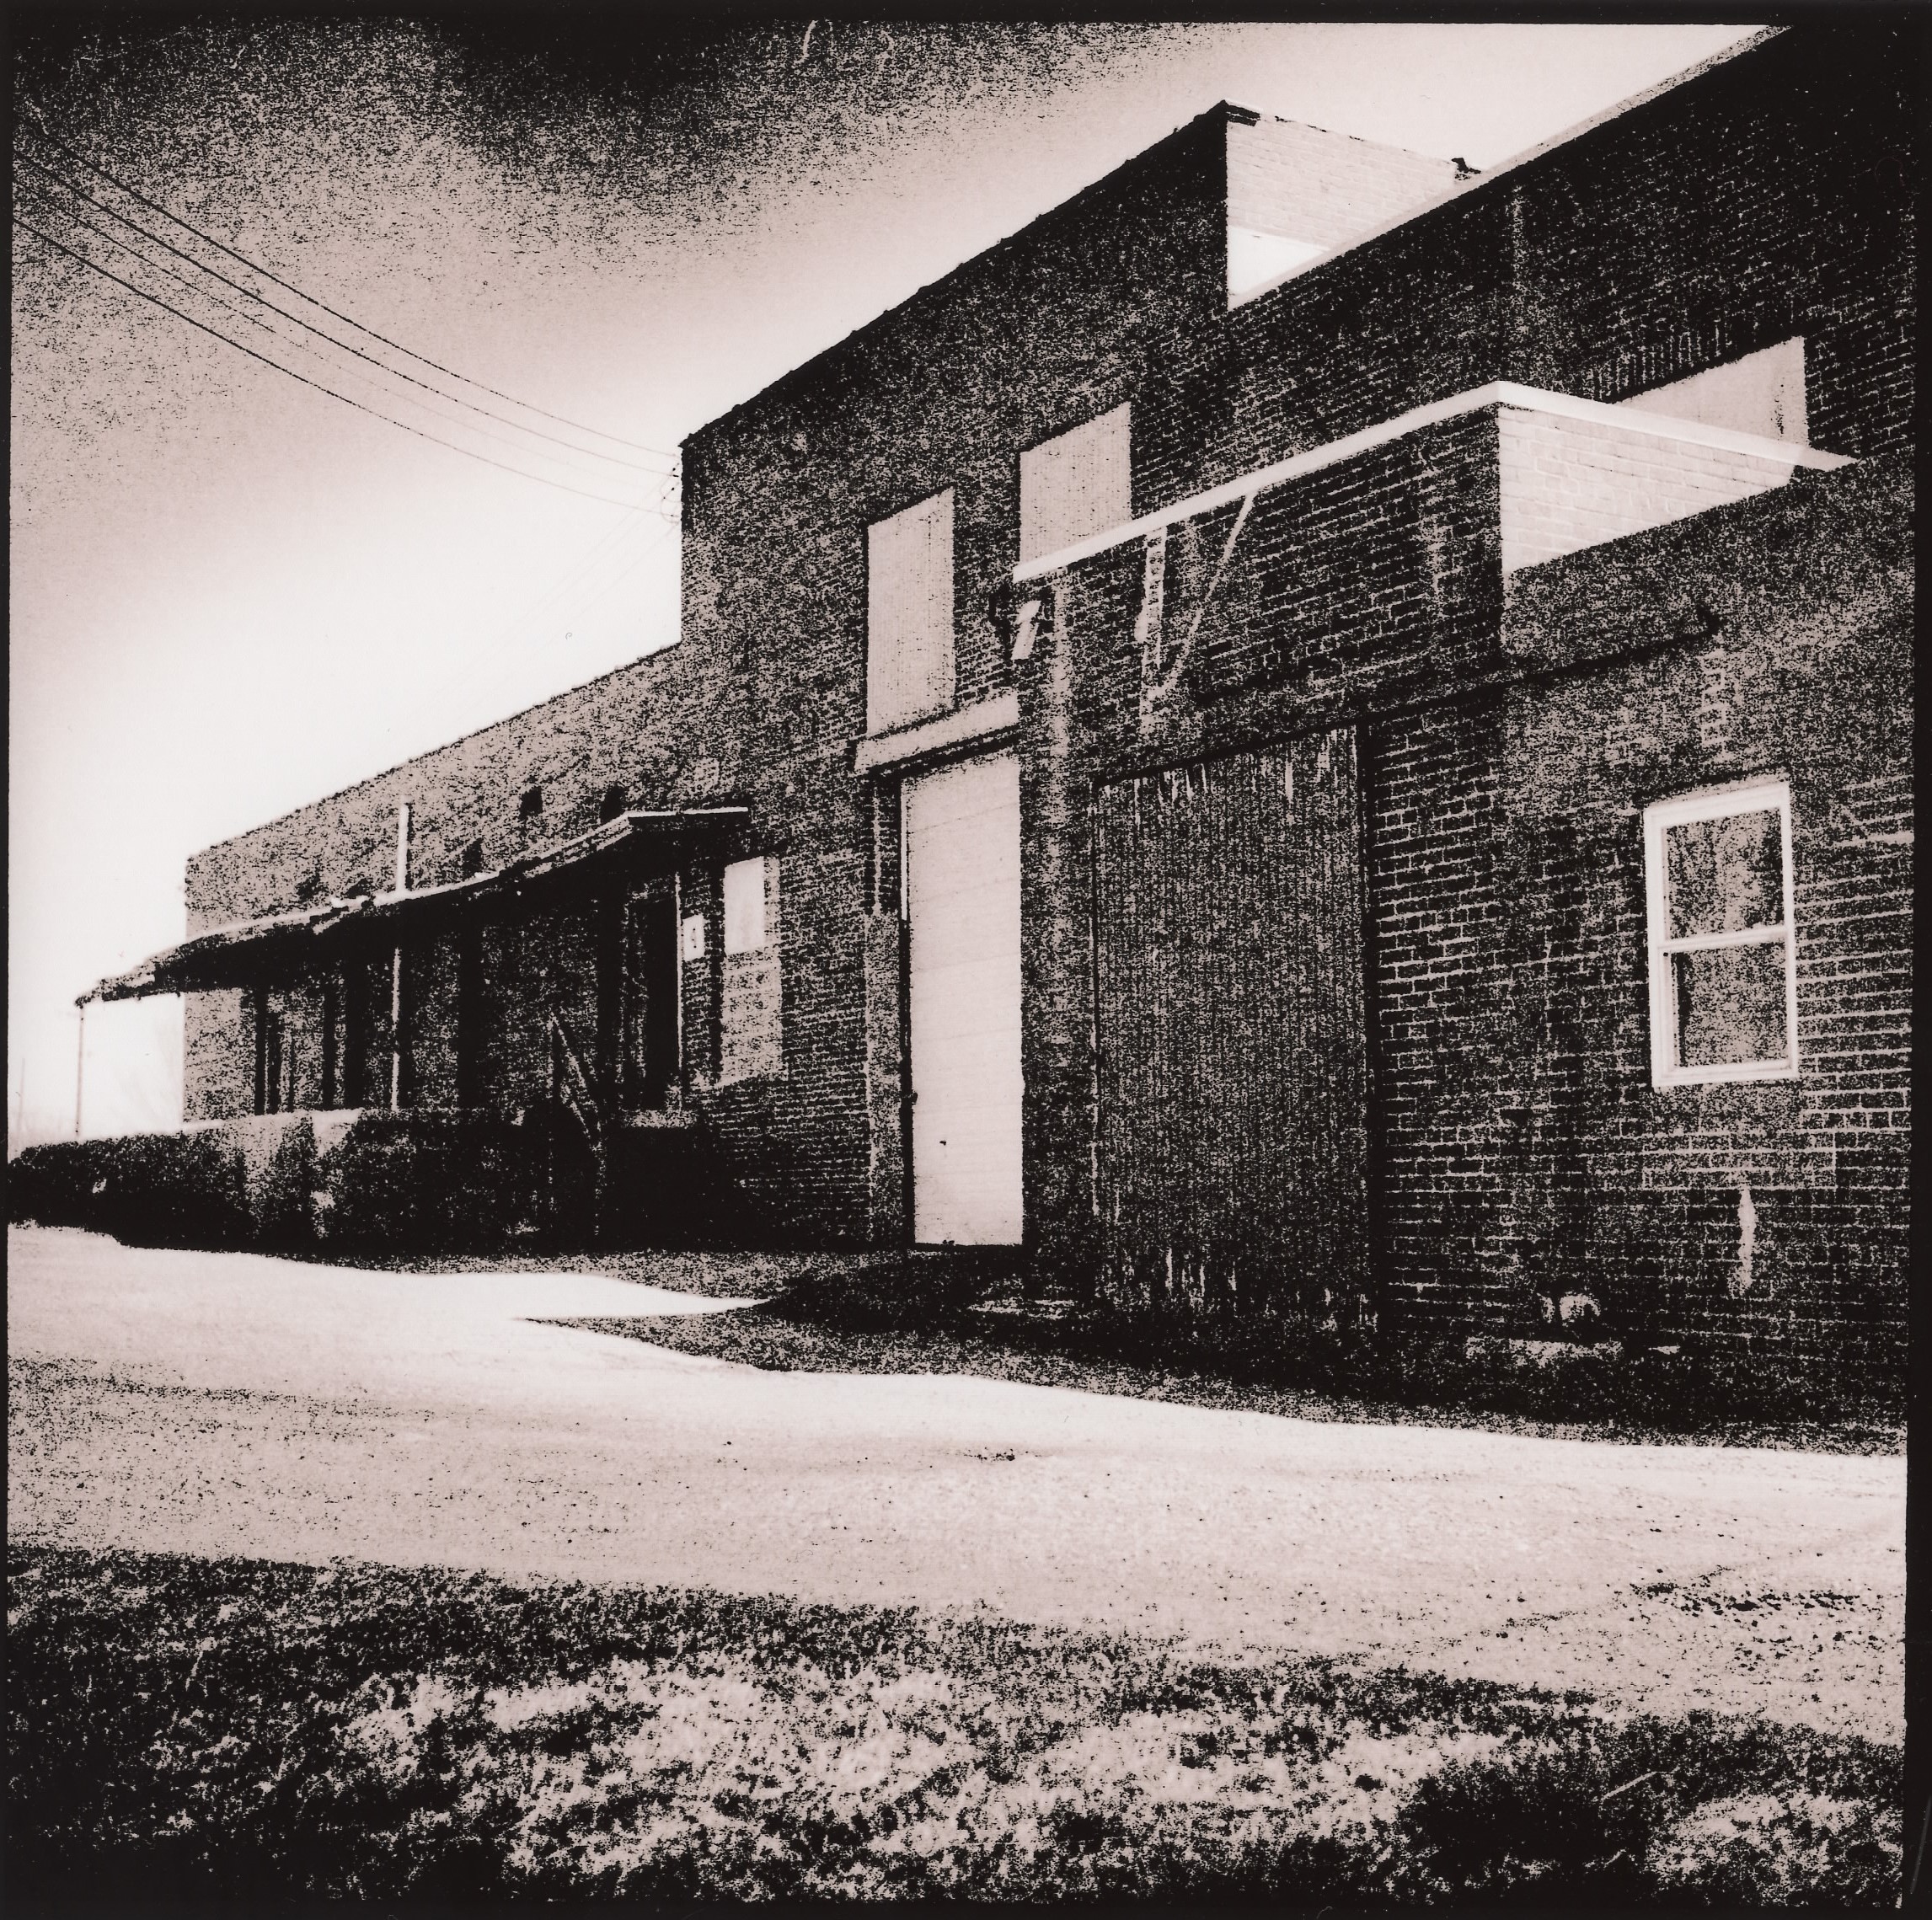
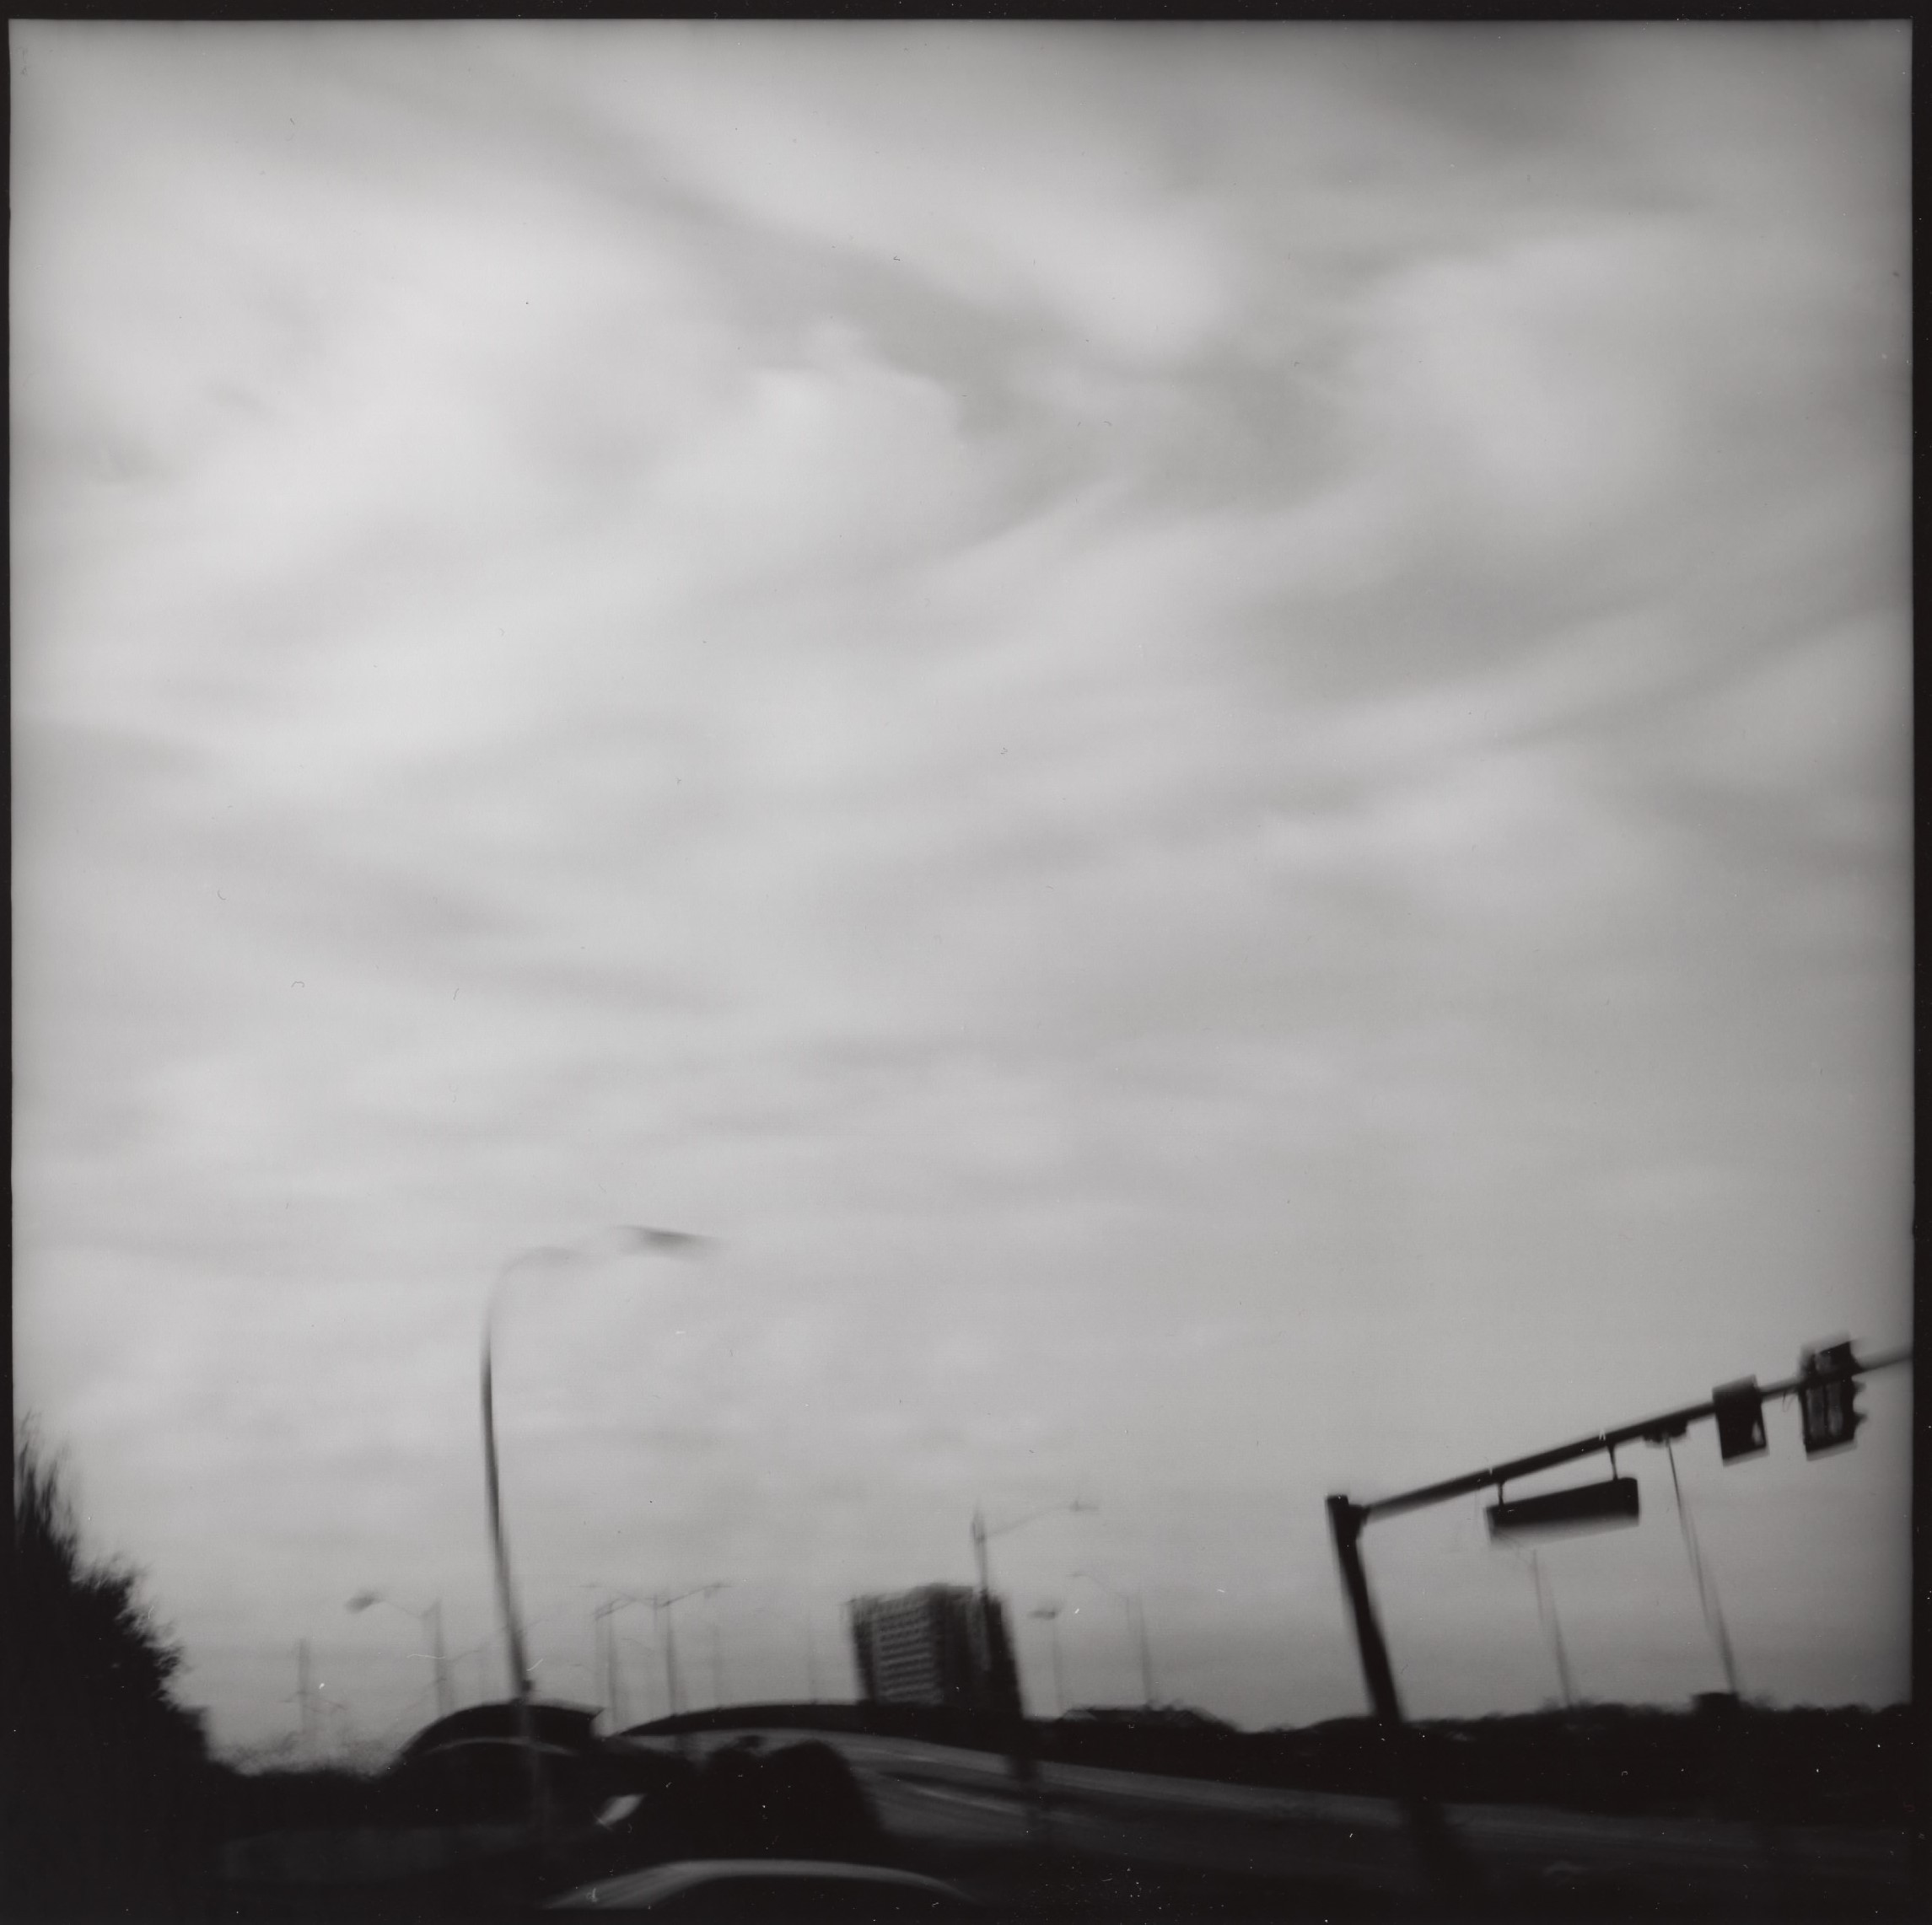
Exurbs
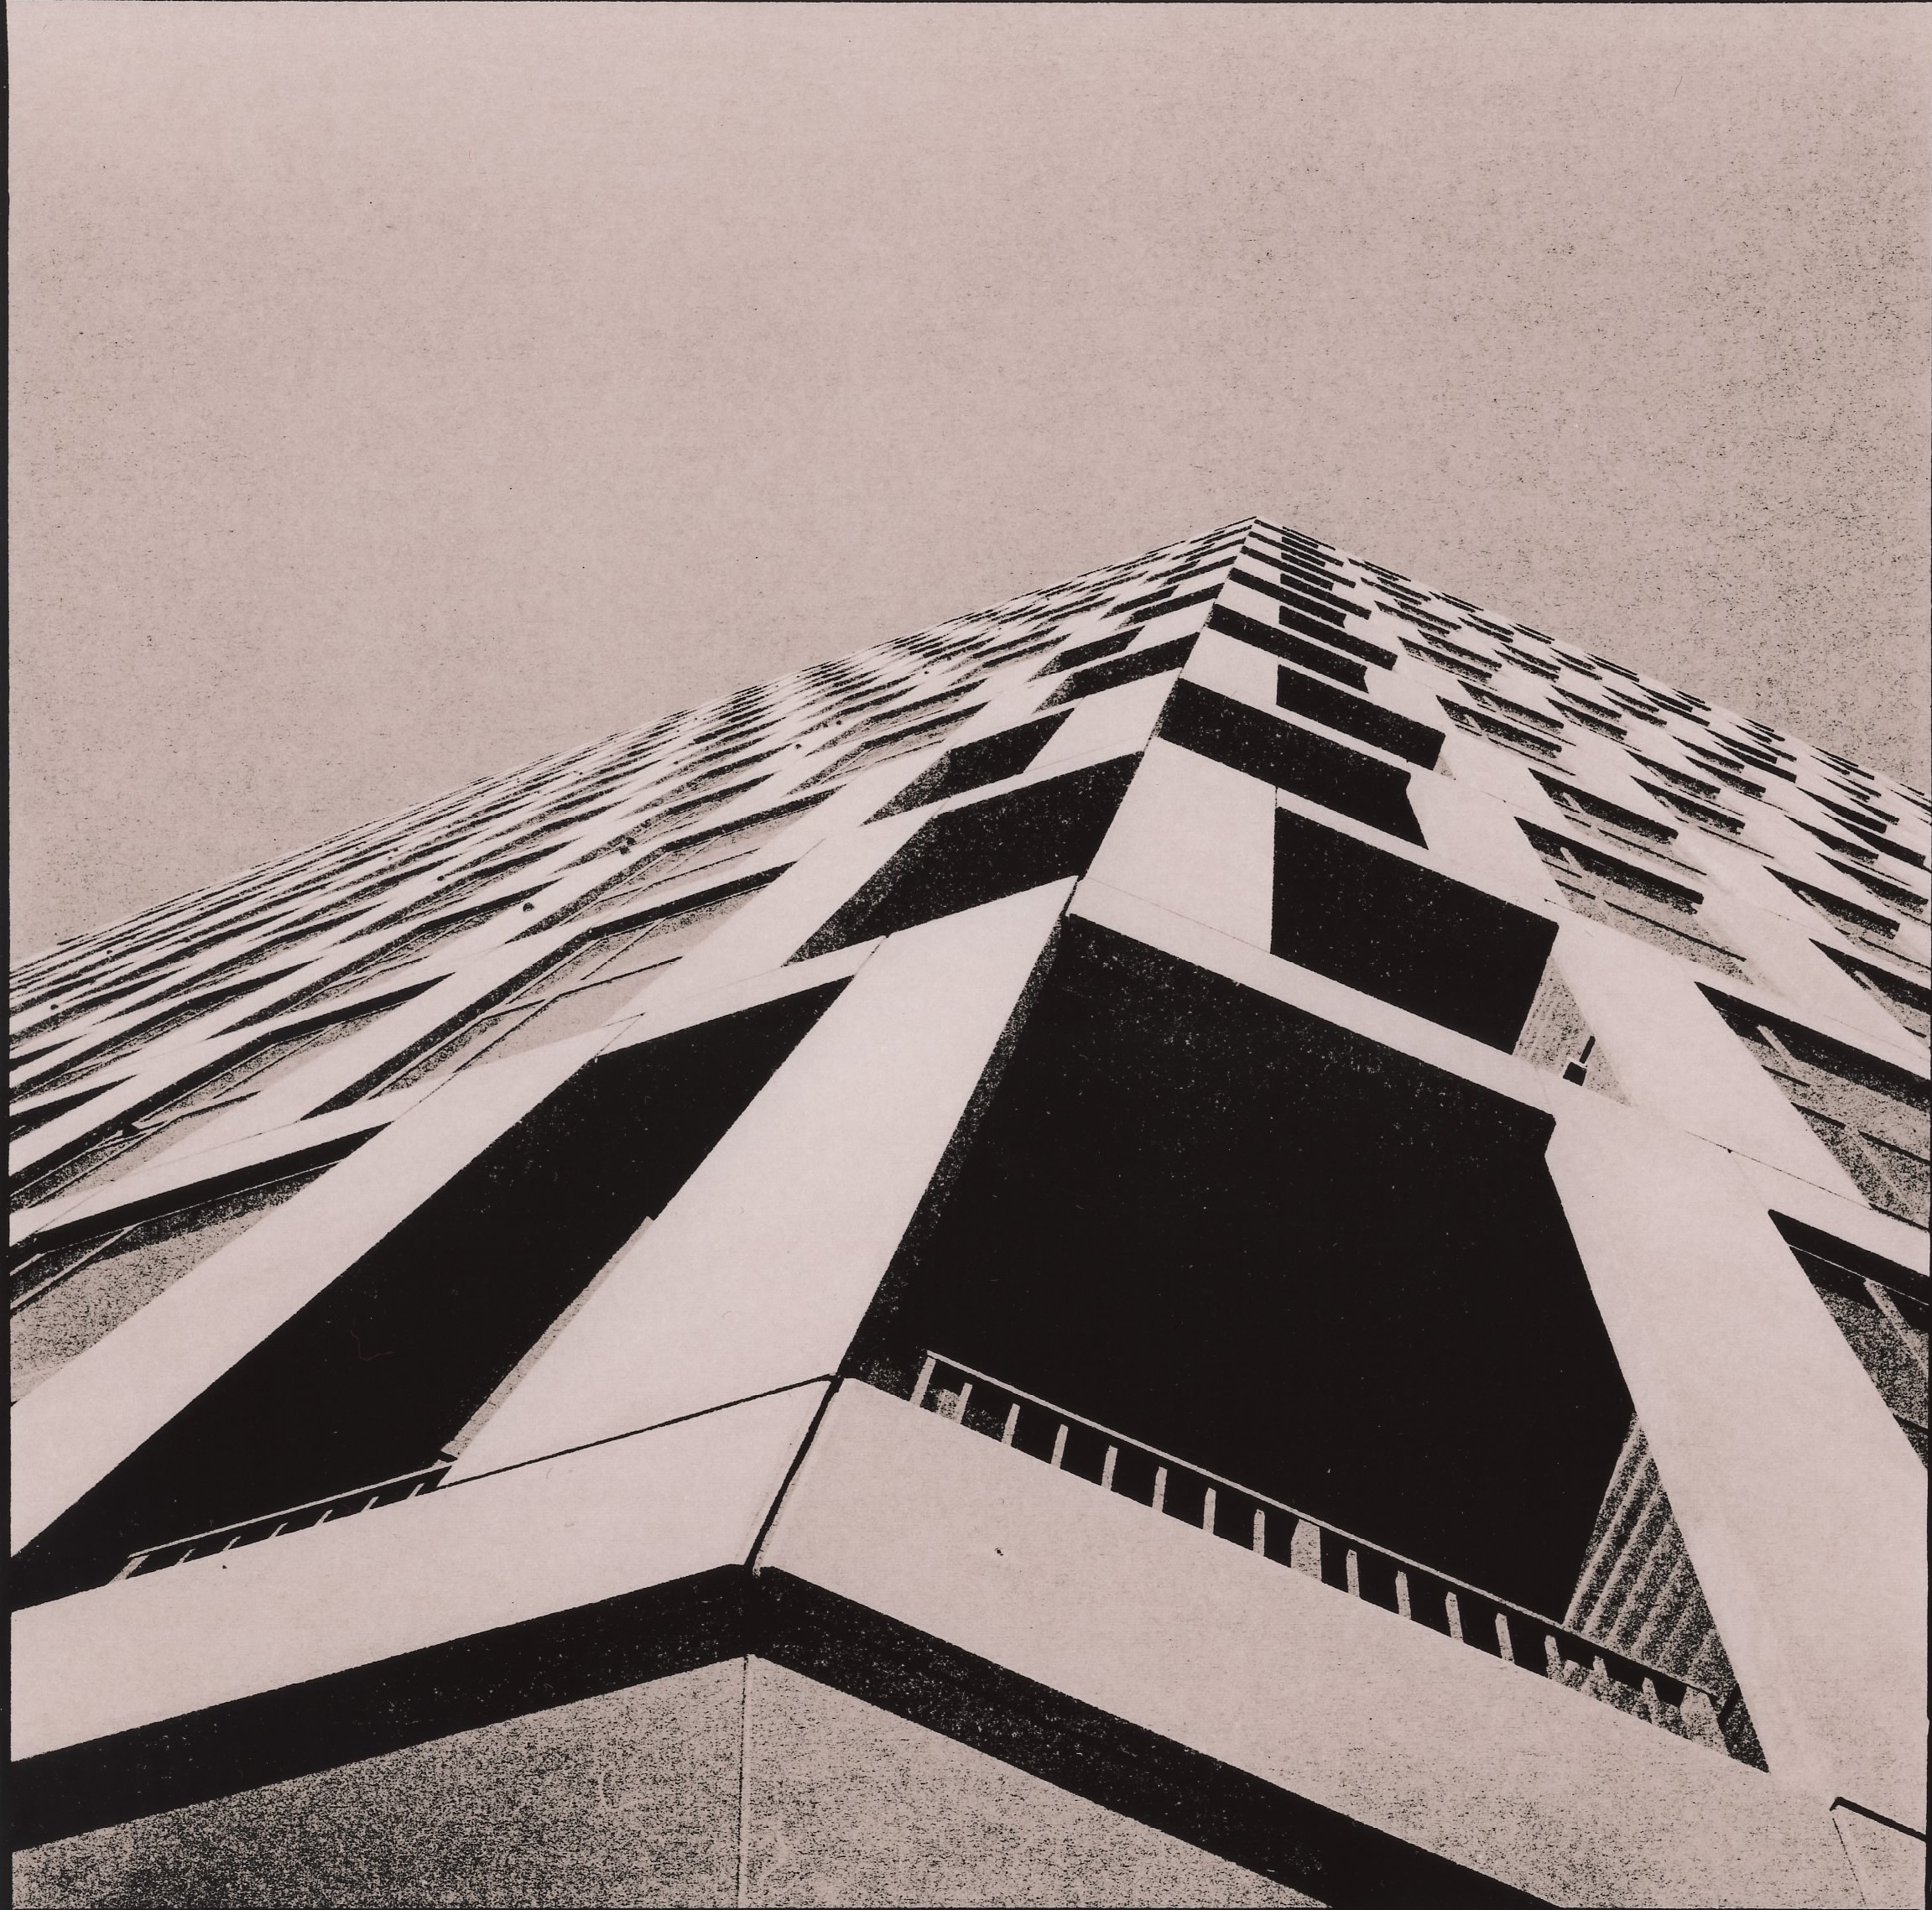
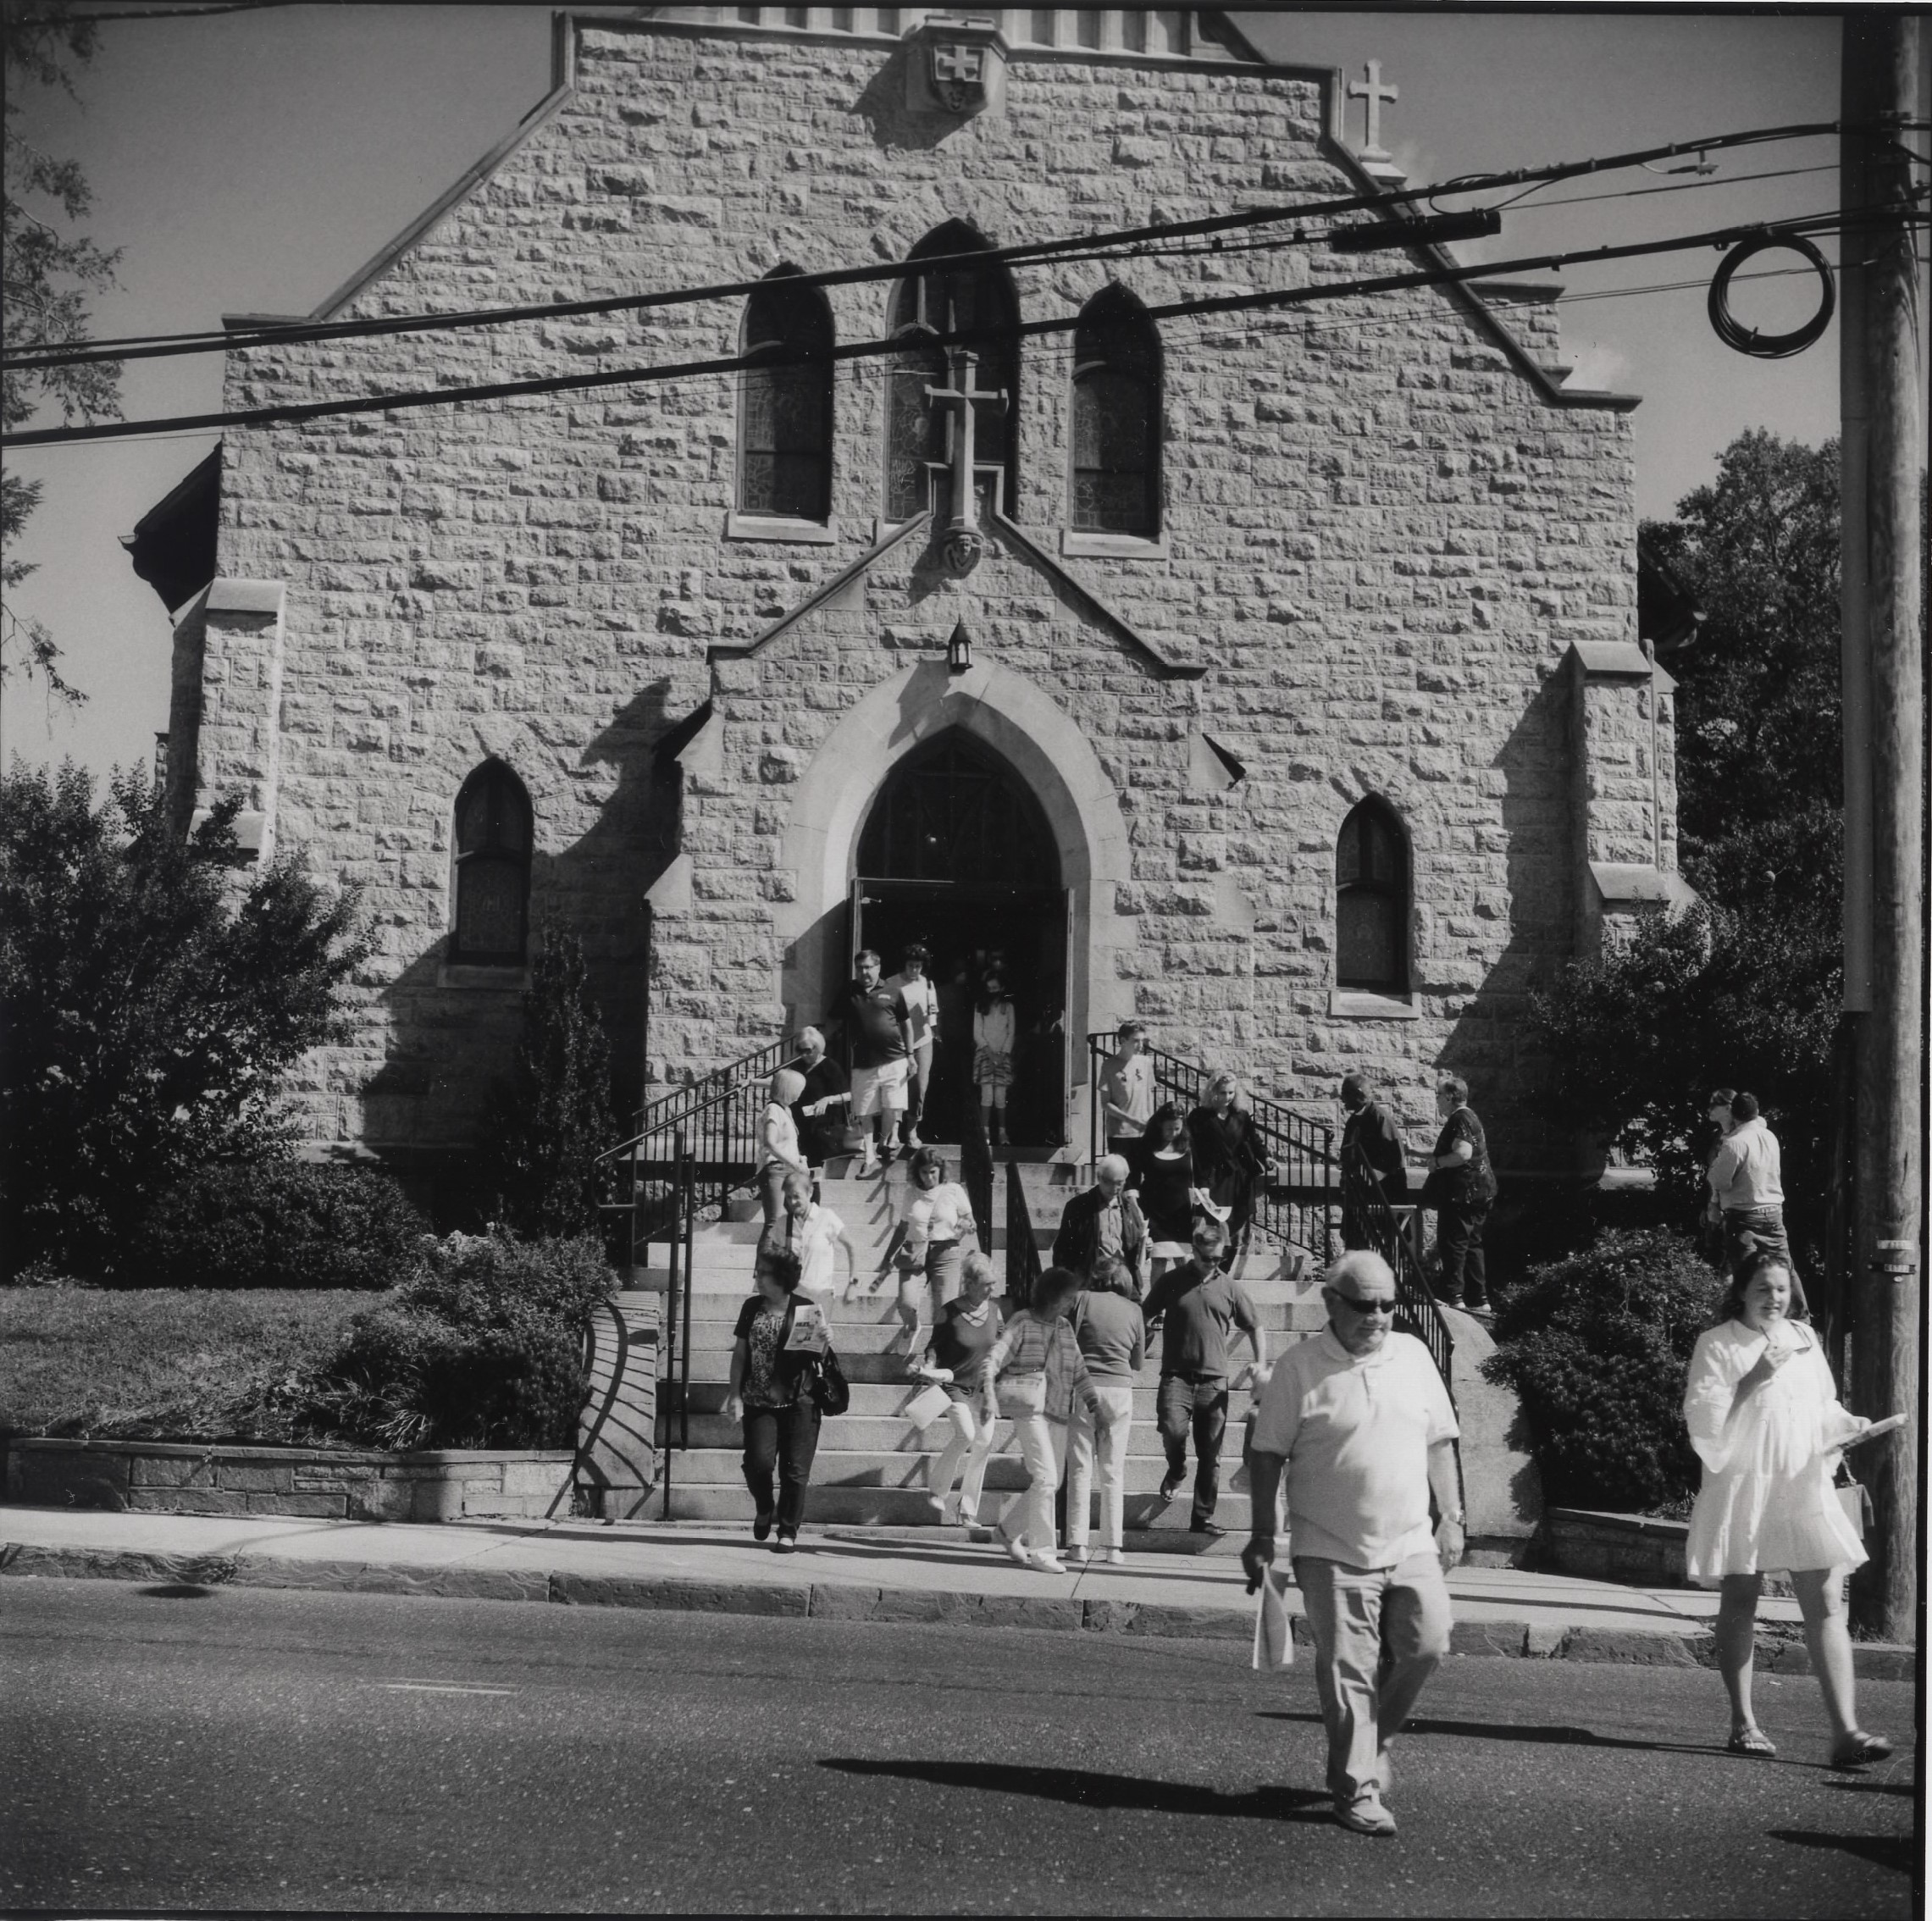
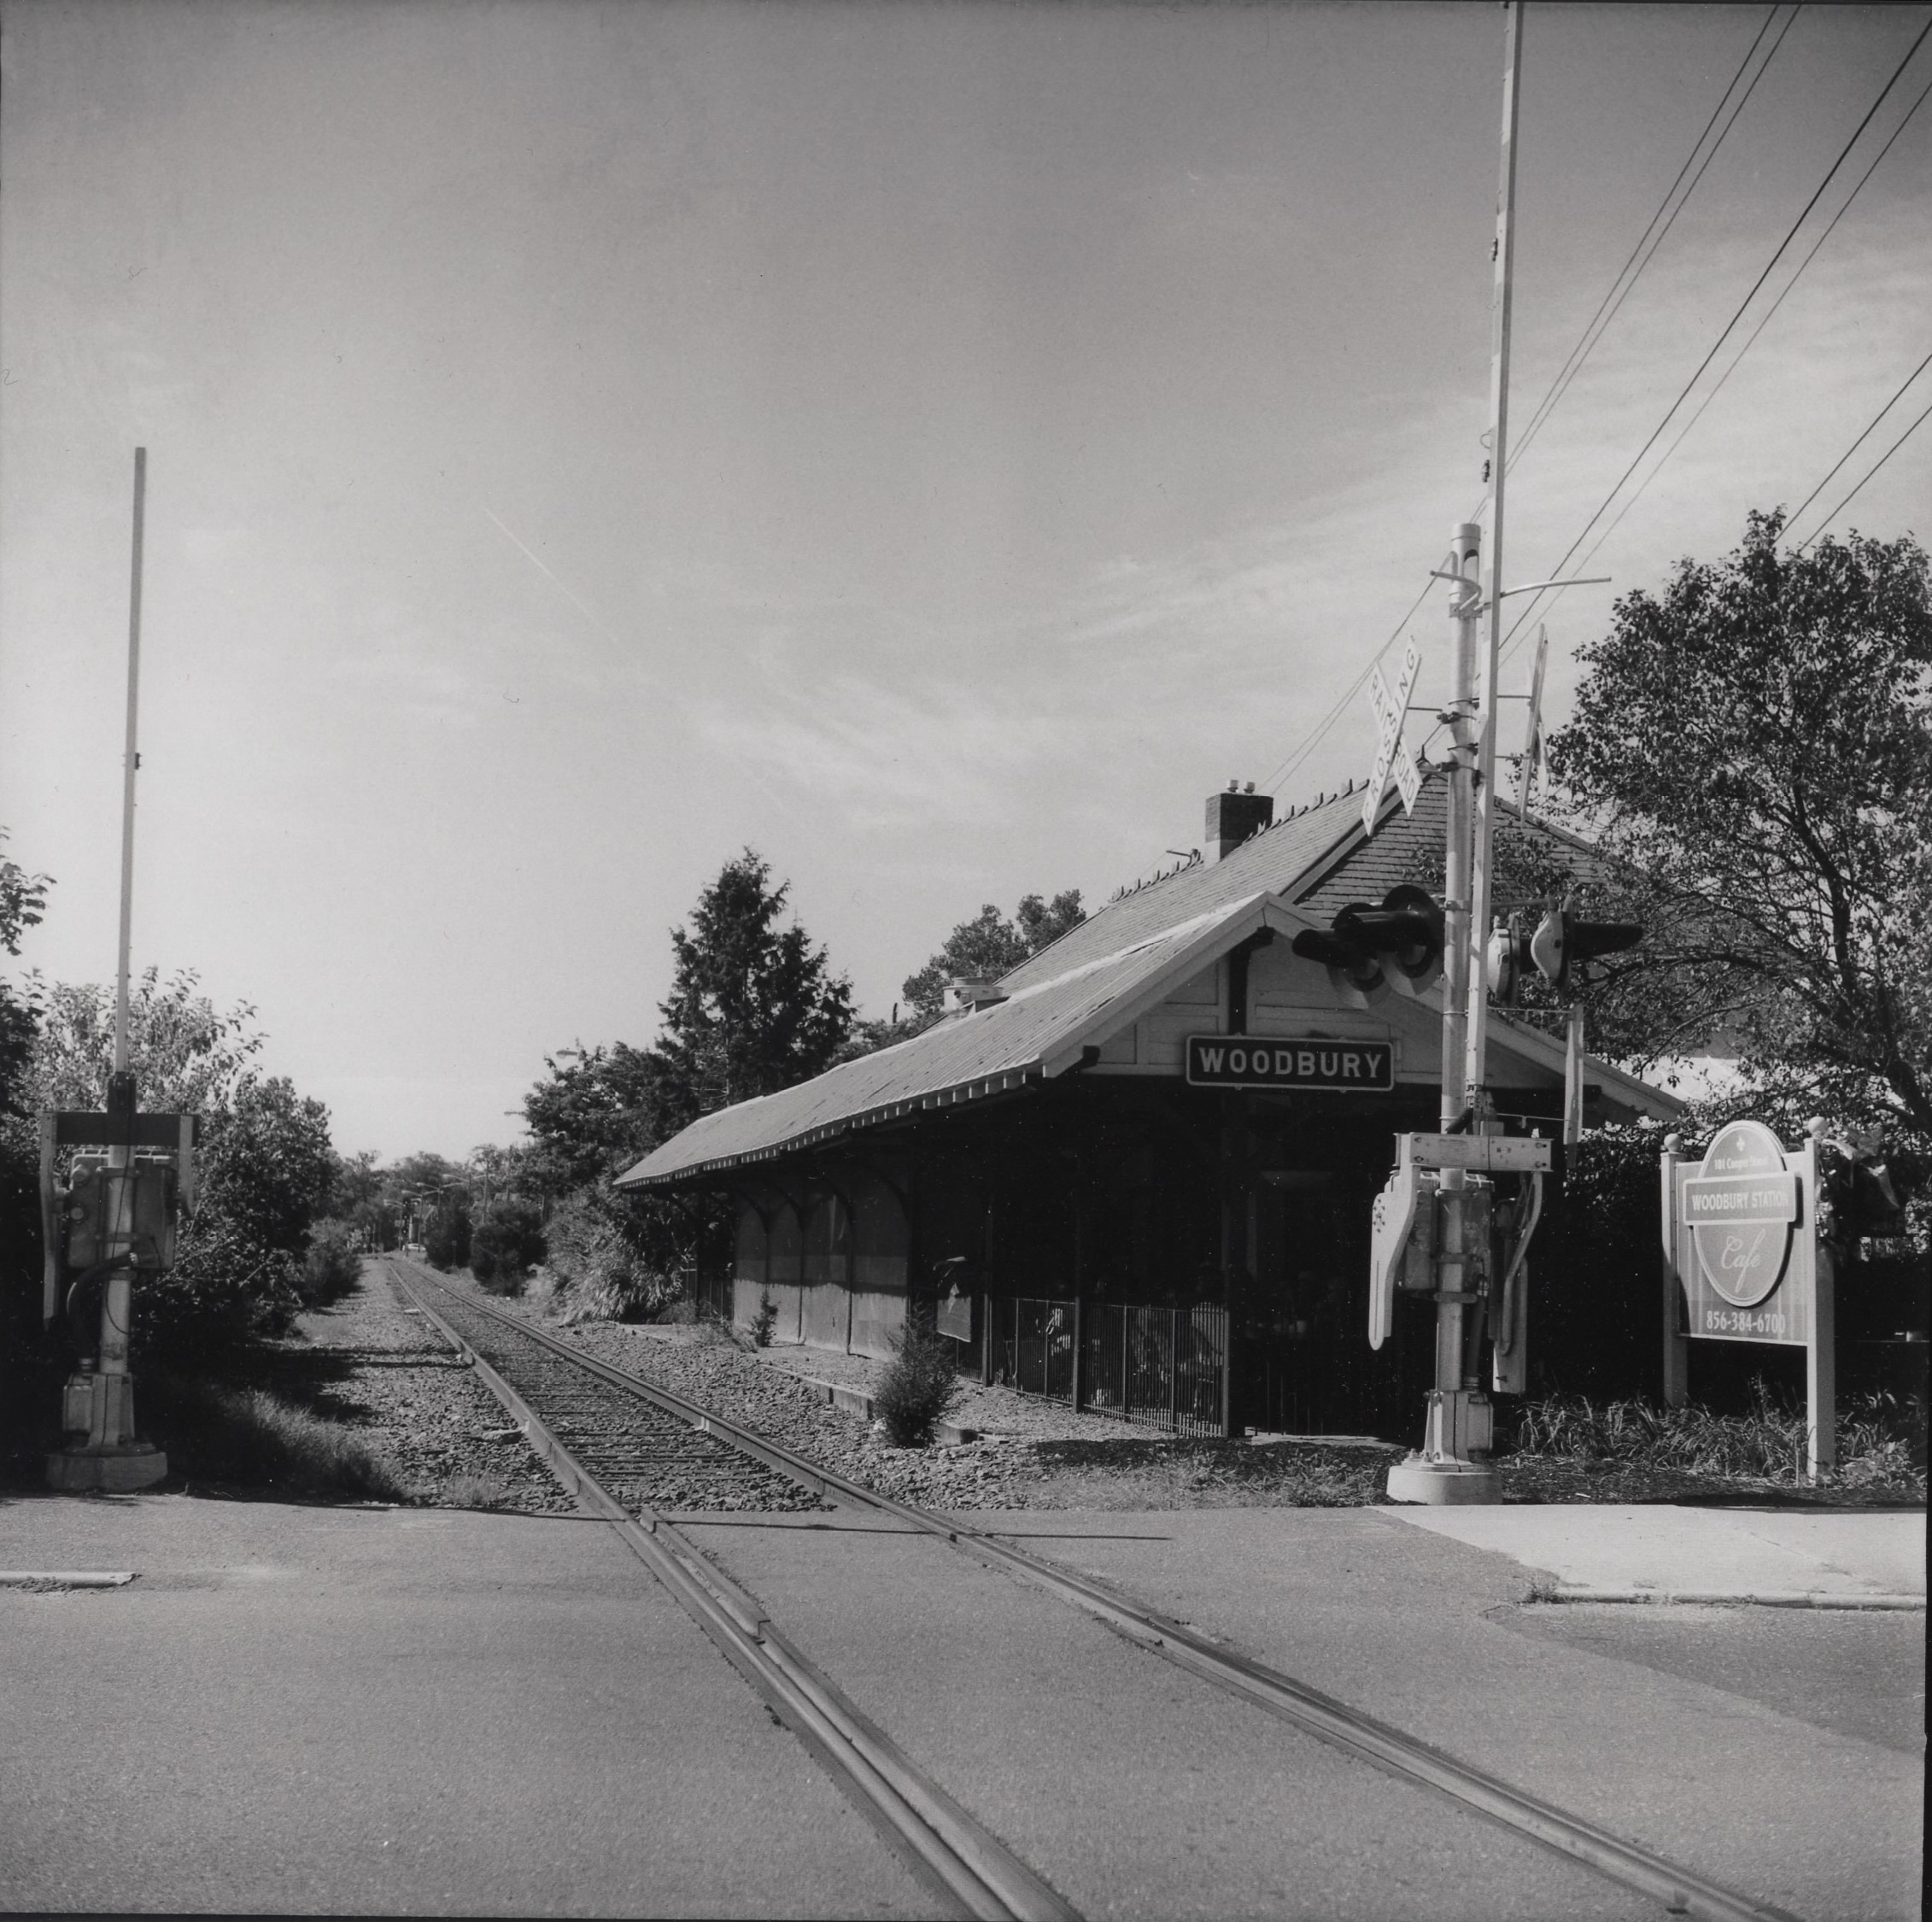
Observations
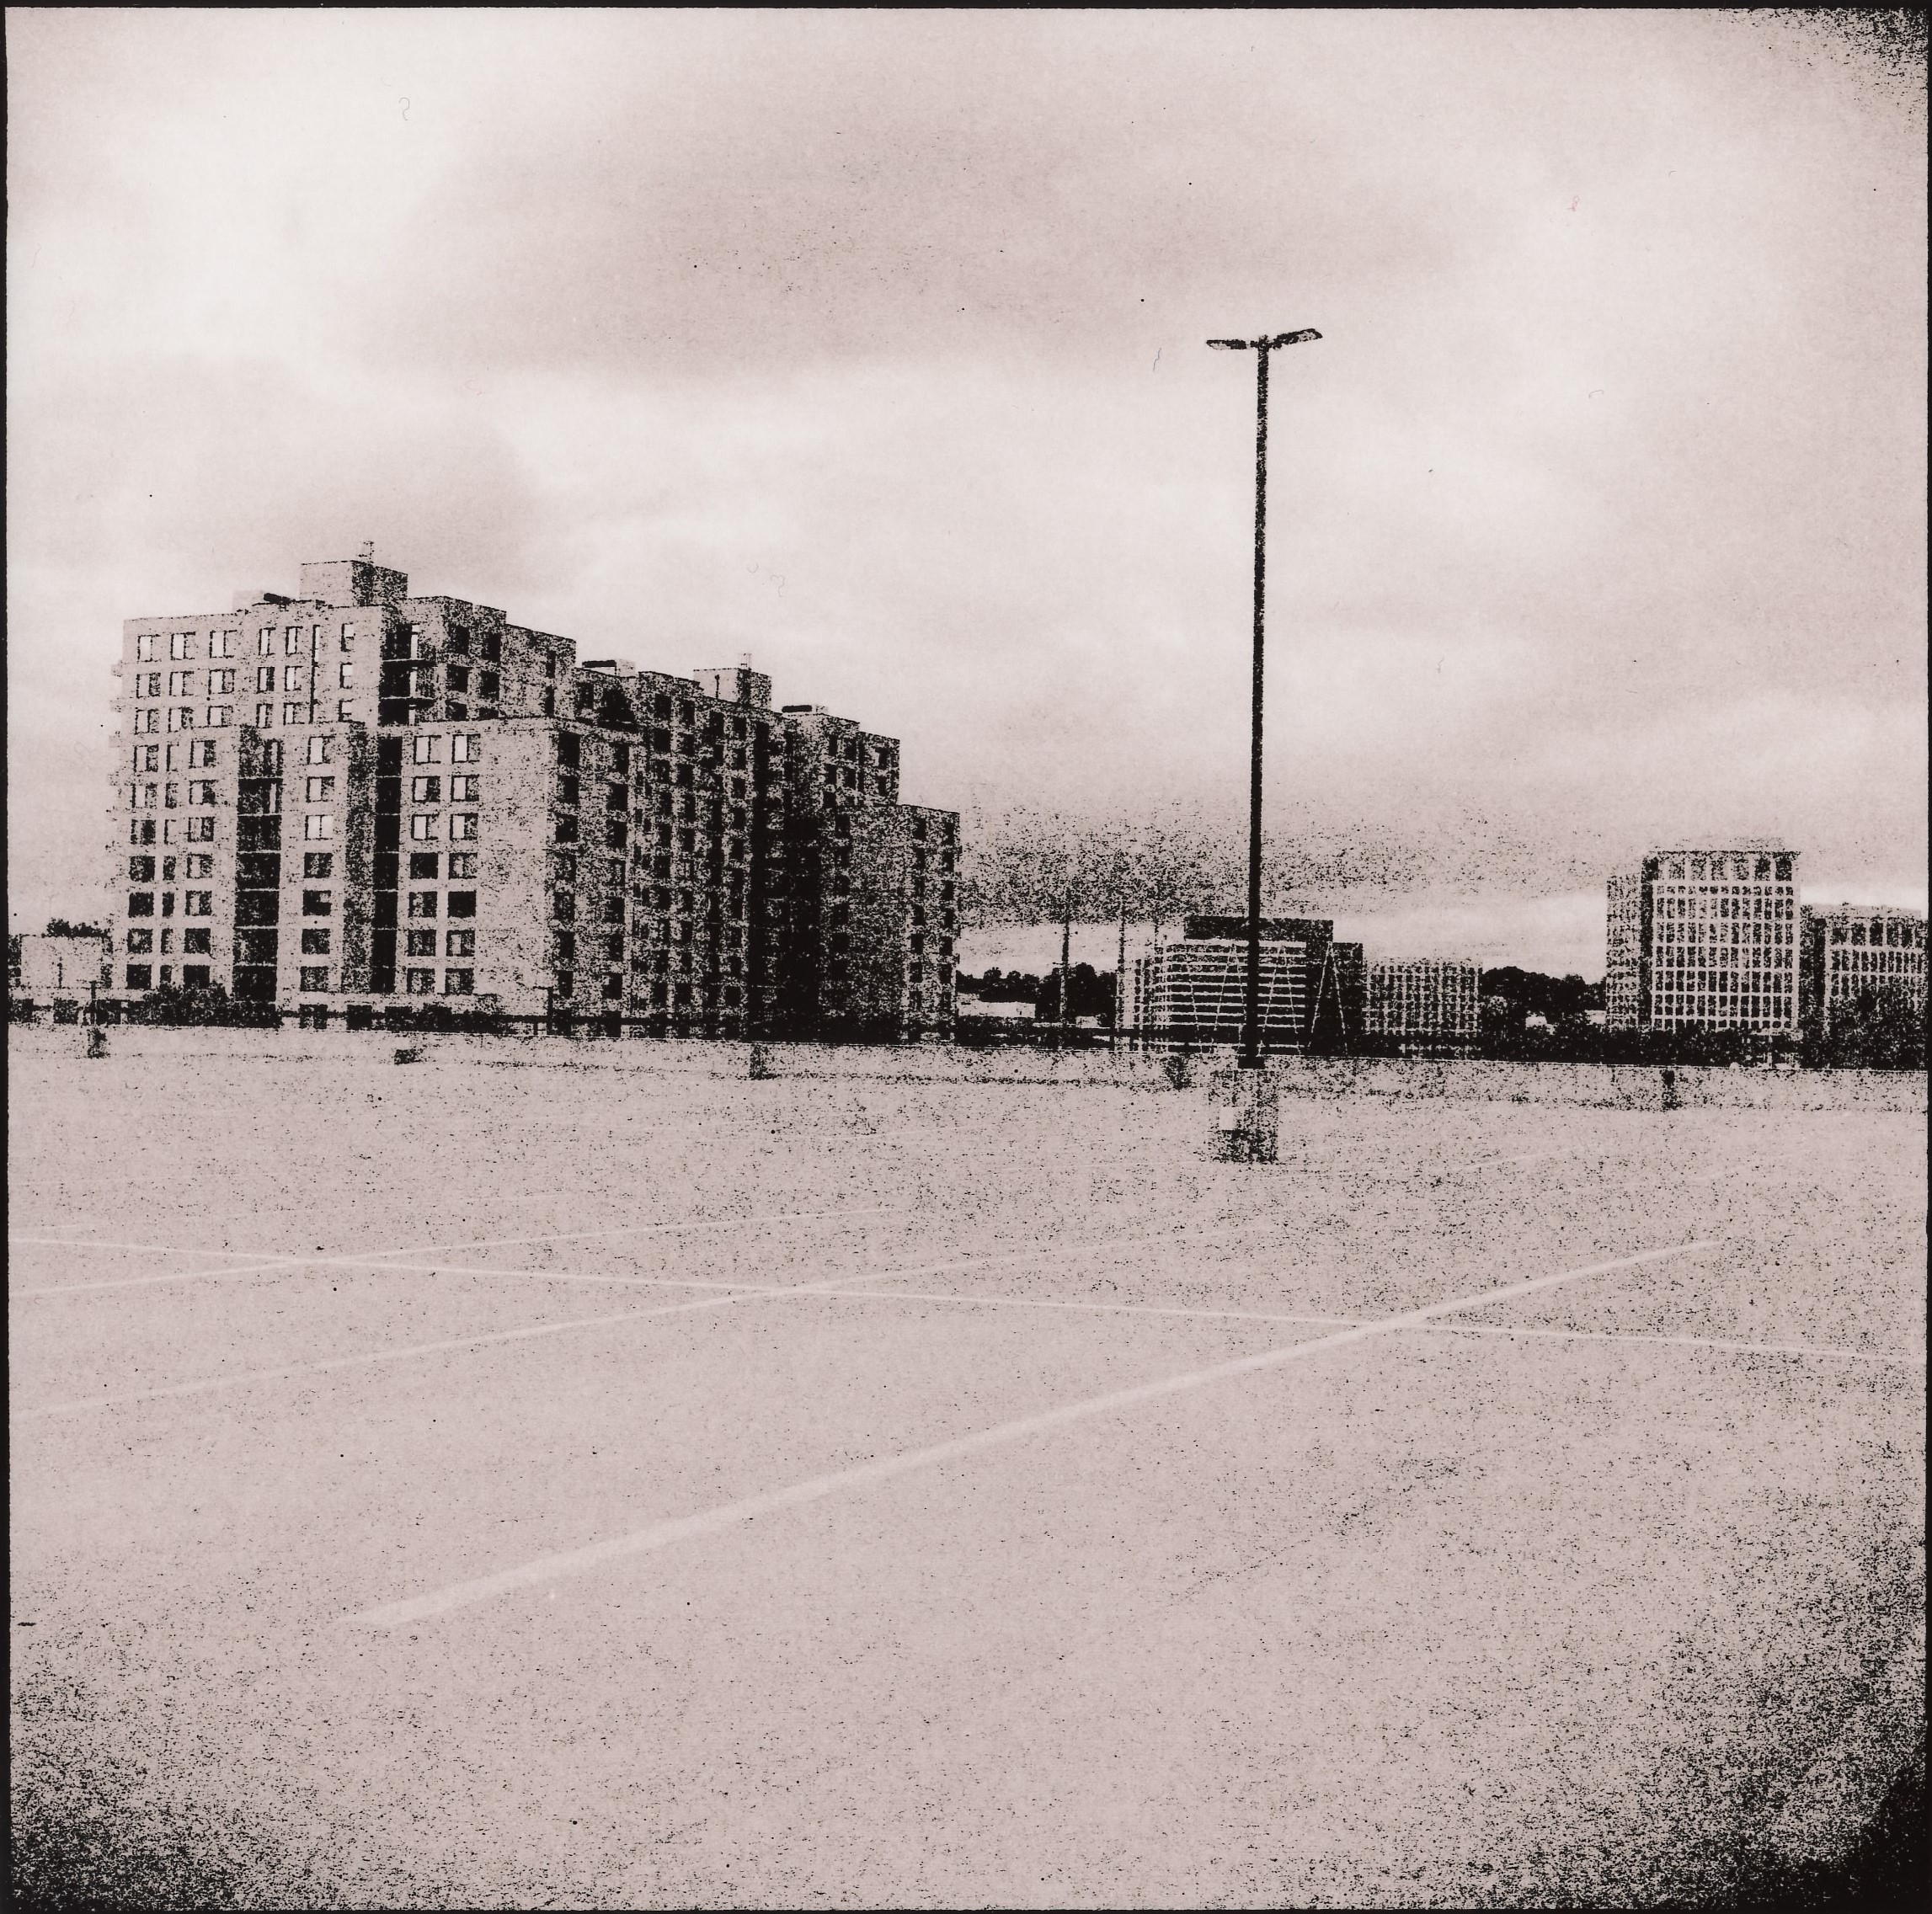
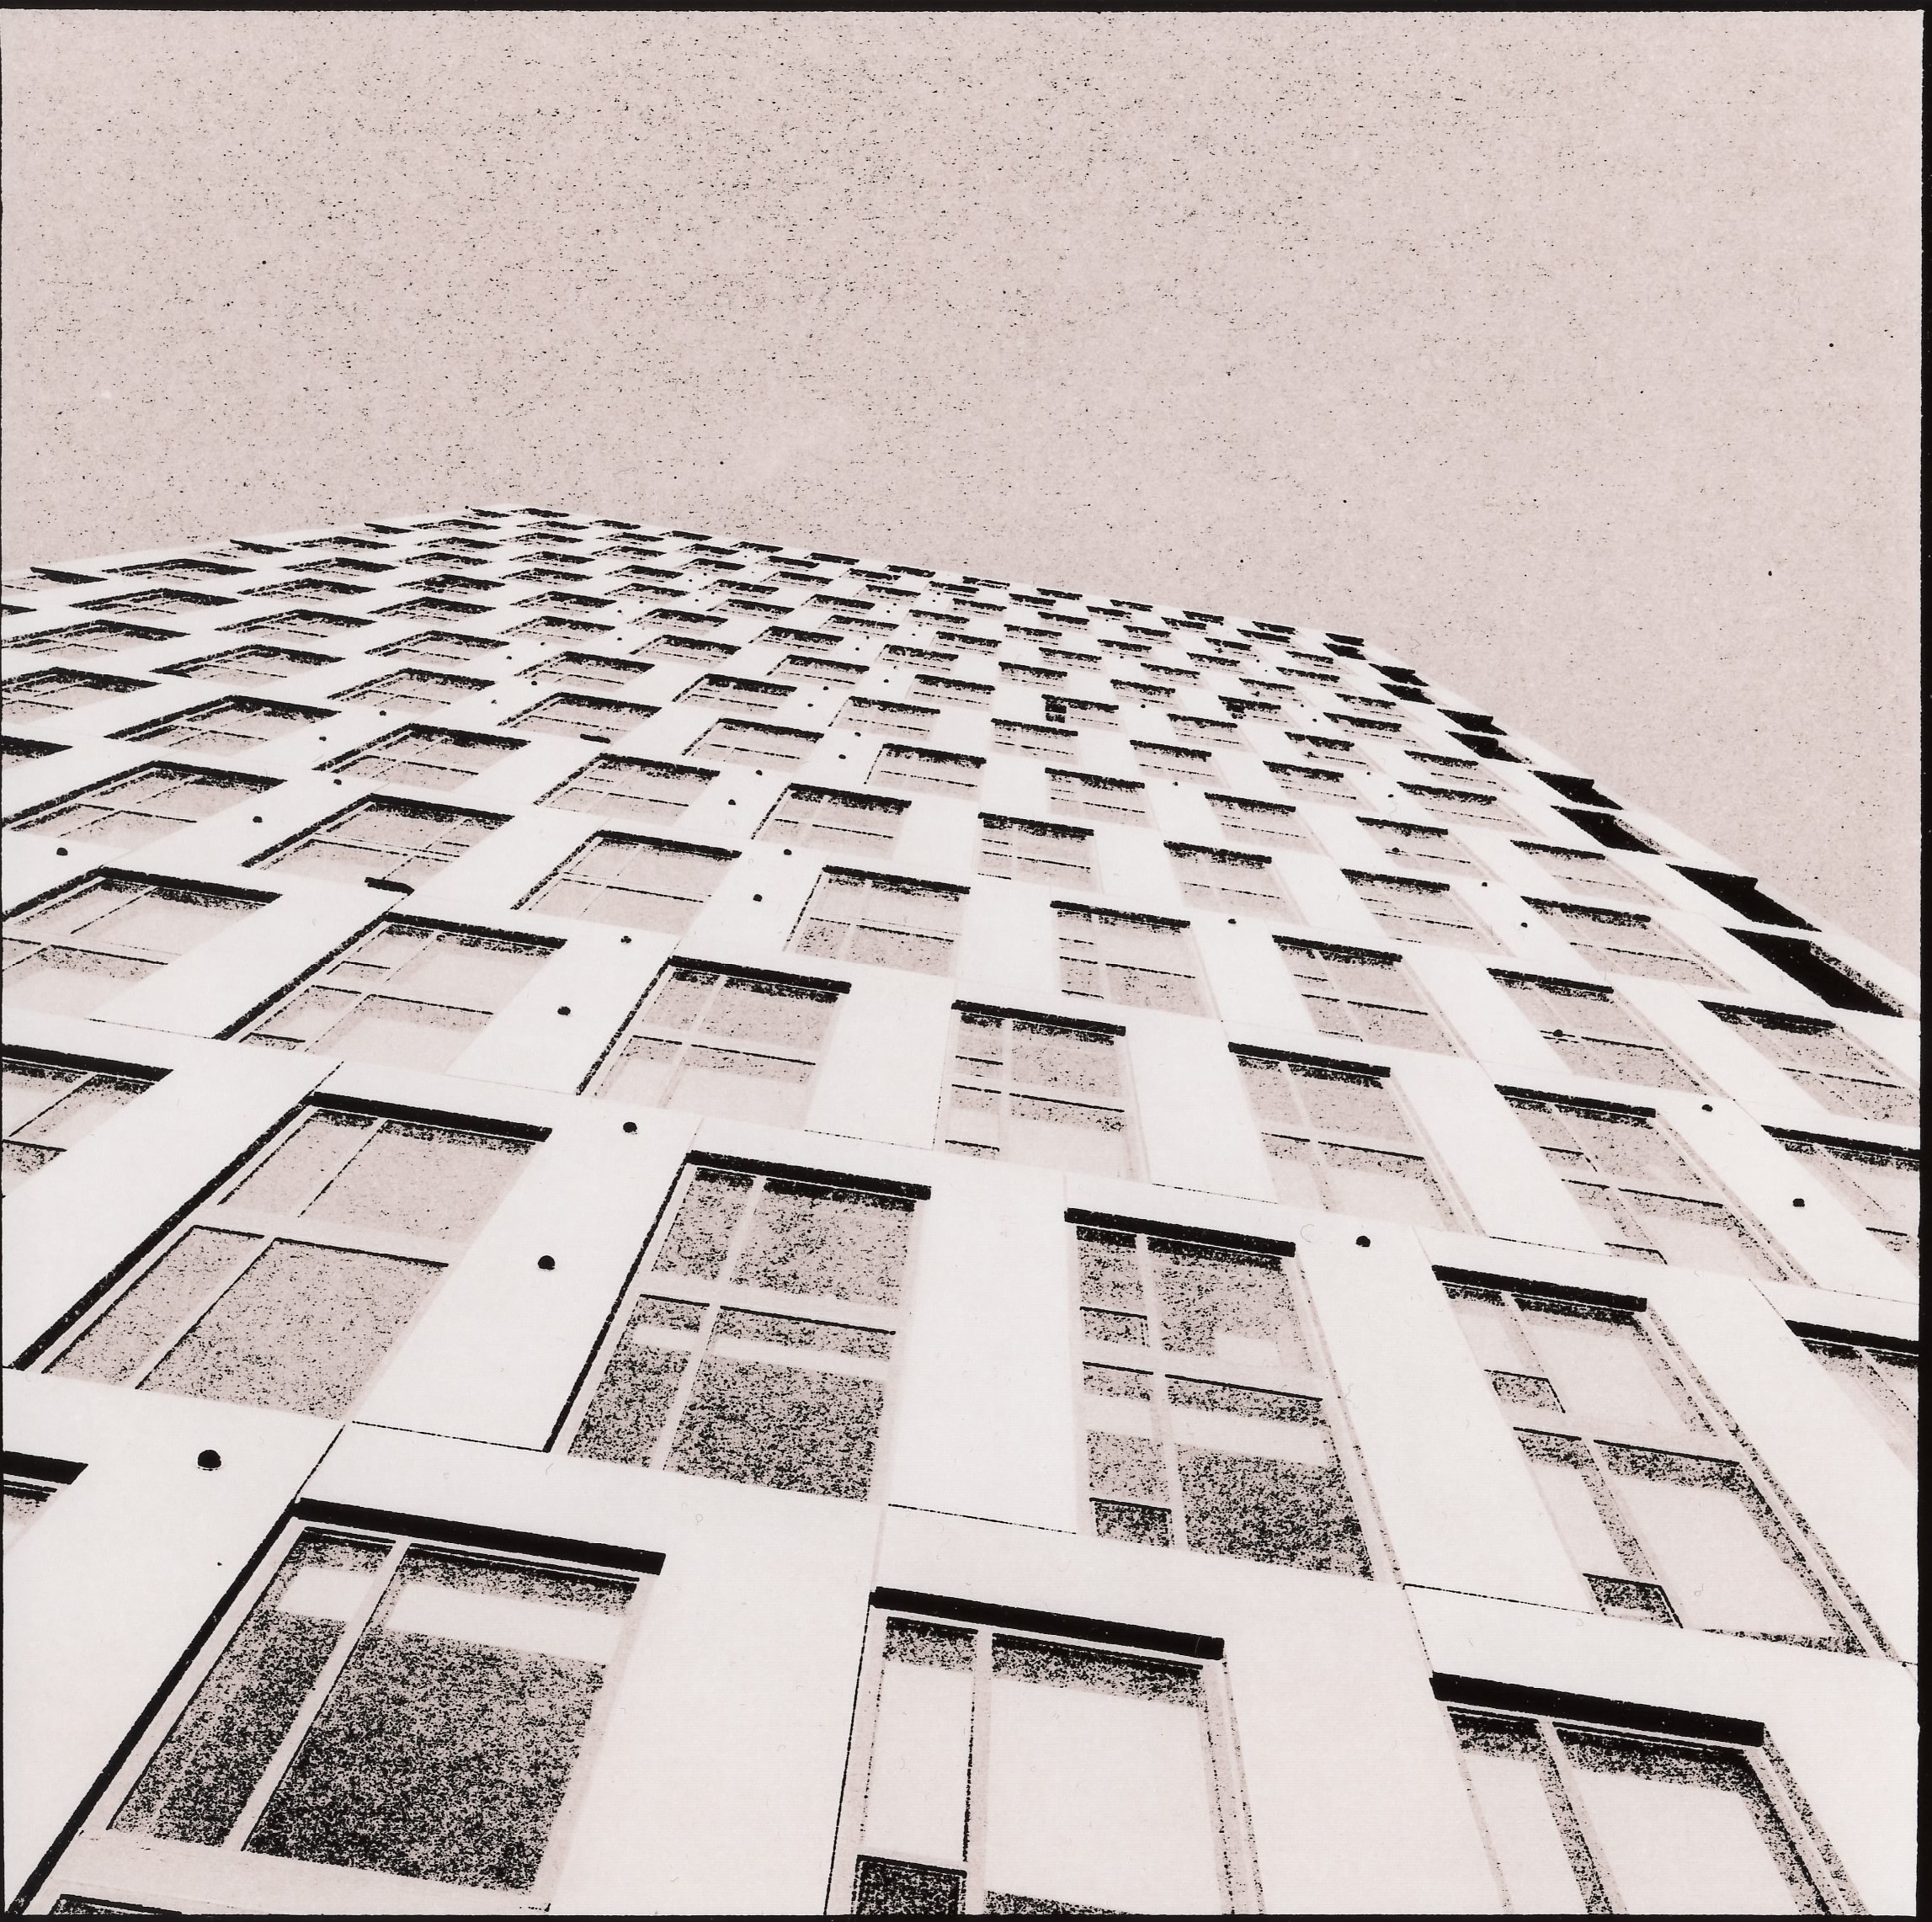
Suburbs
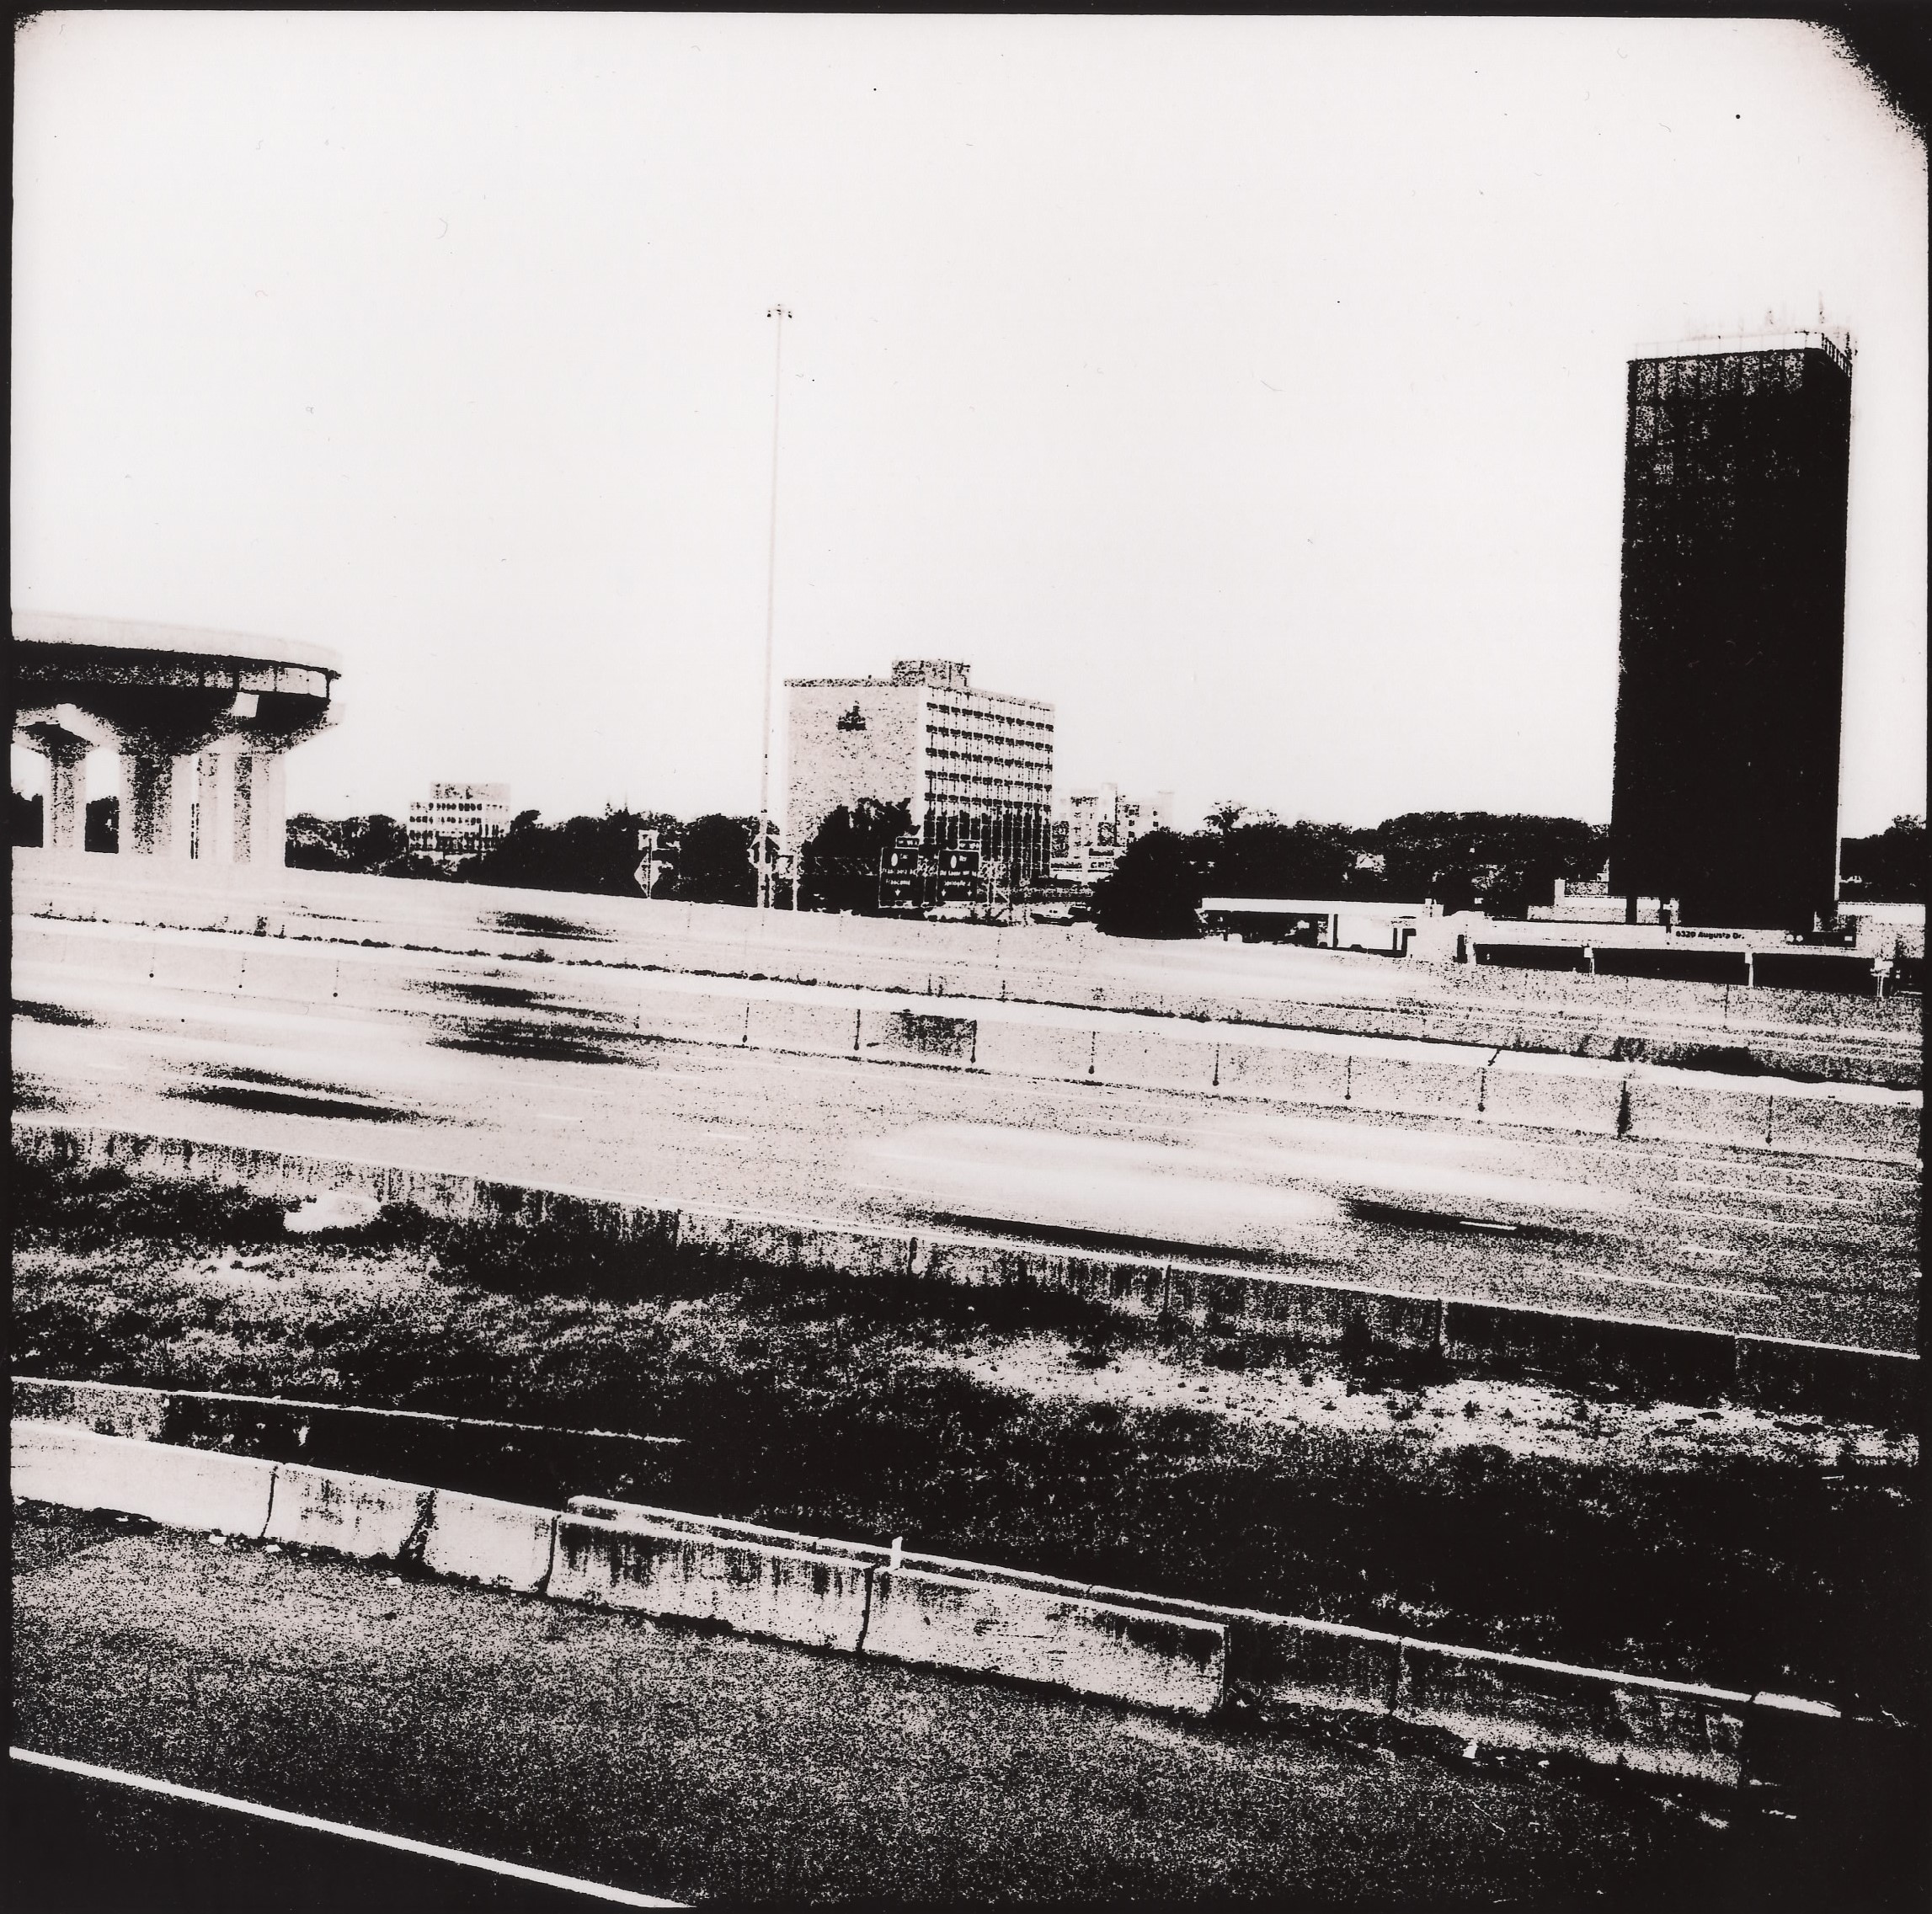

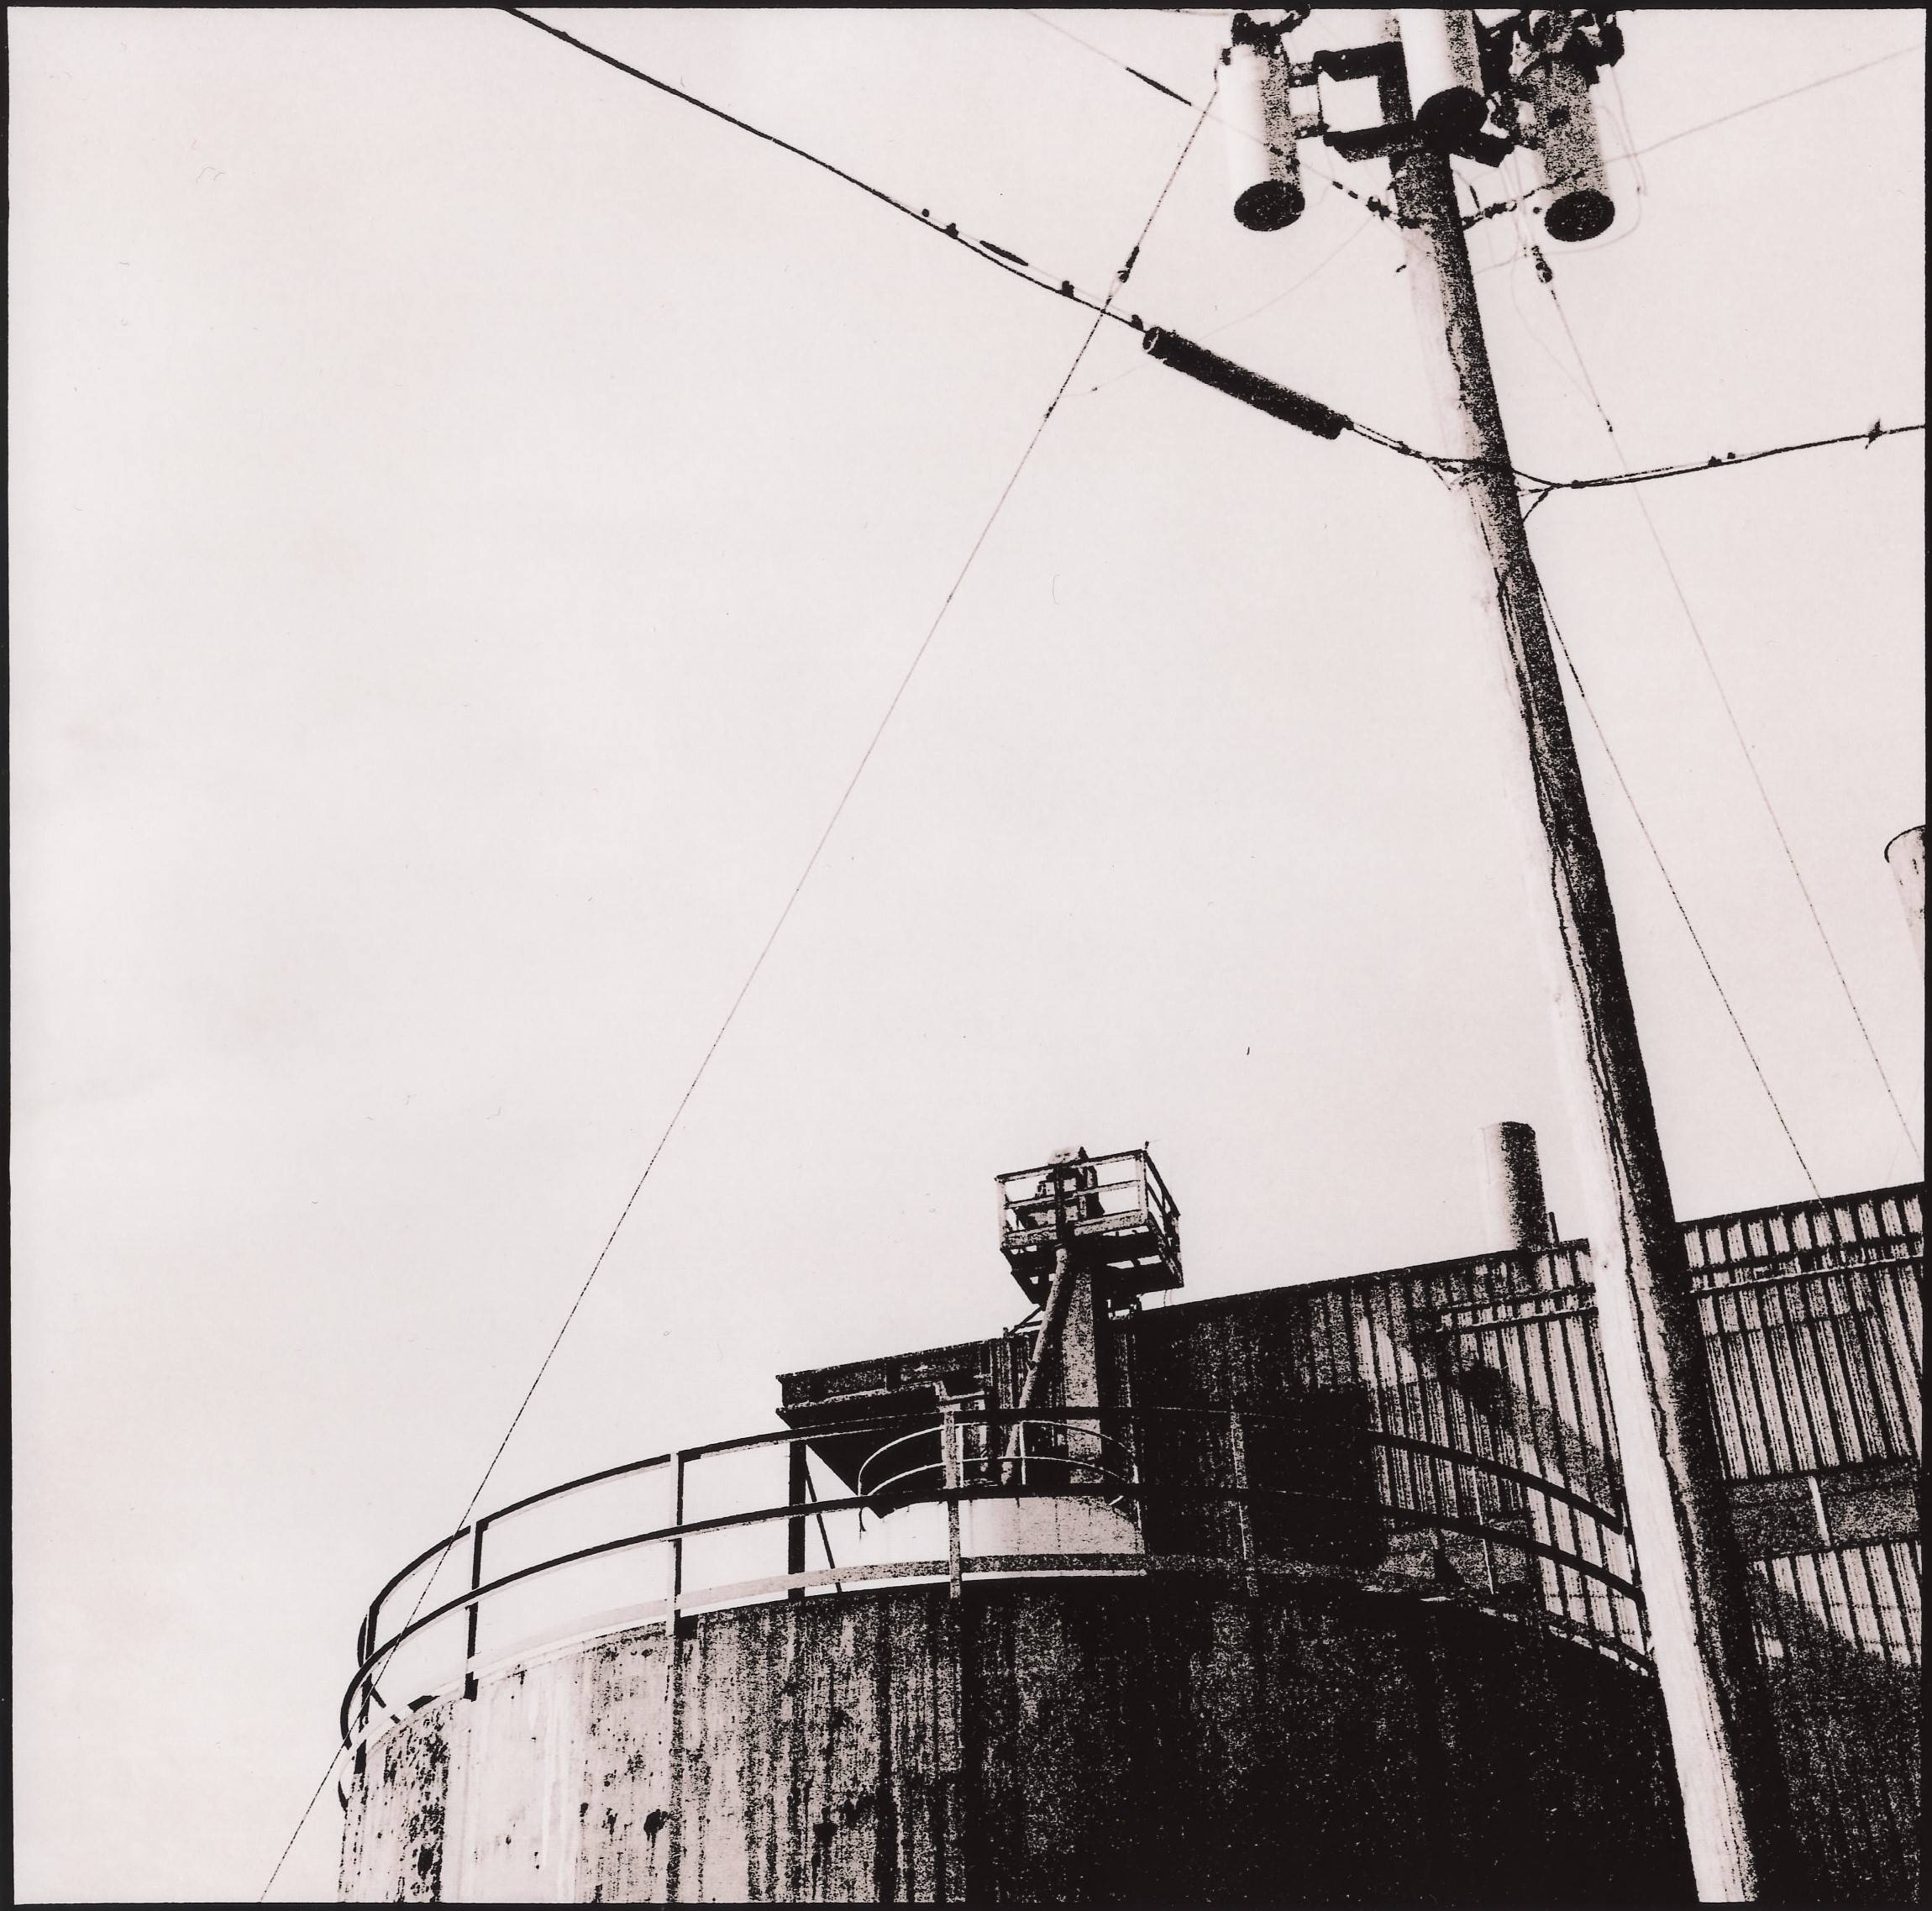
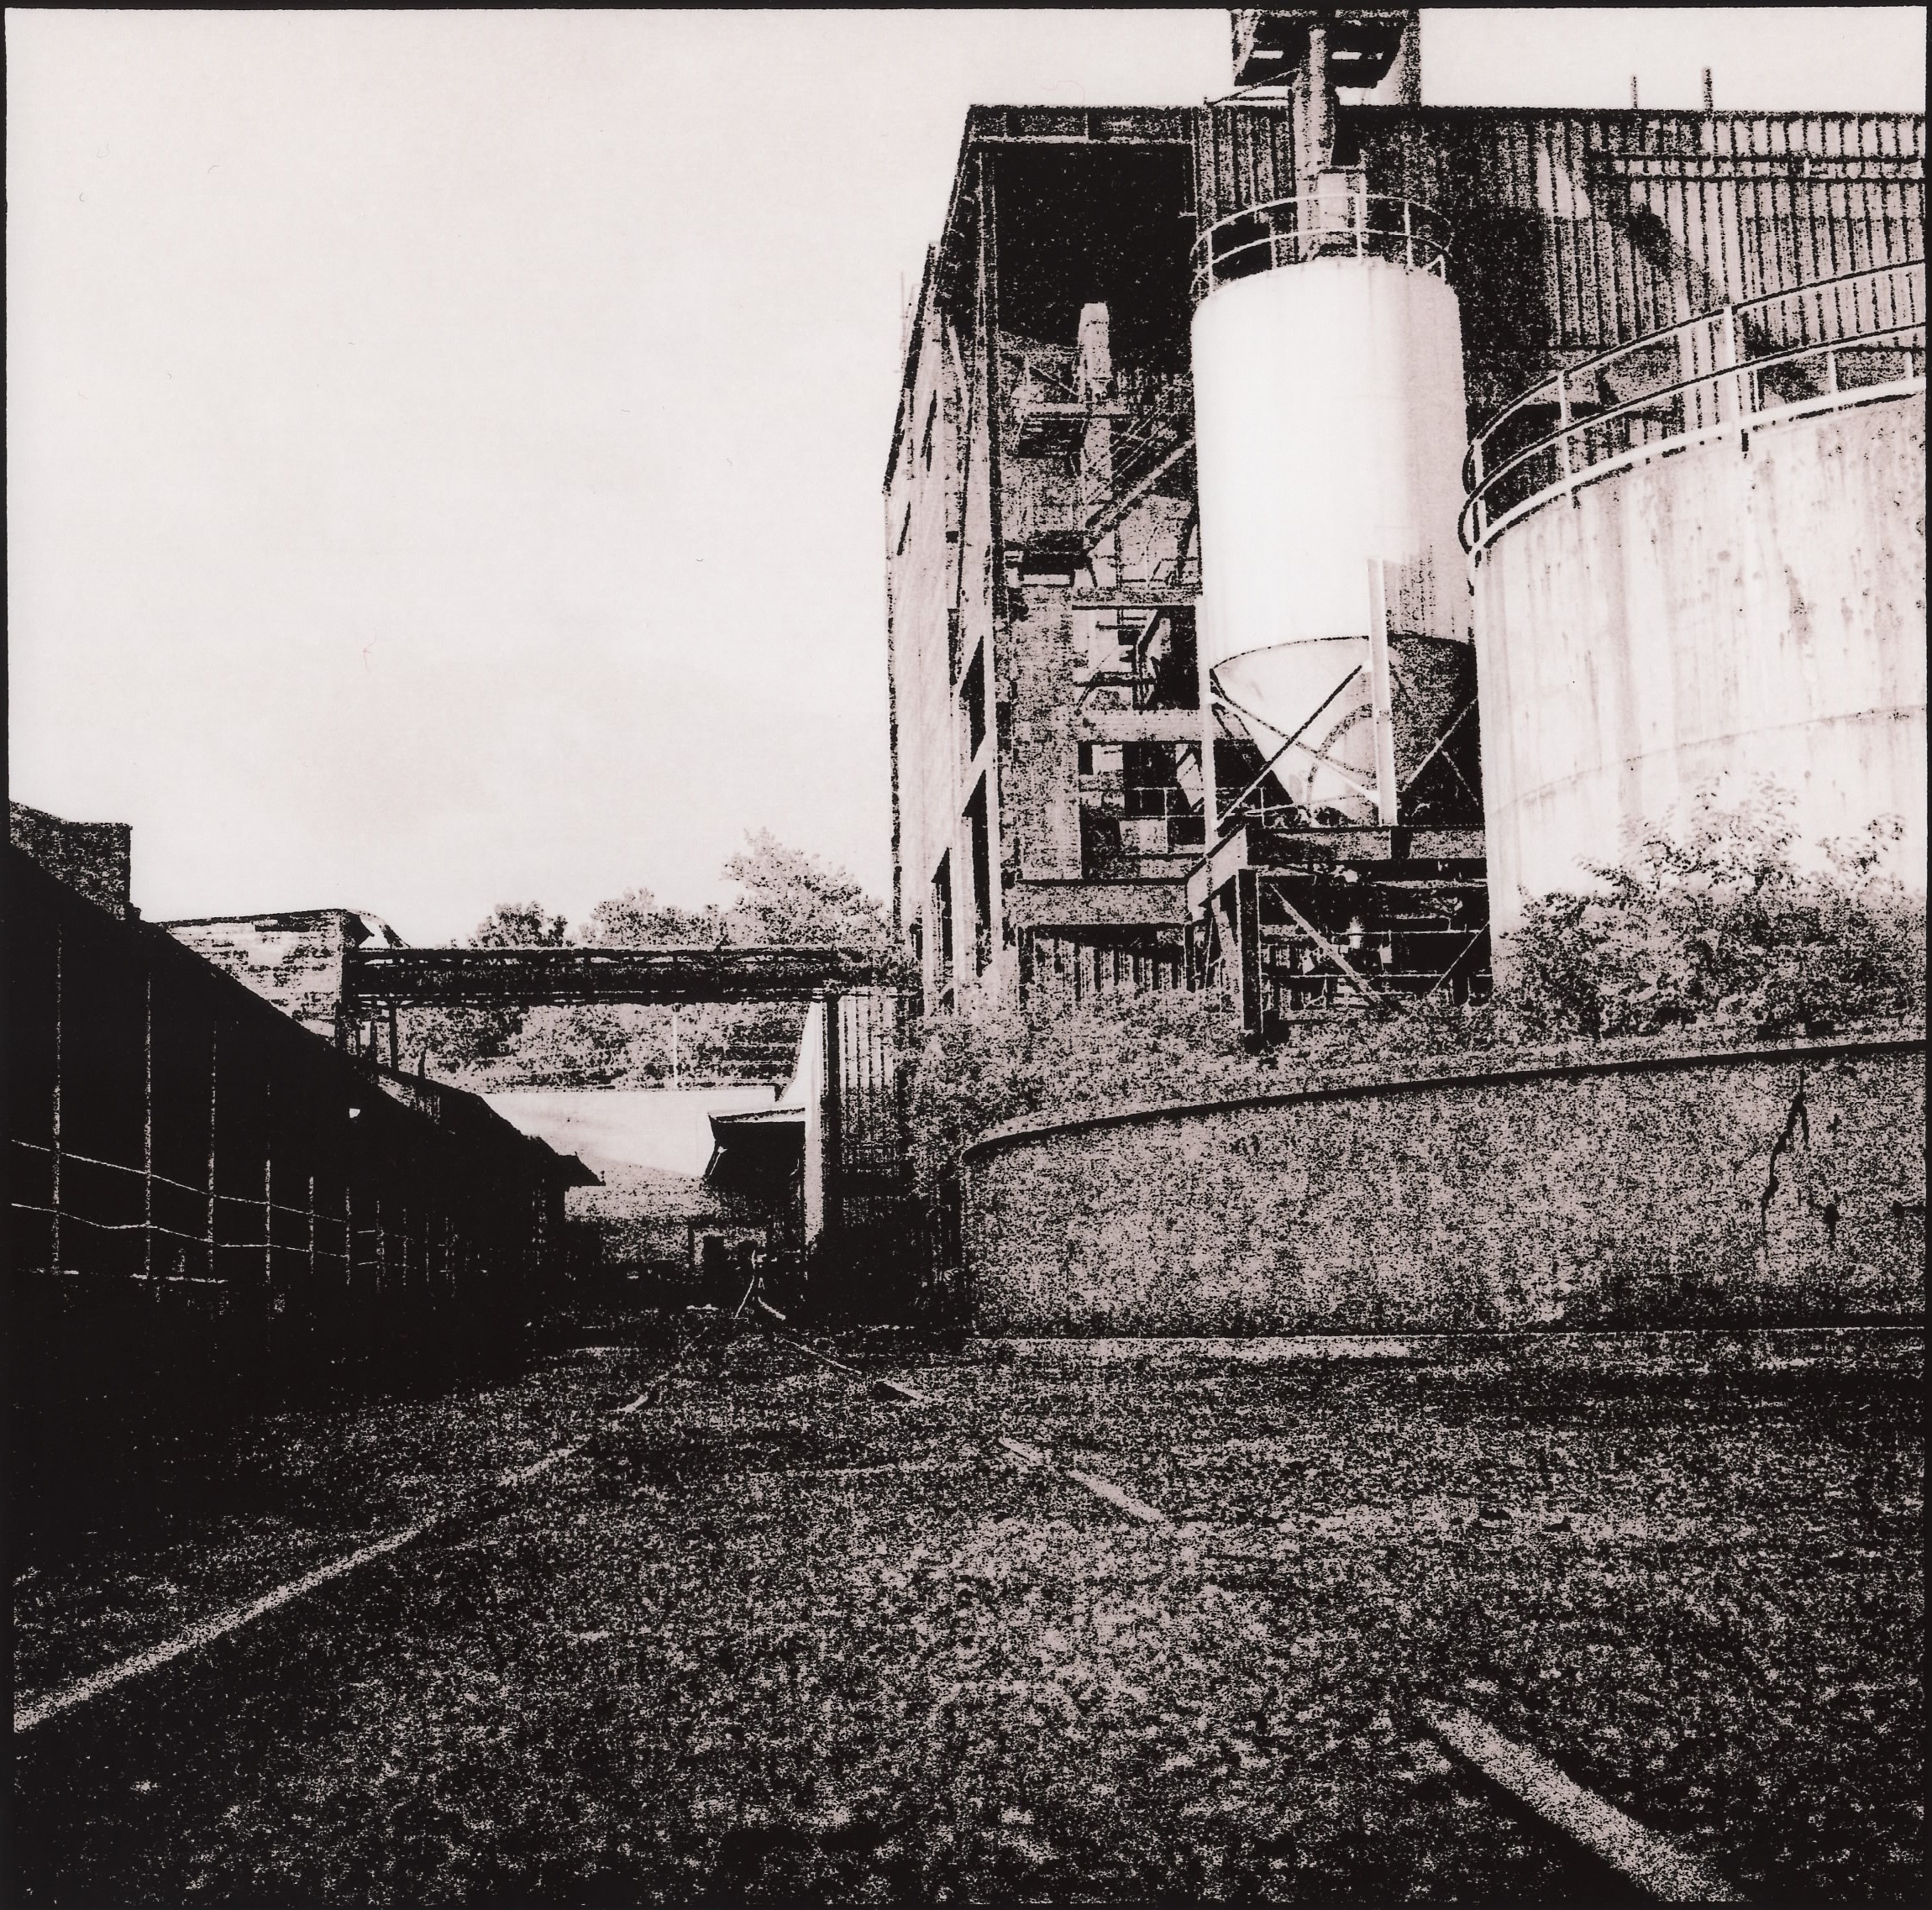
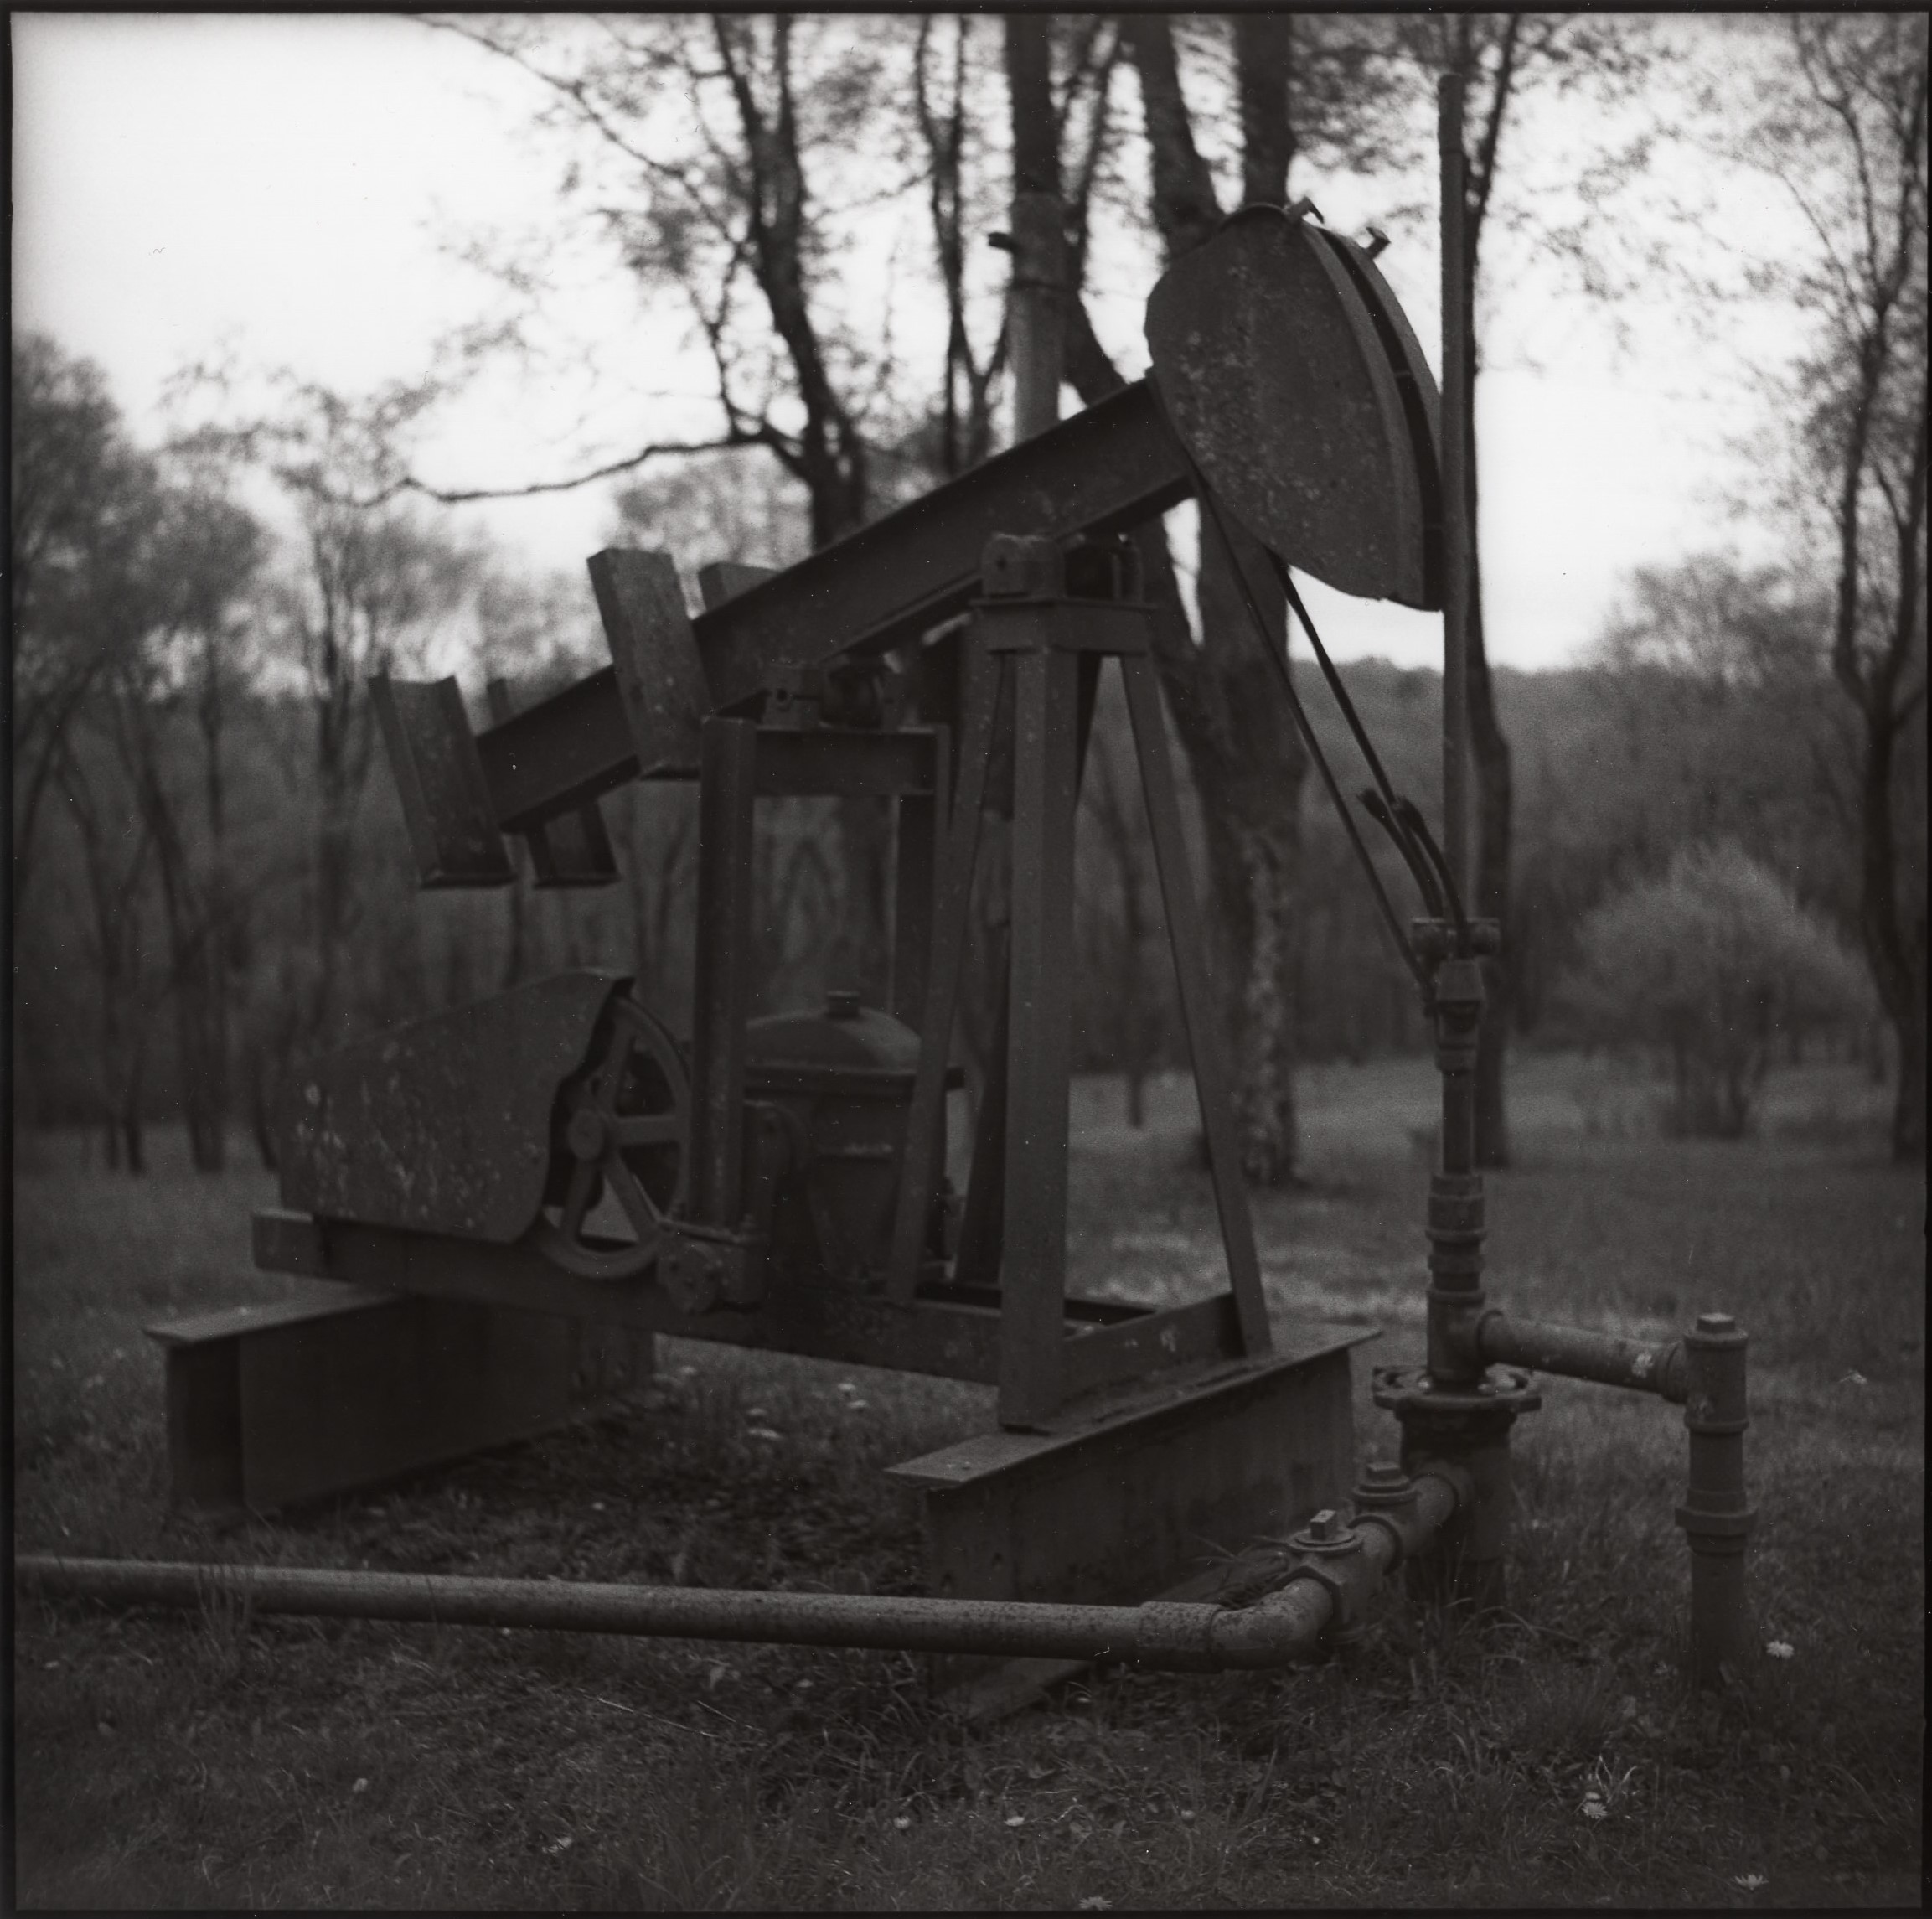
Industry
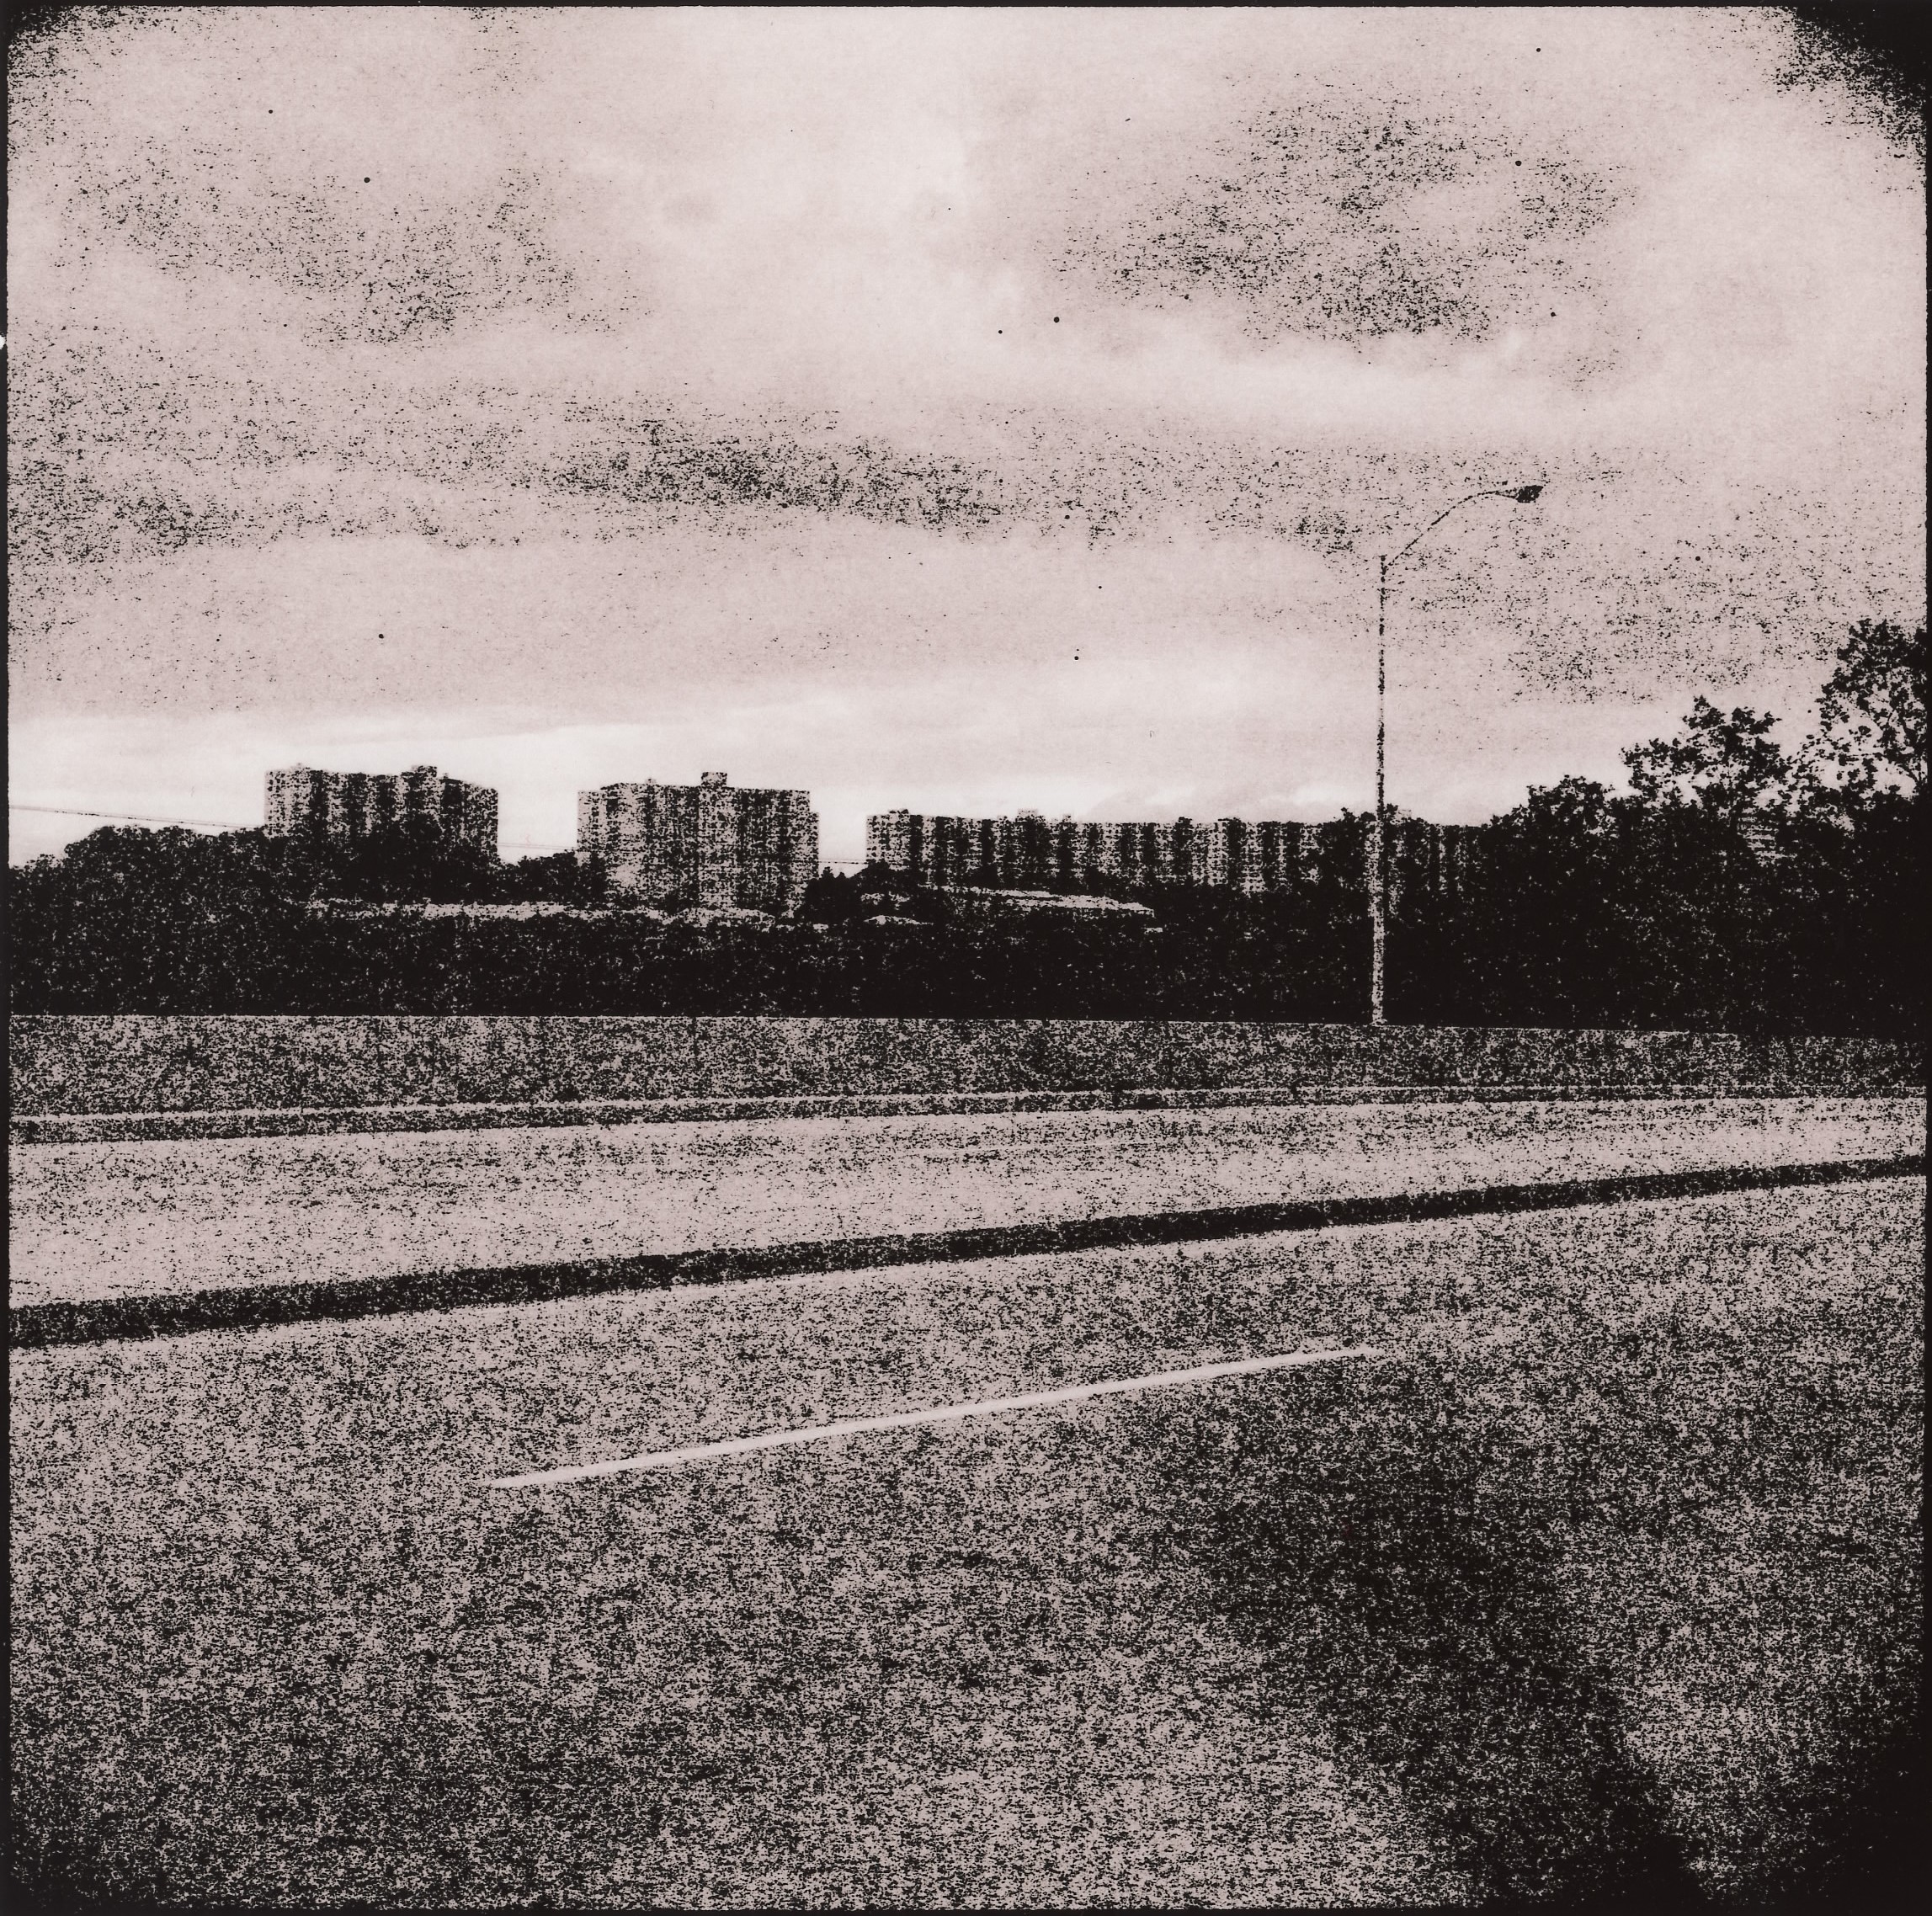
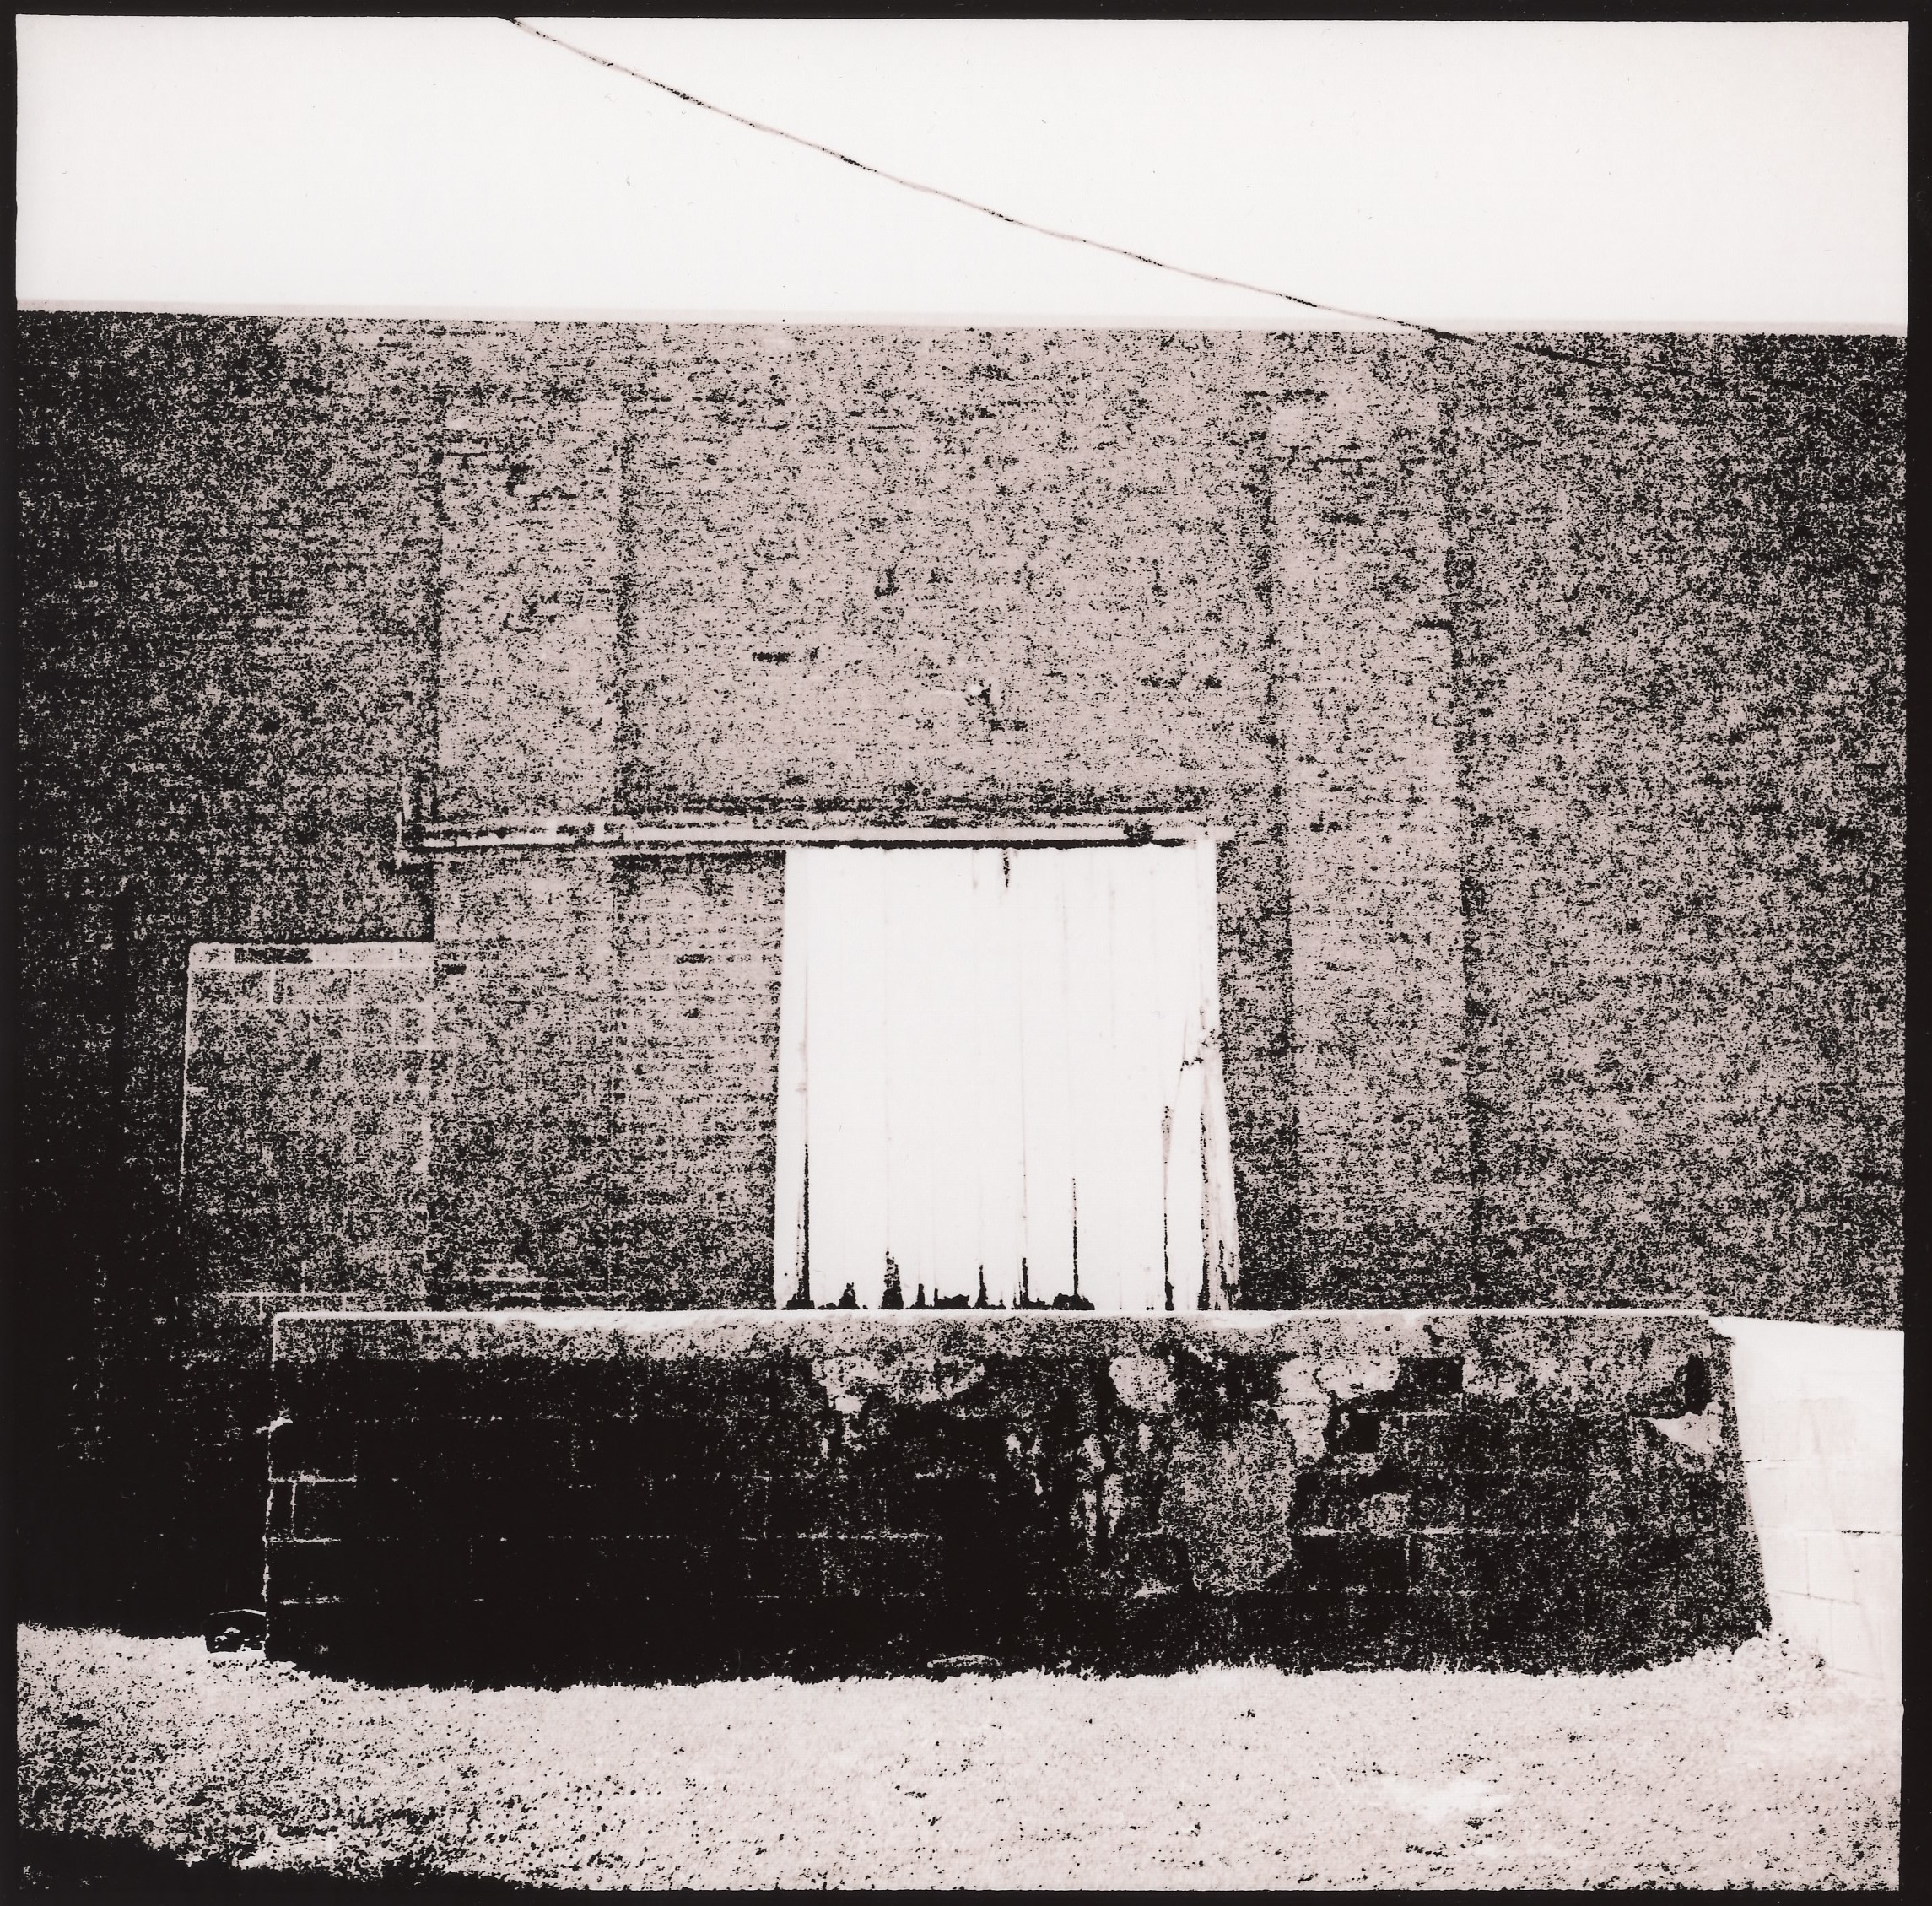
Observations
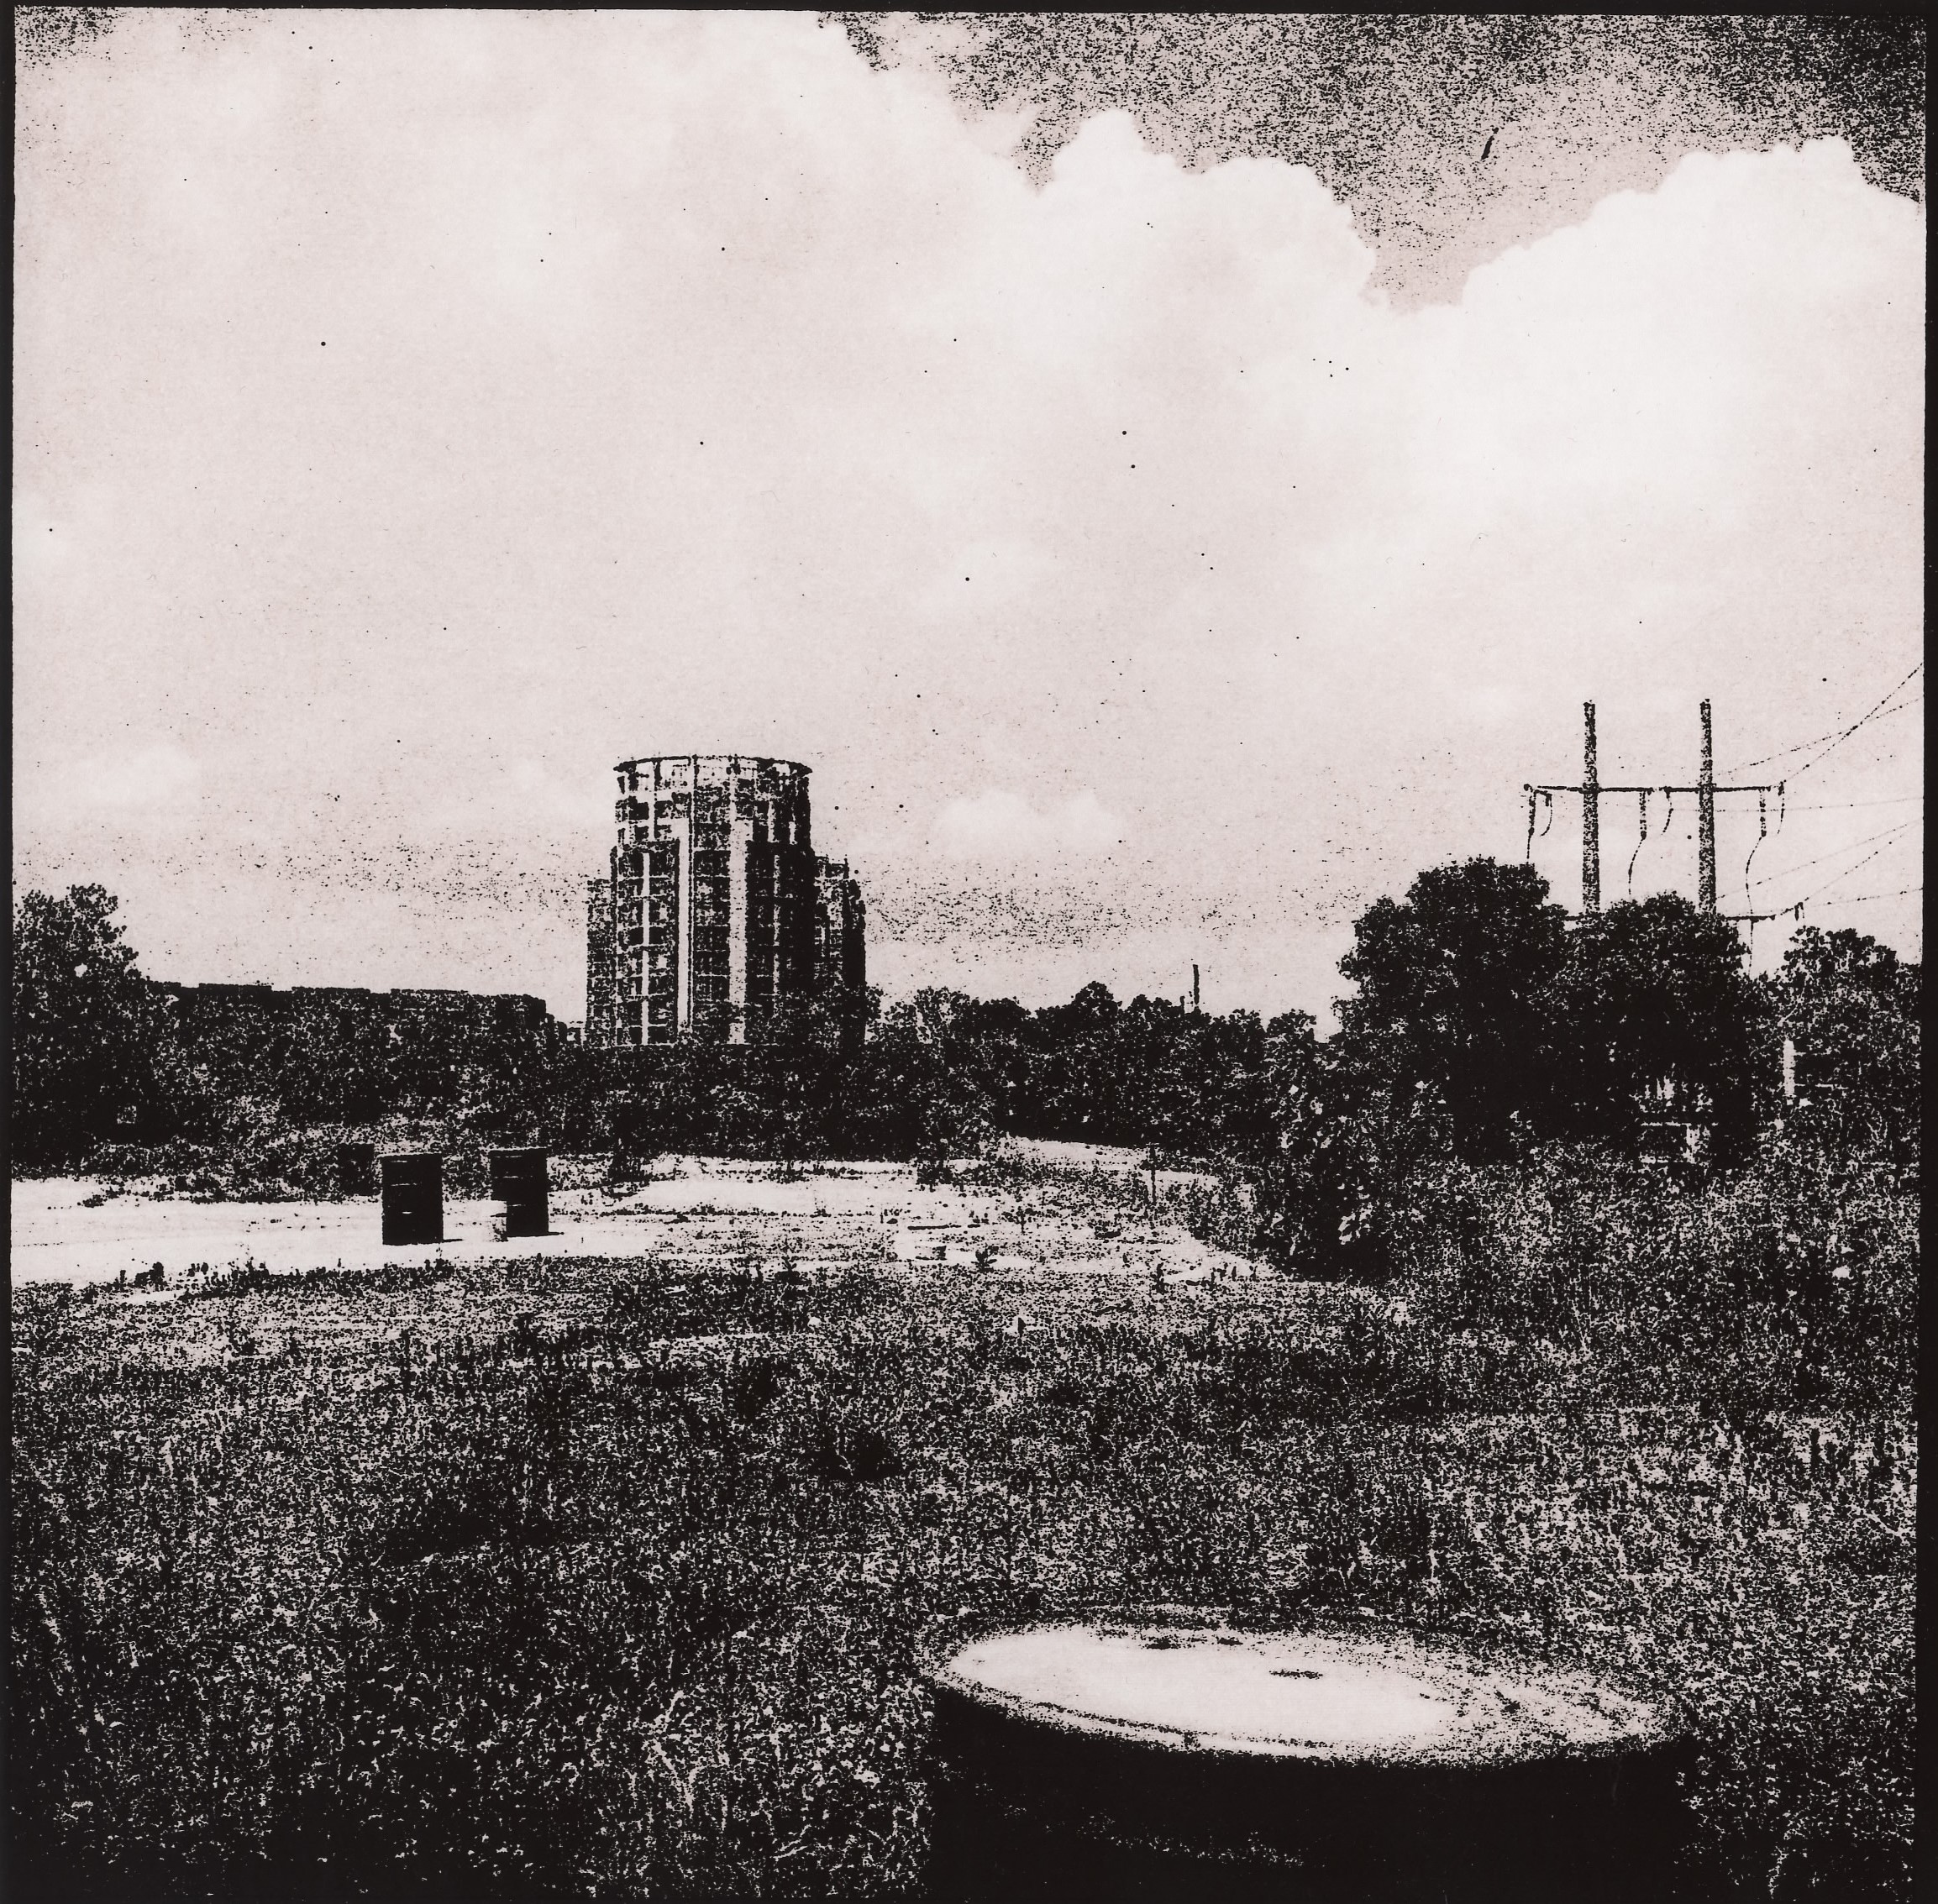
Observations

Road Trip

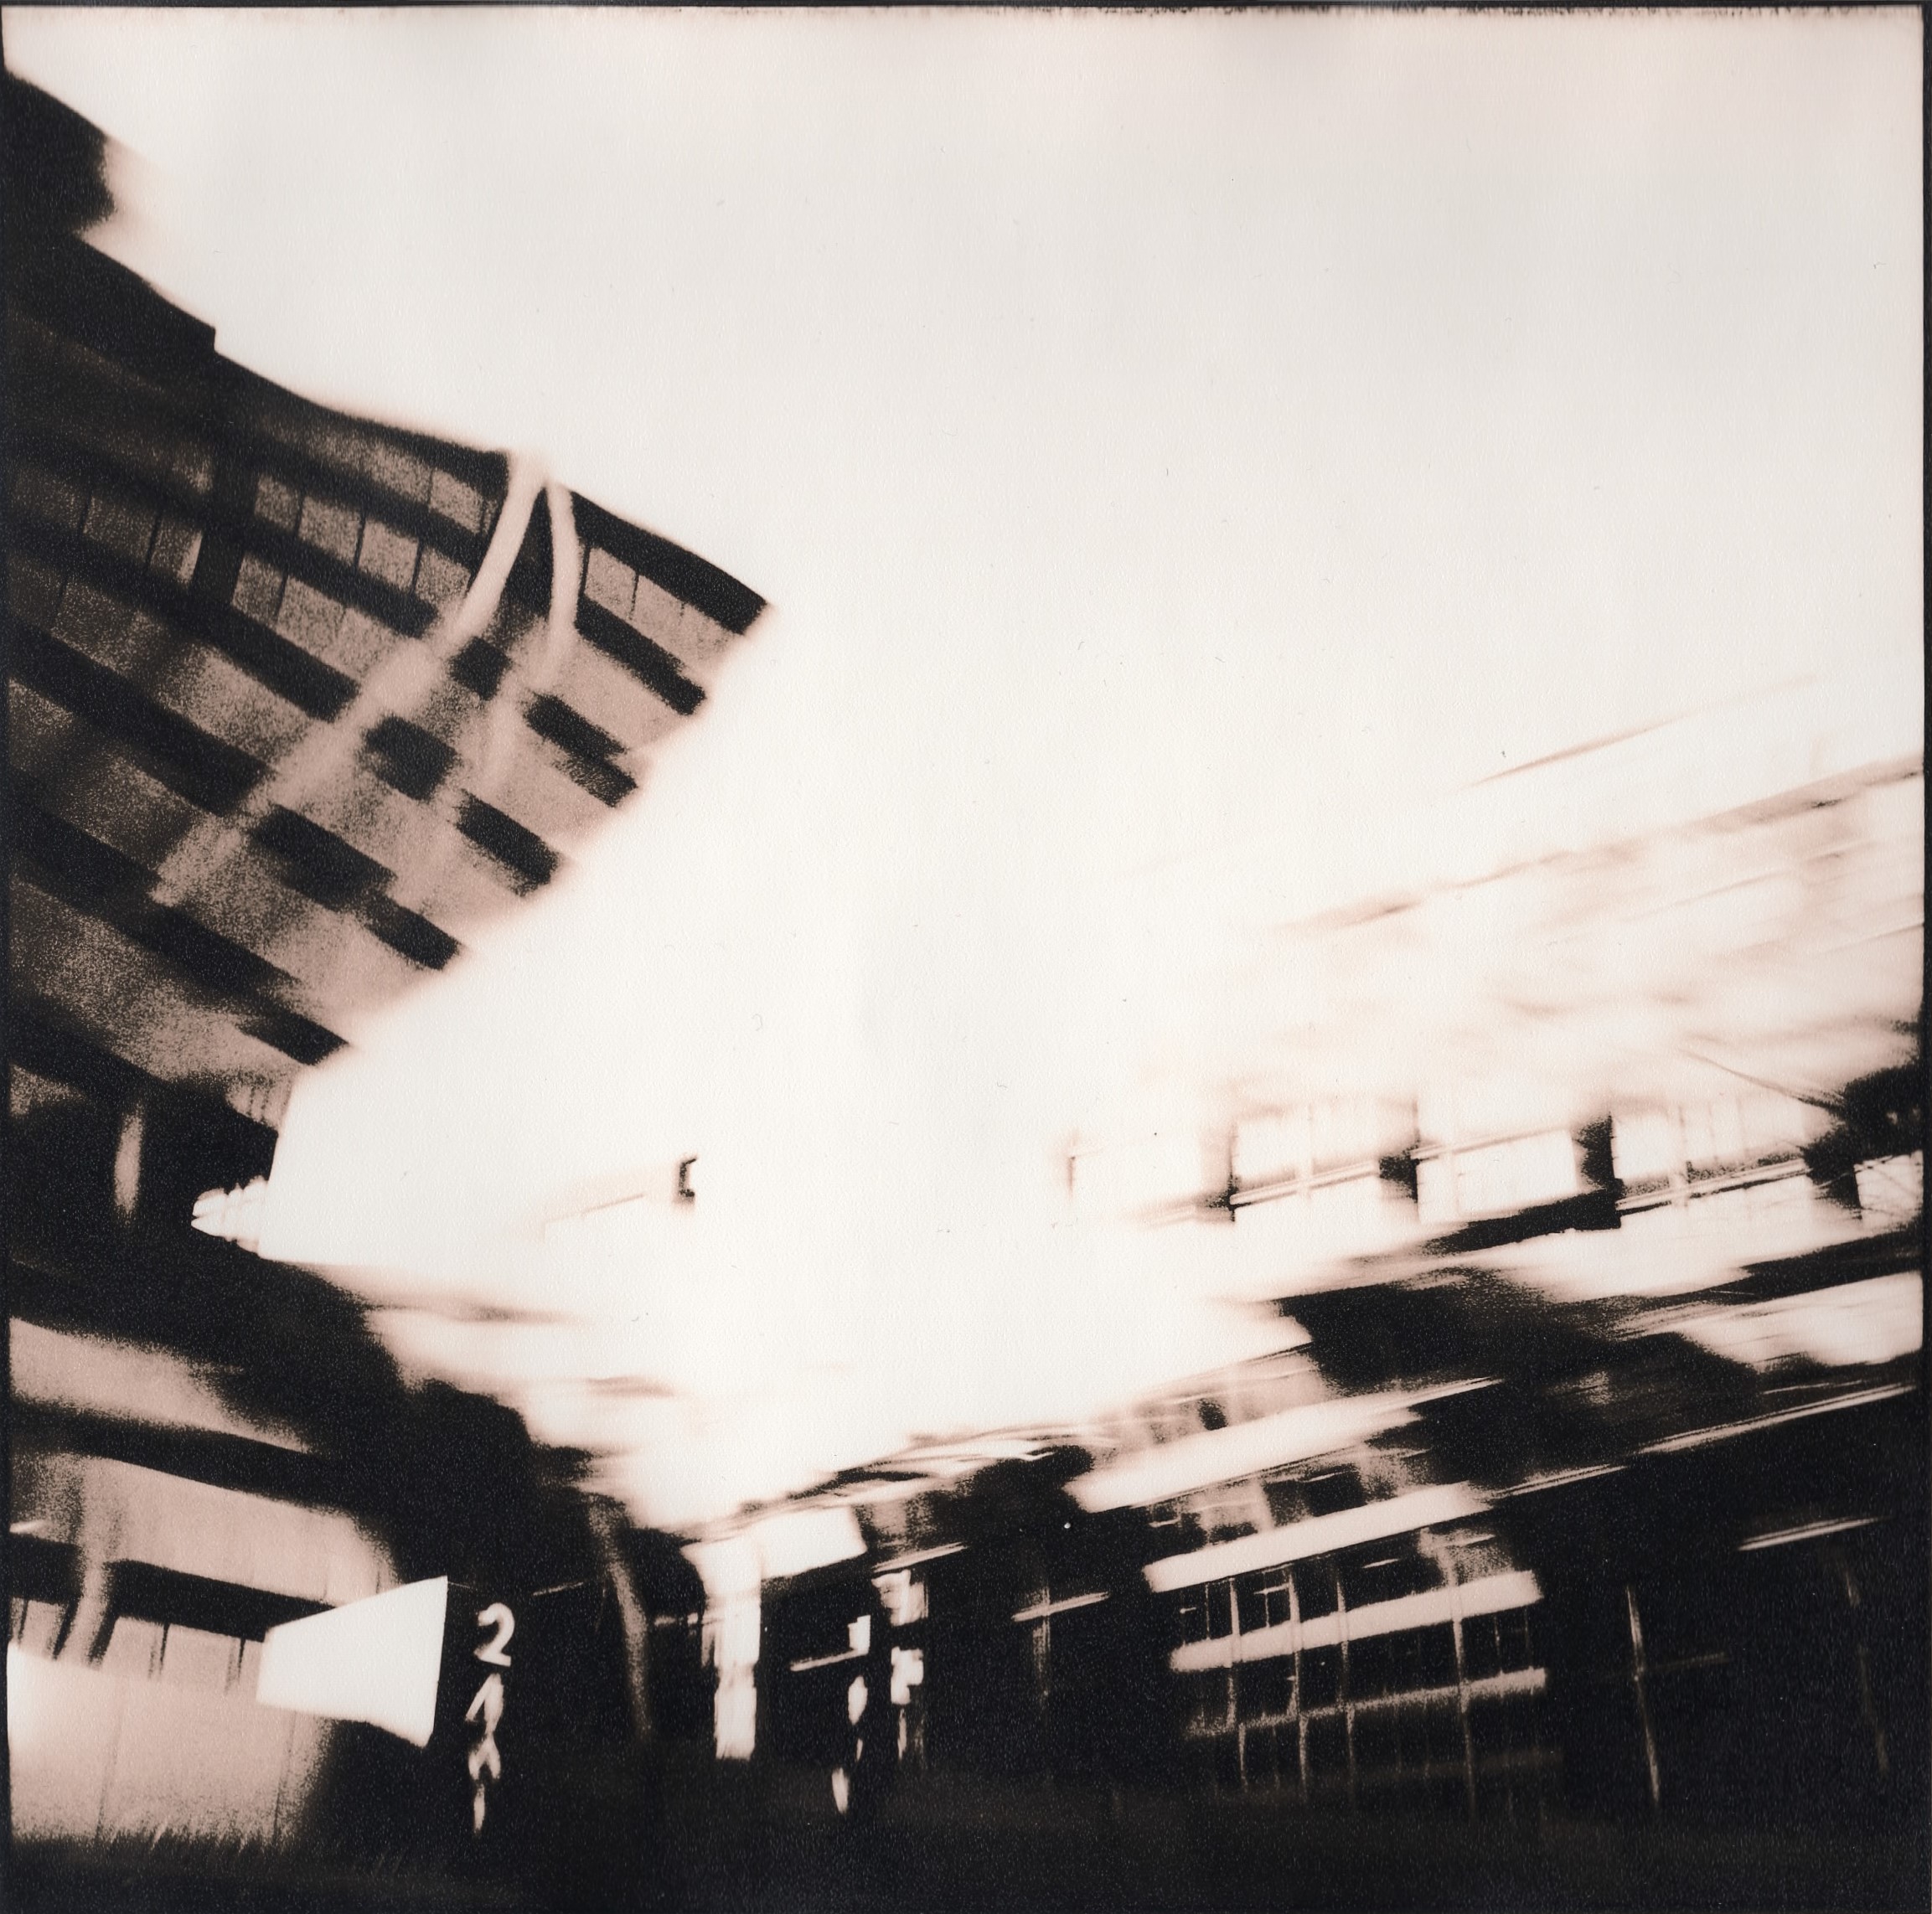
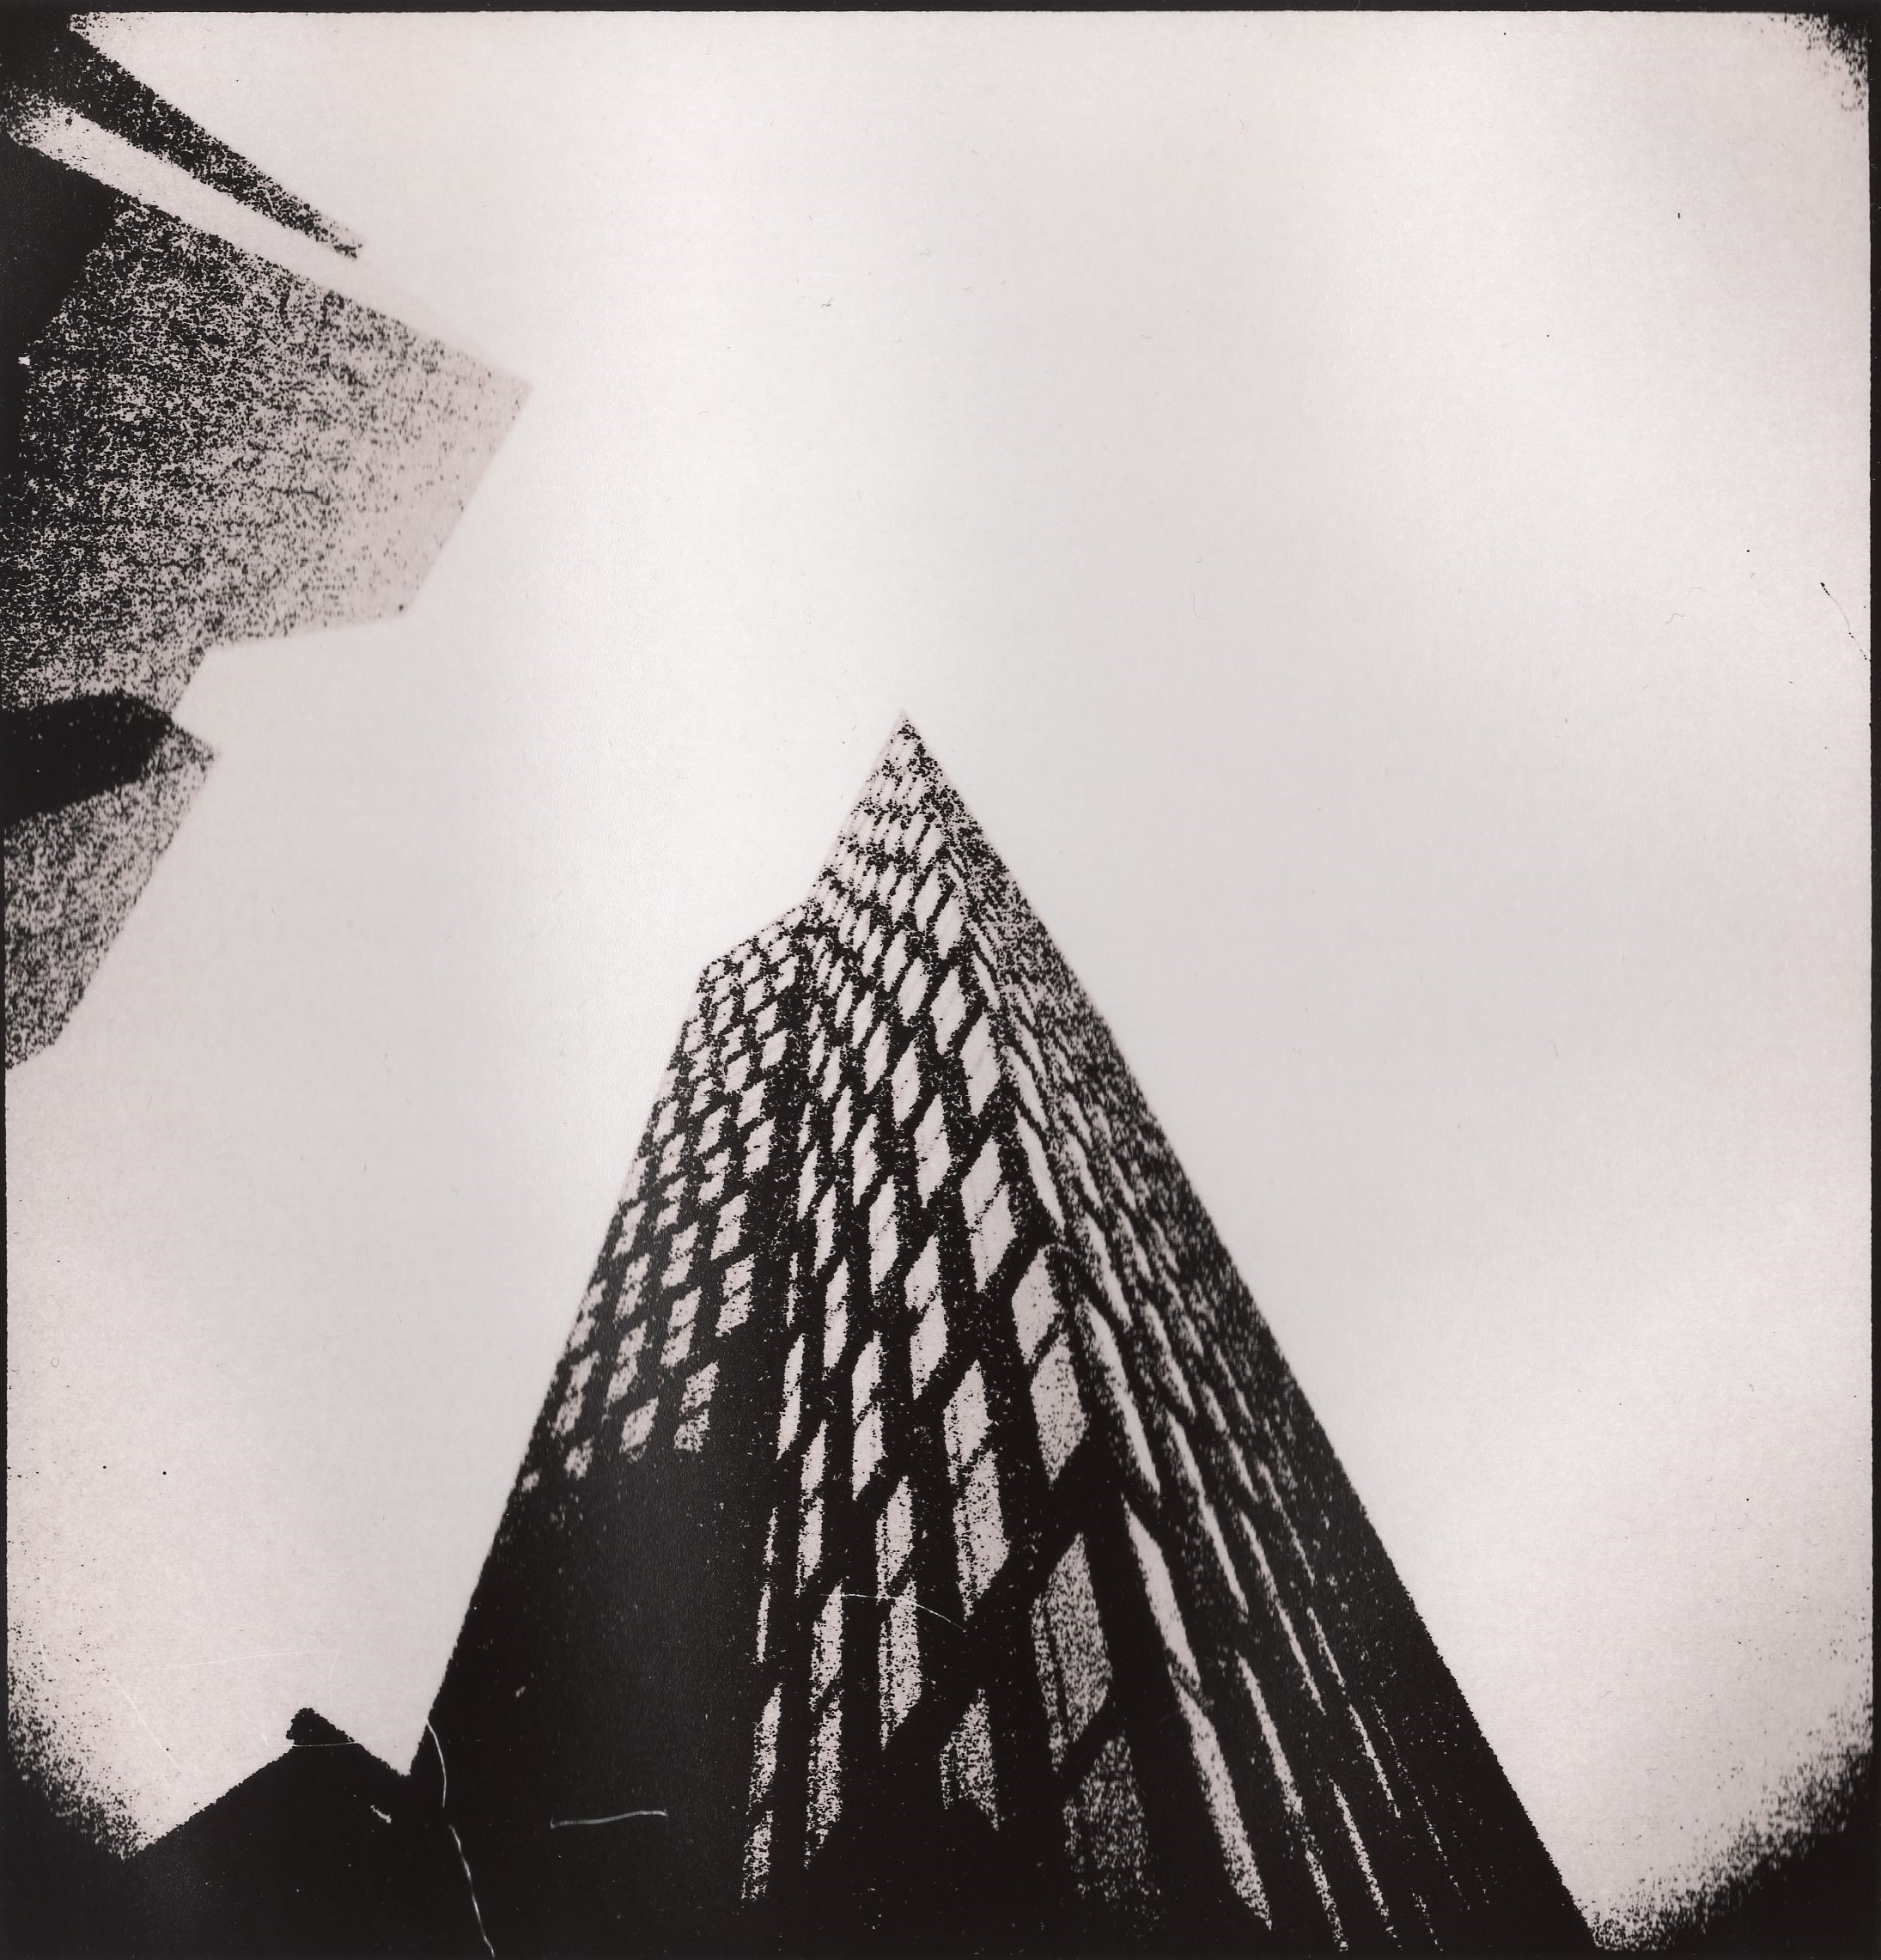
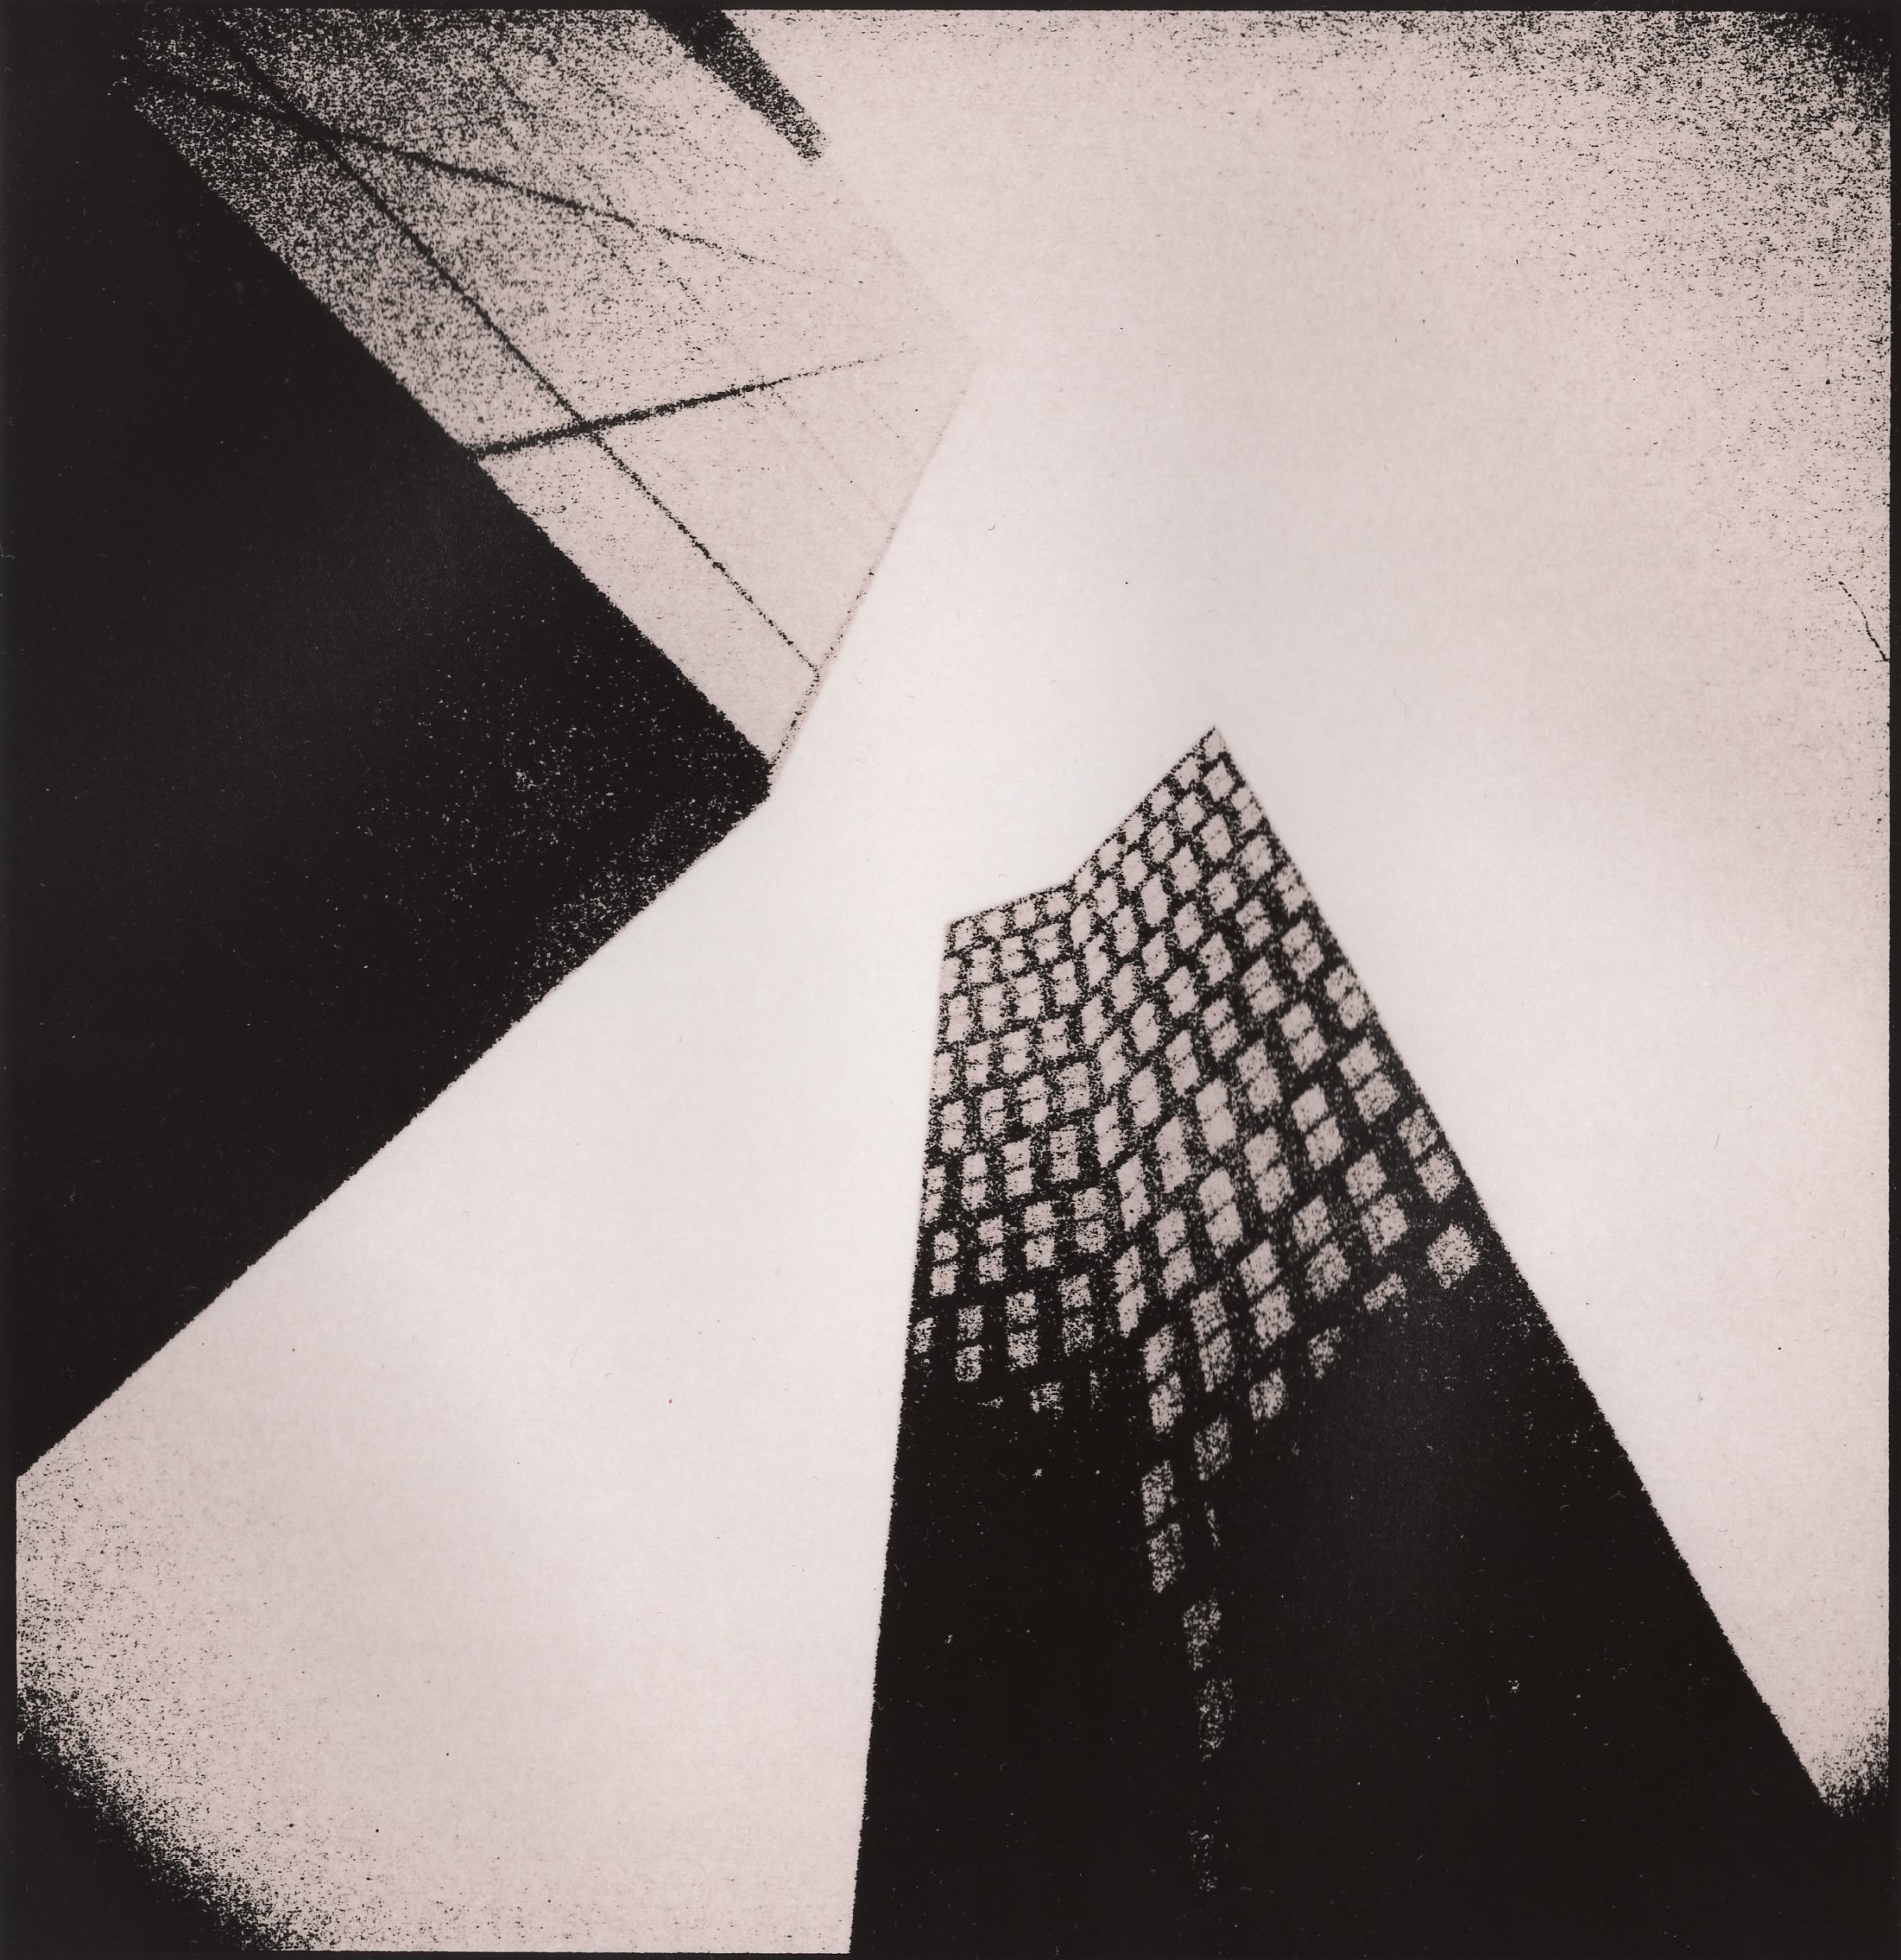
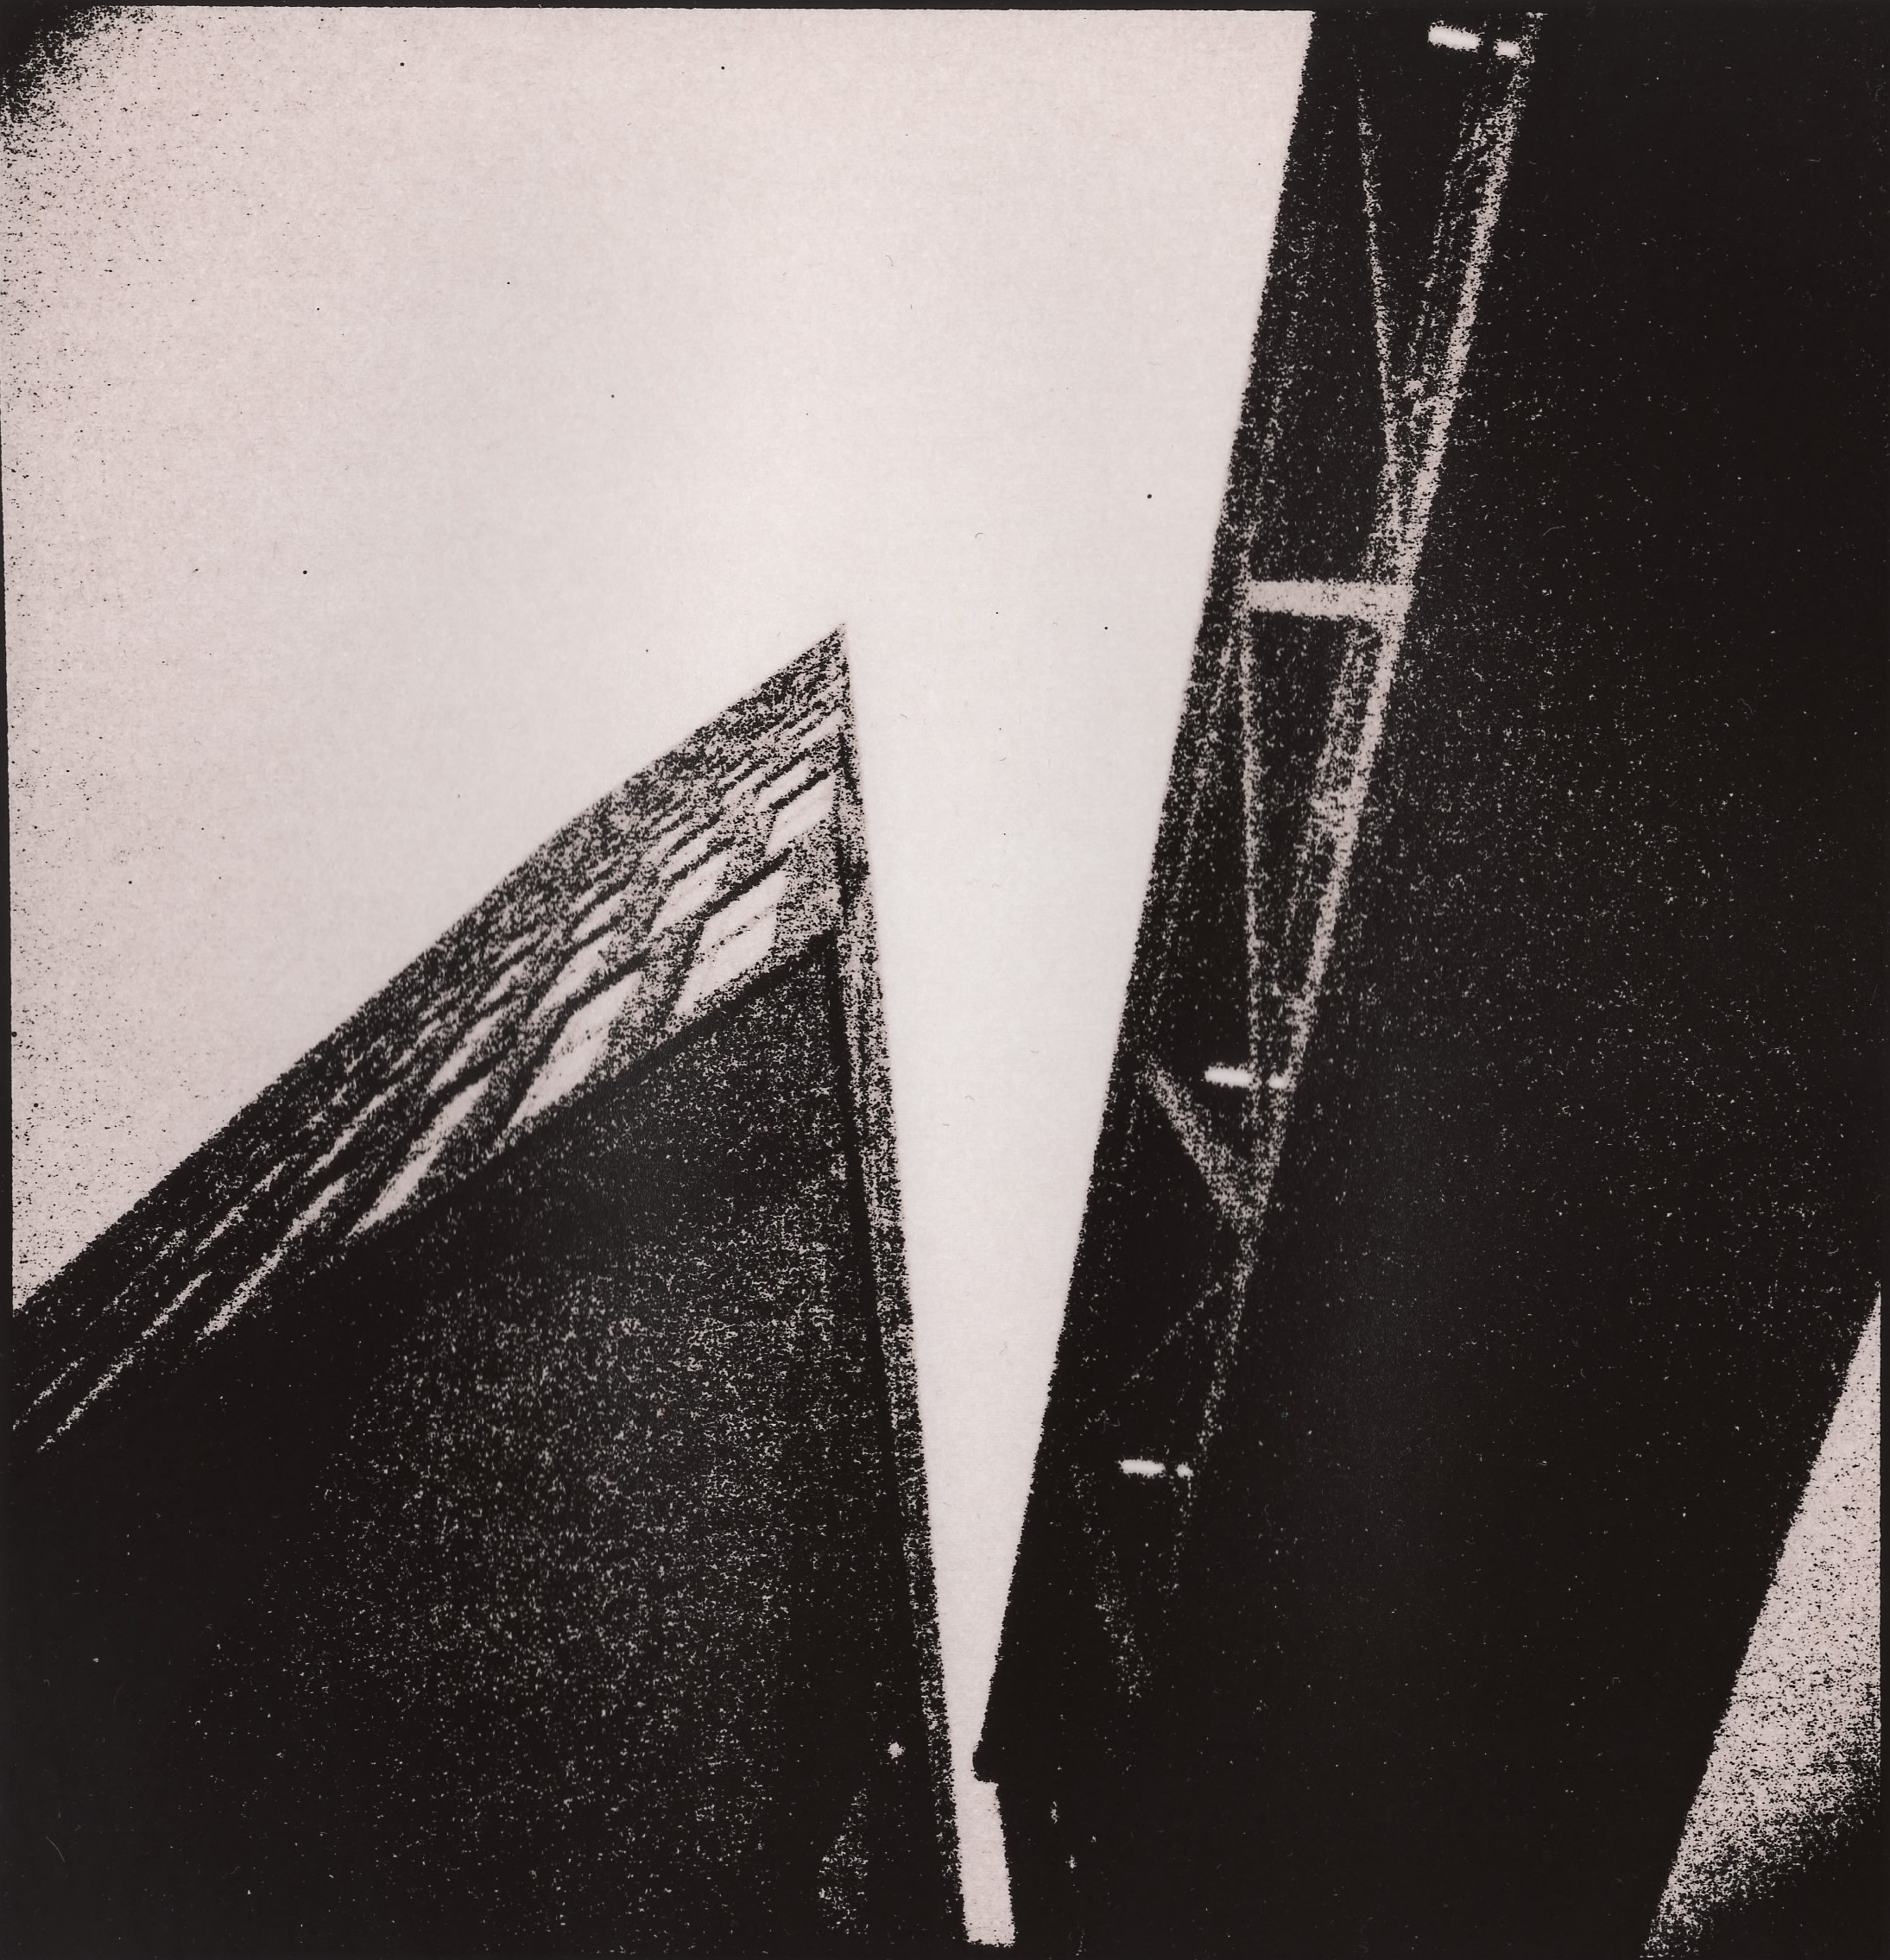
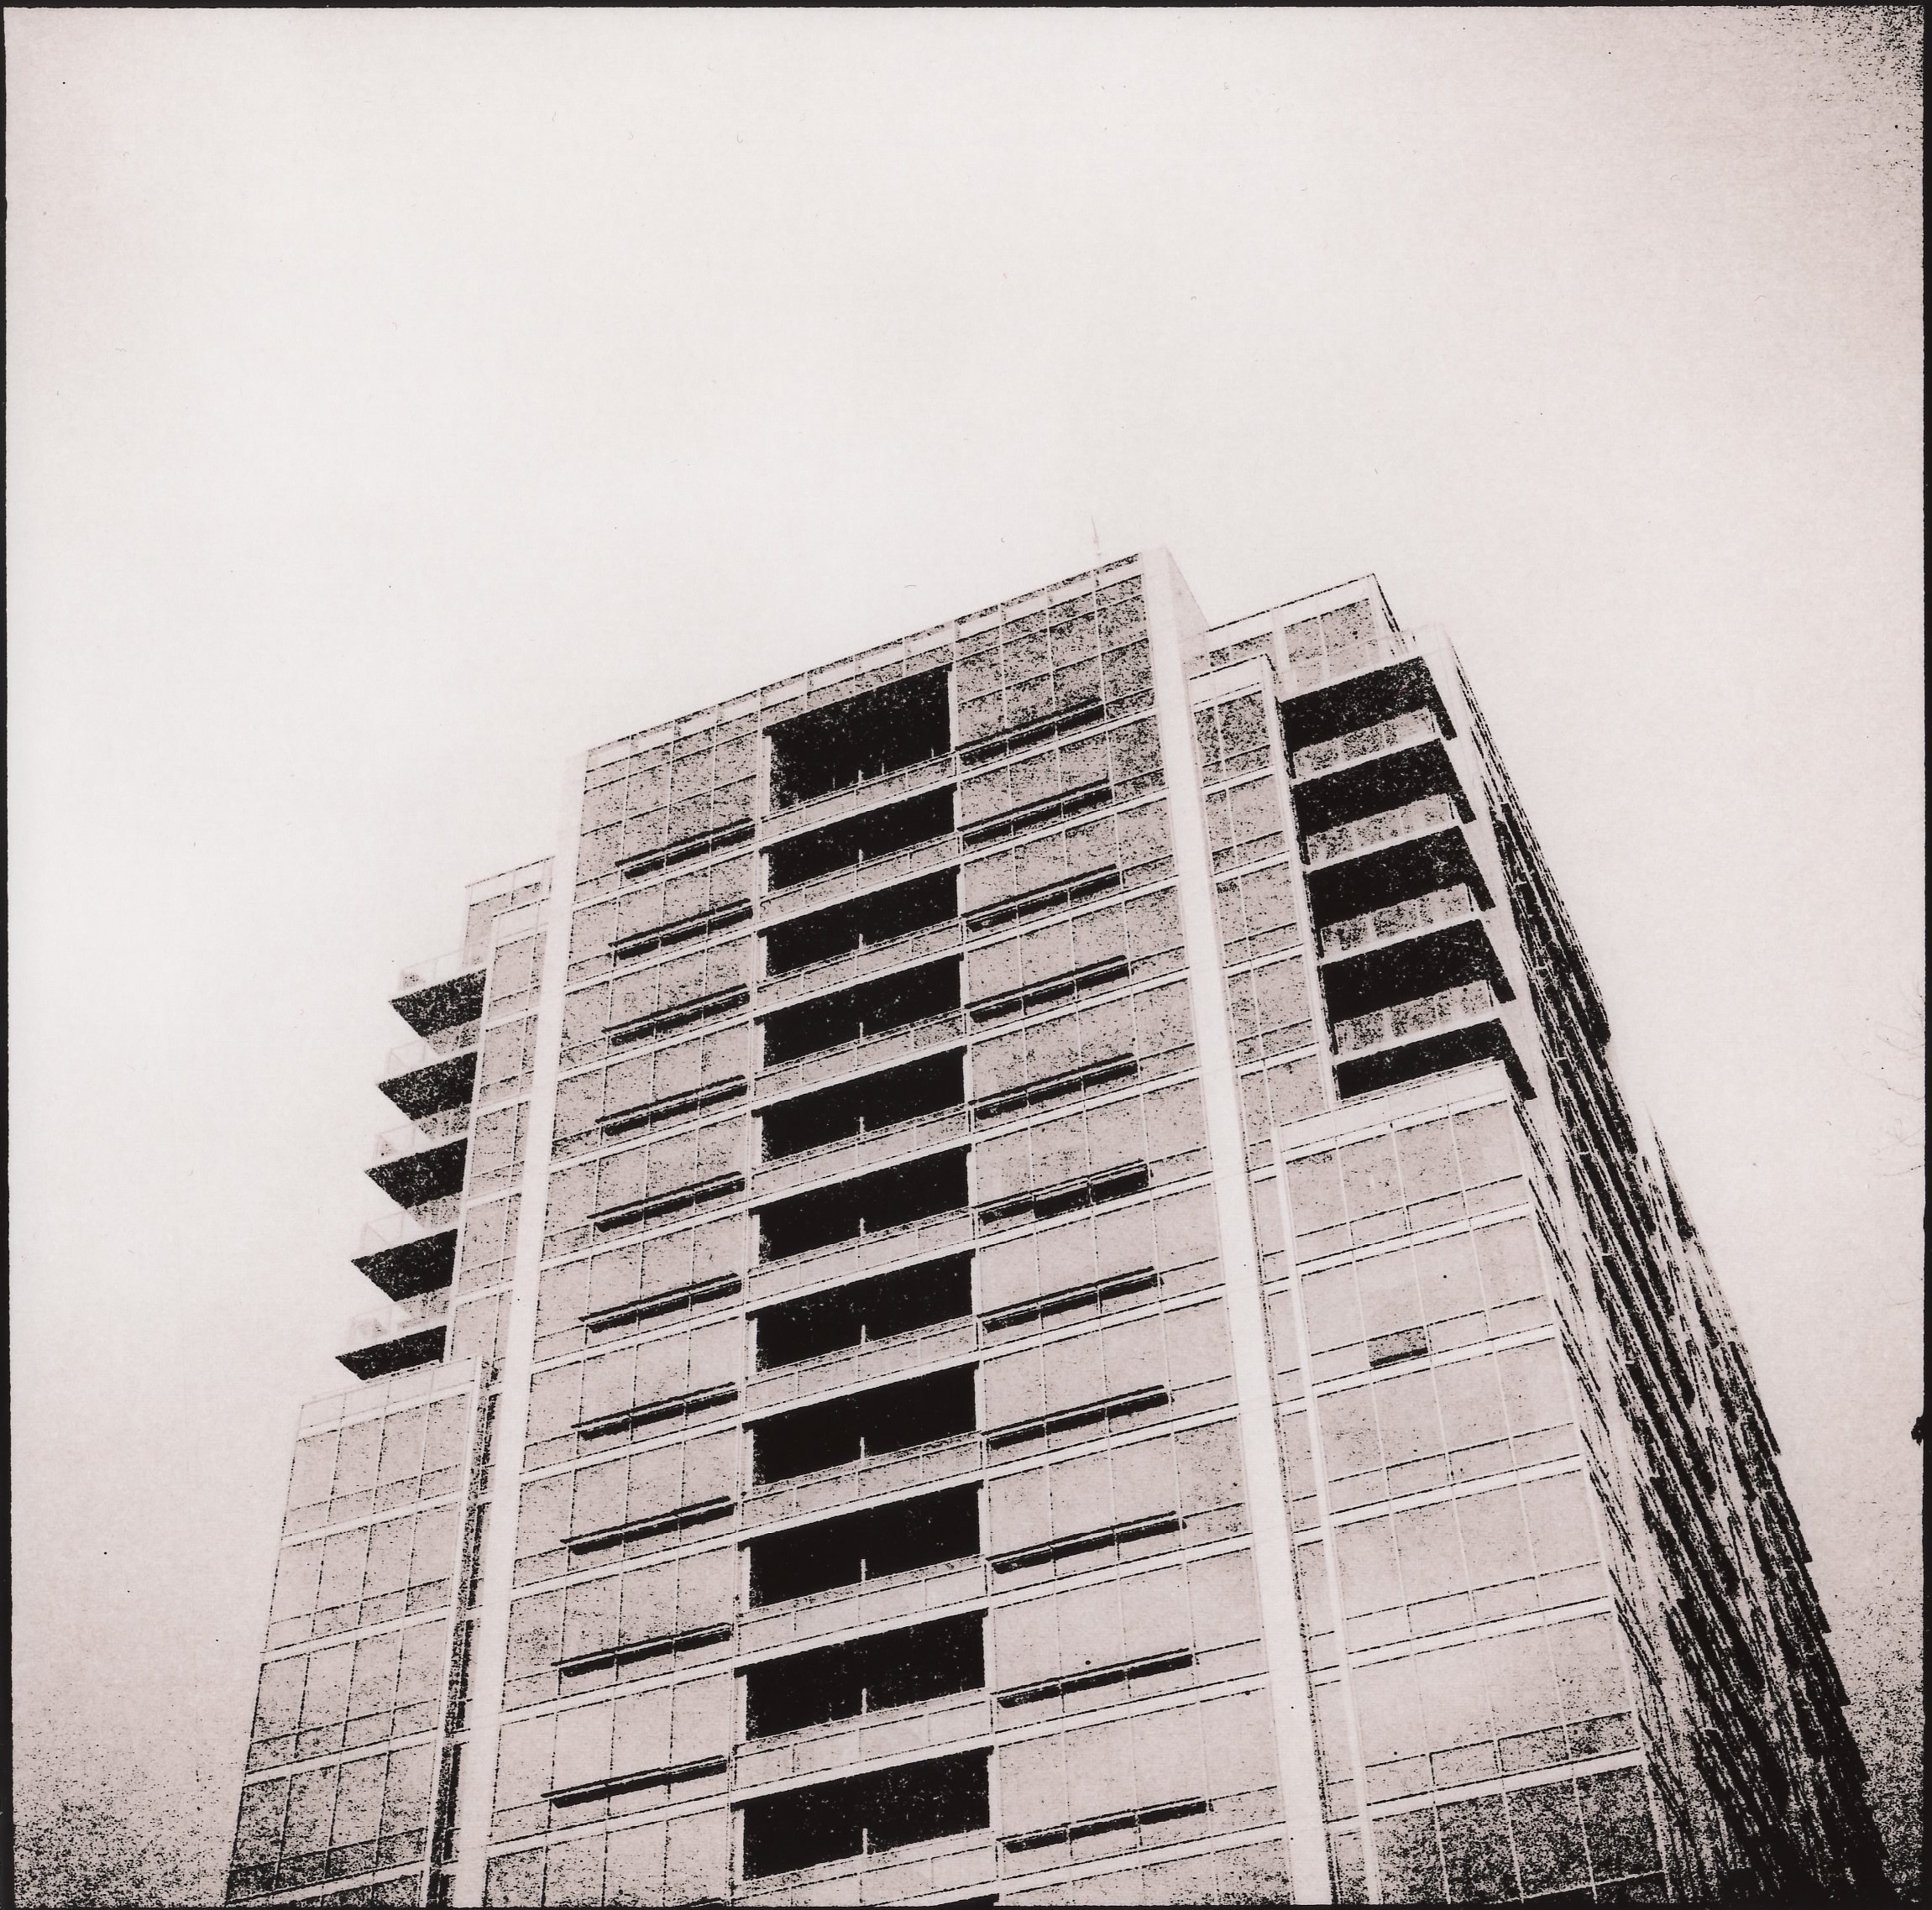
Altered Perception
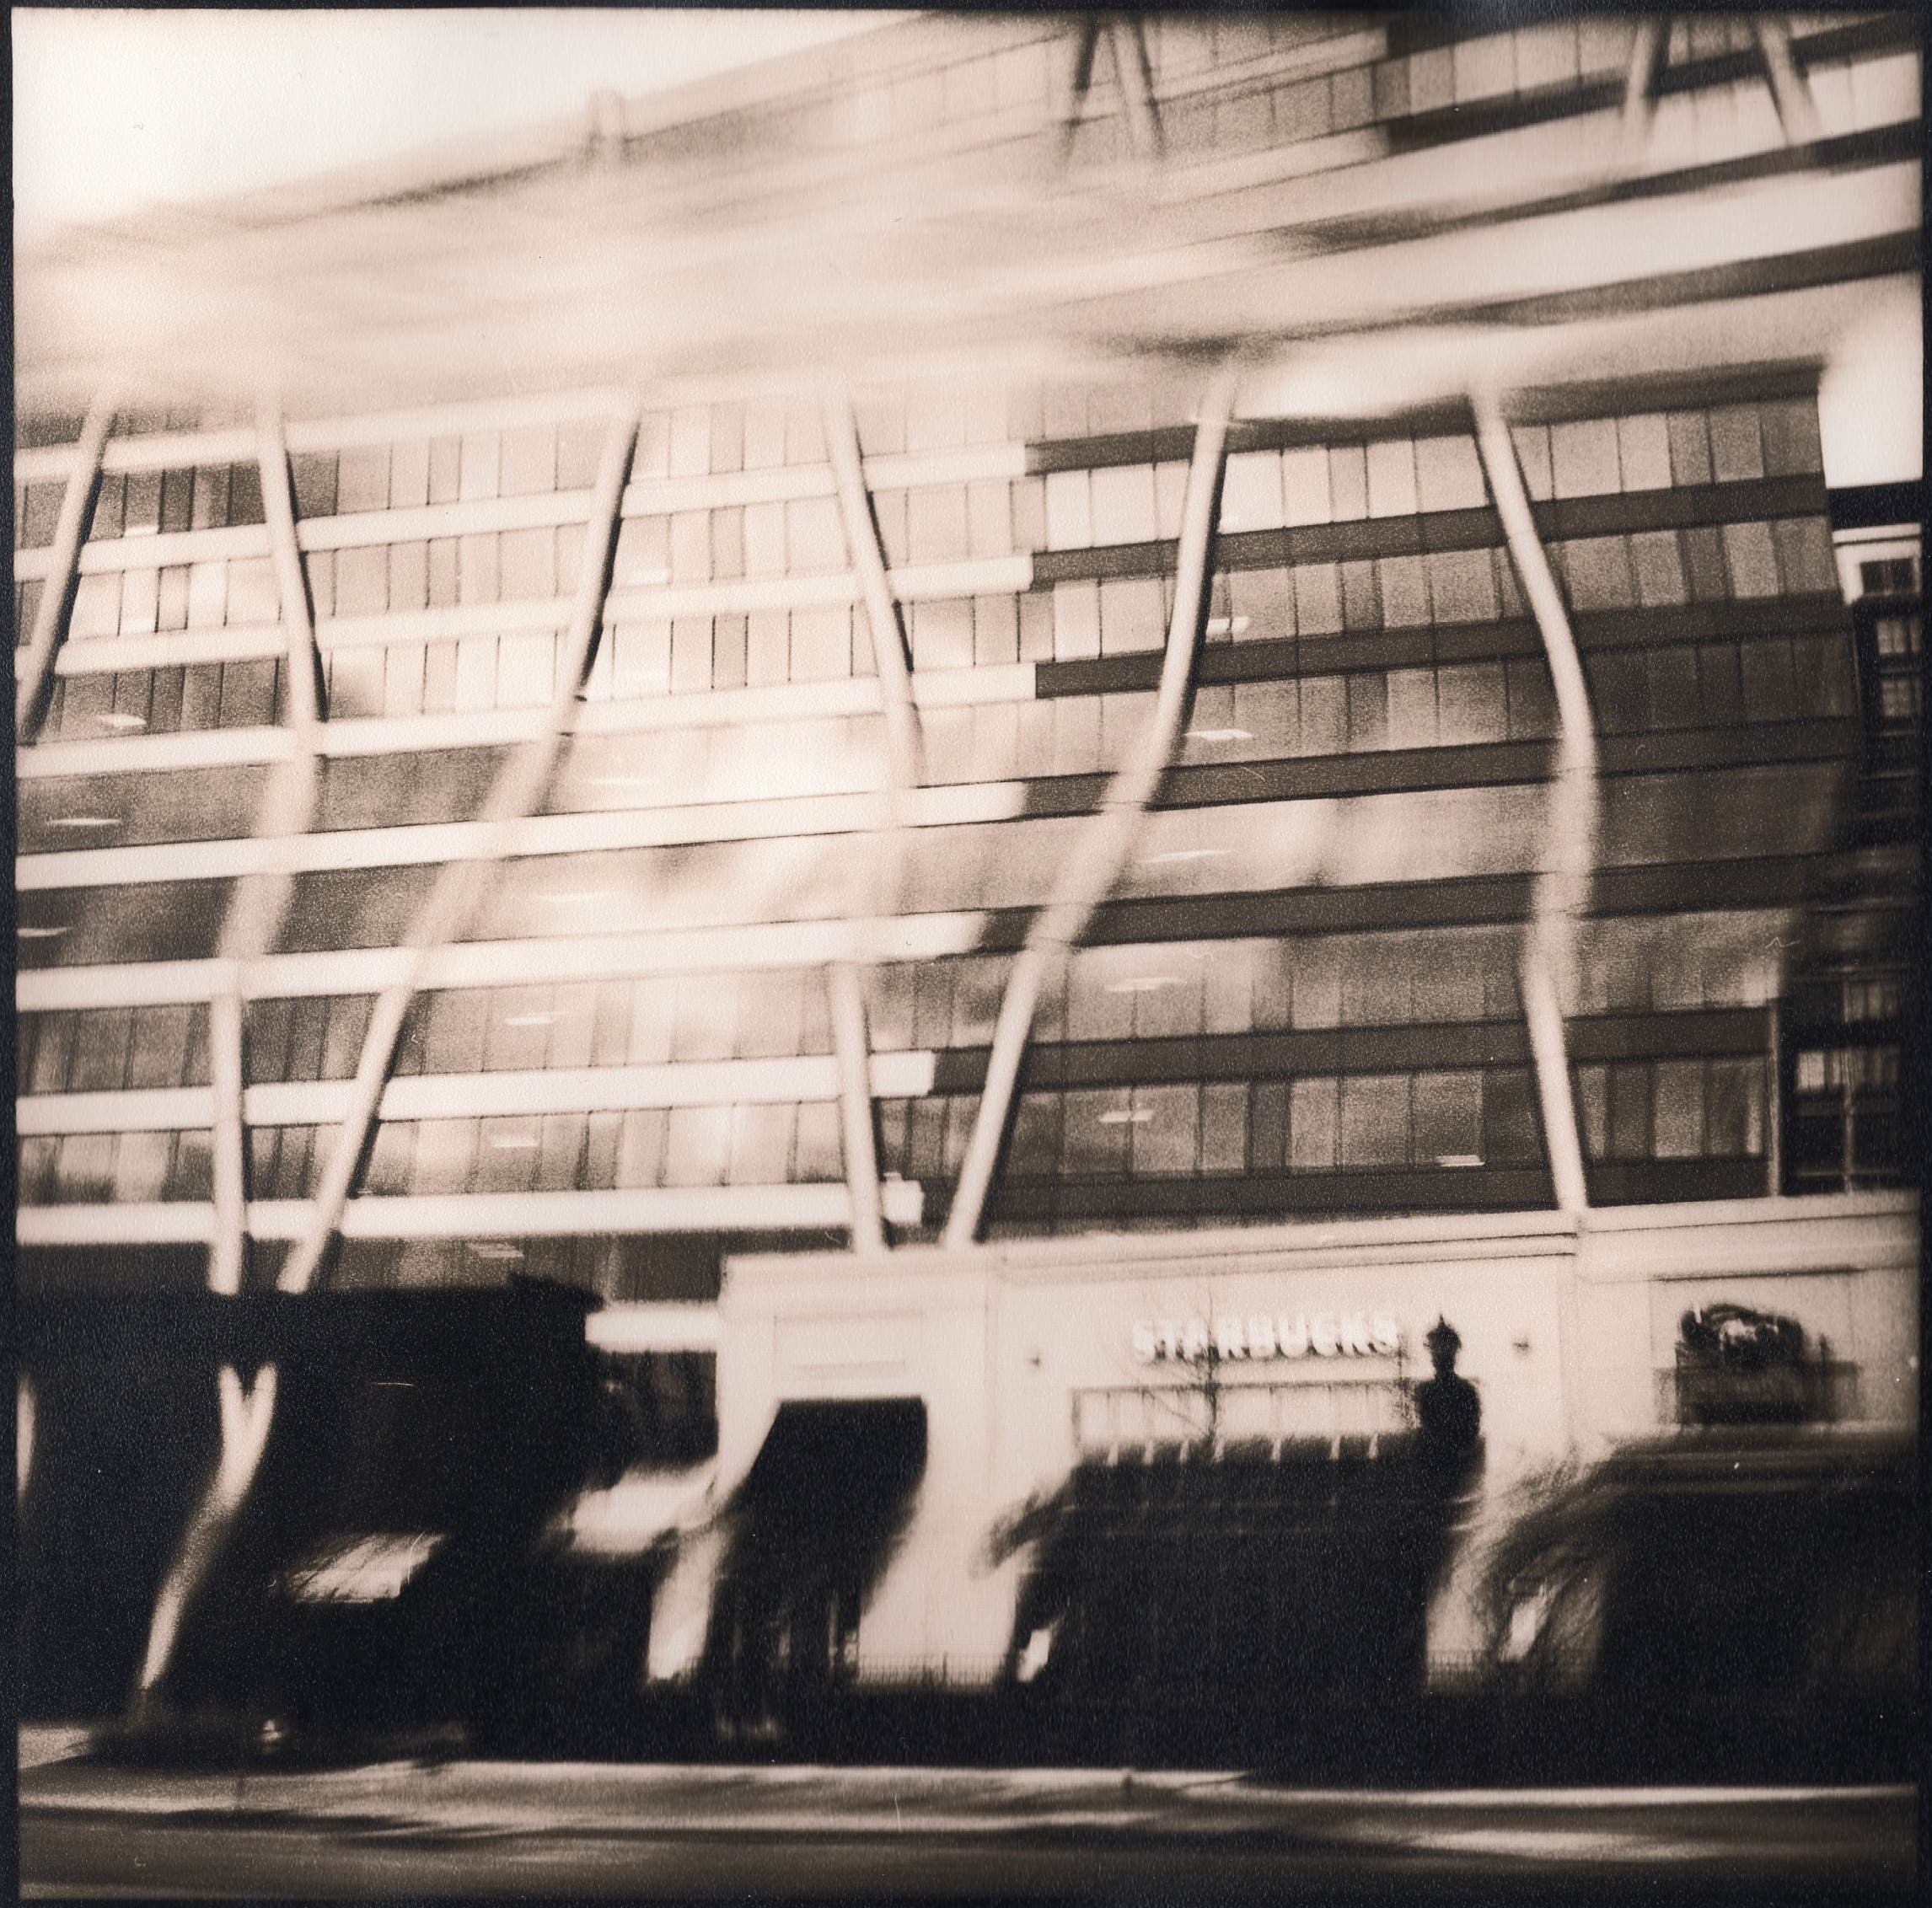
Altered Perception
Photo made using the slit scan rig and printed with lith developer.

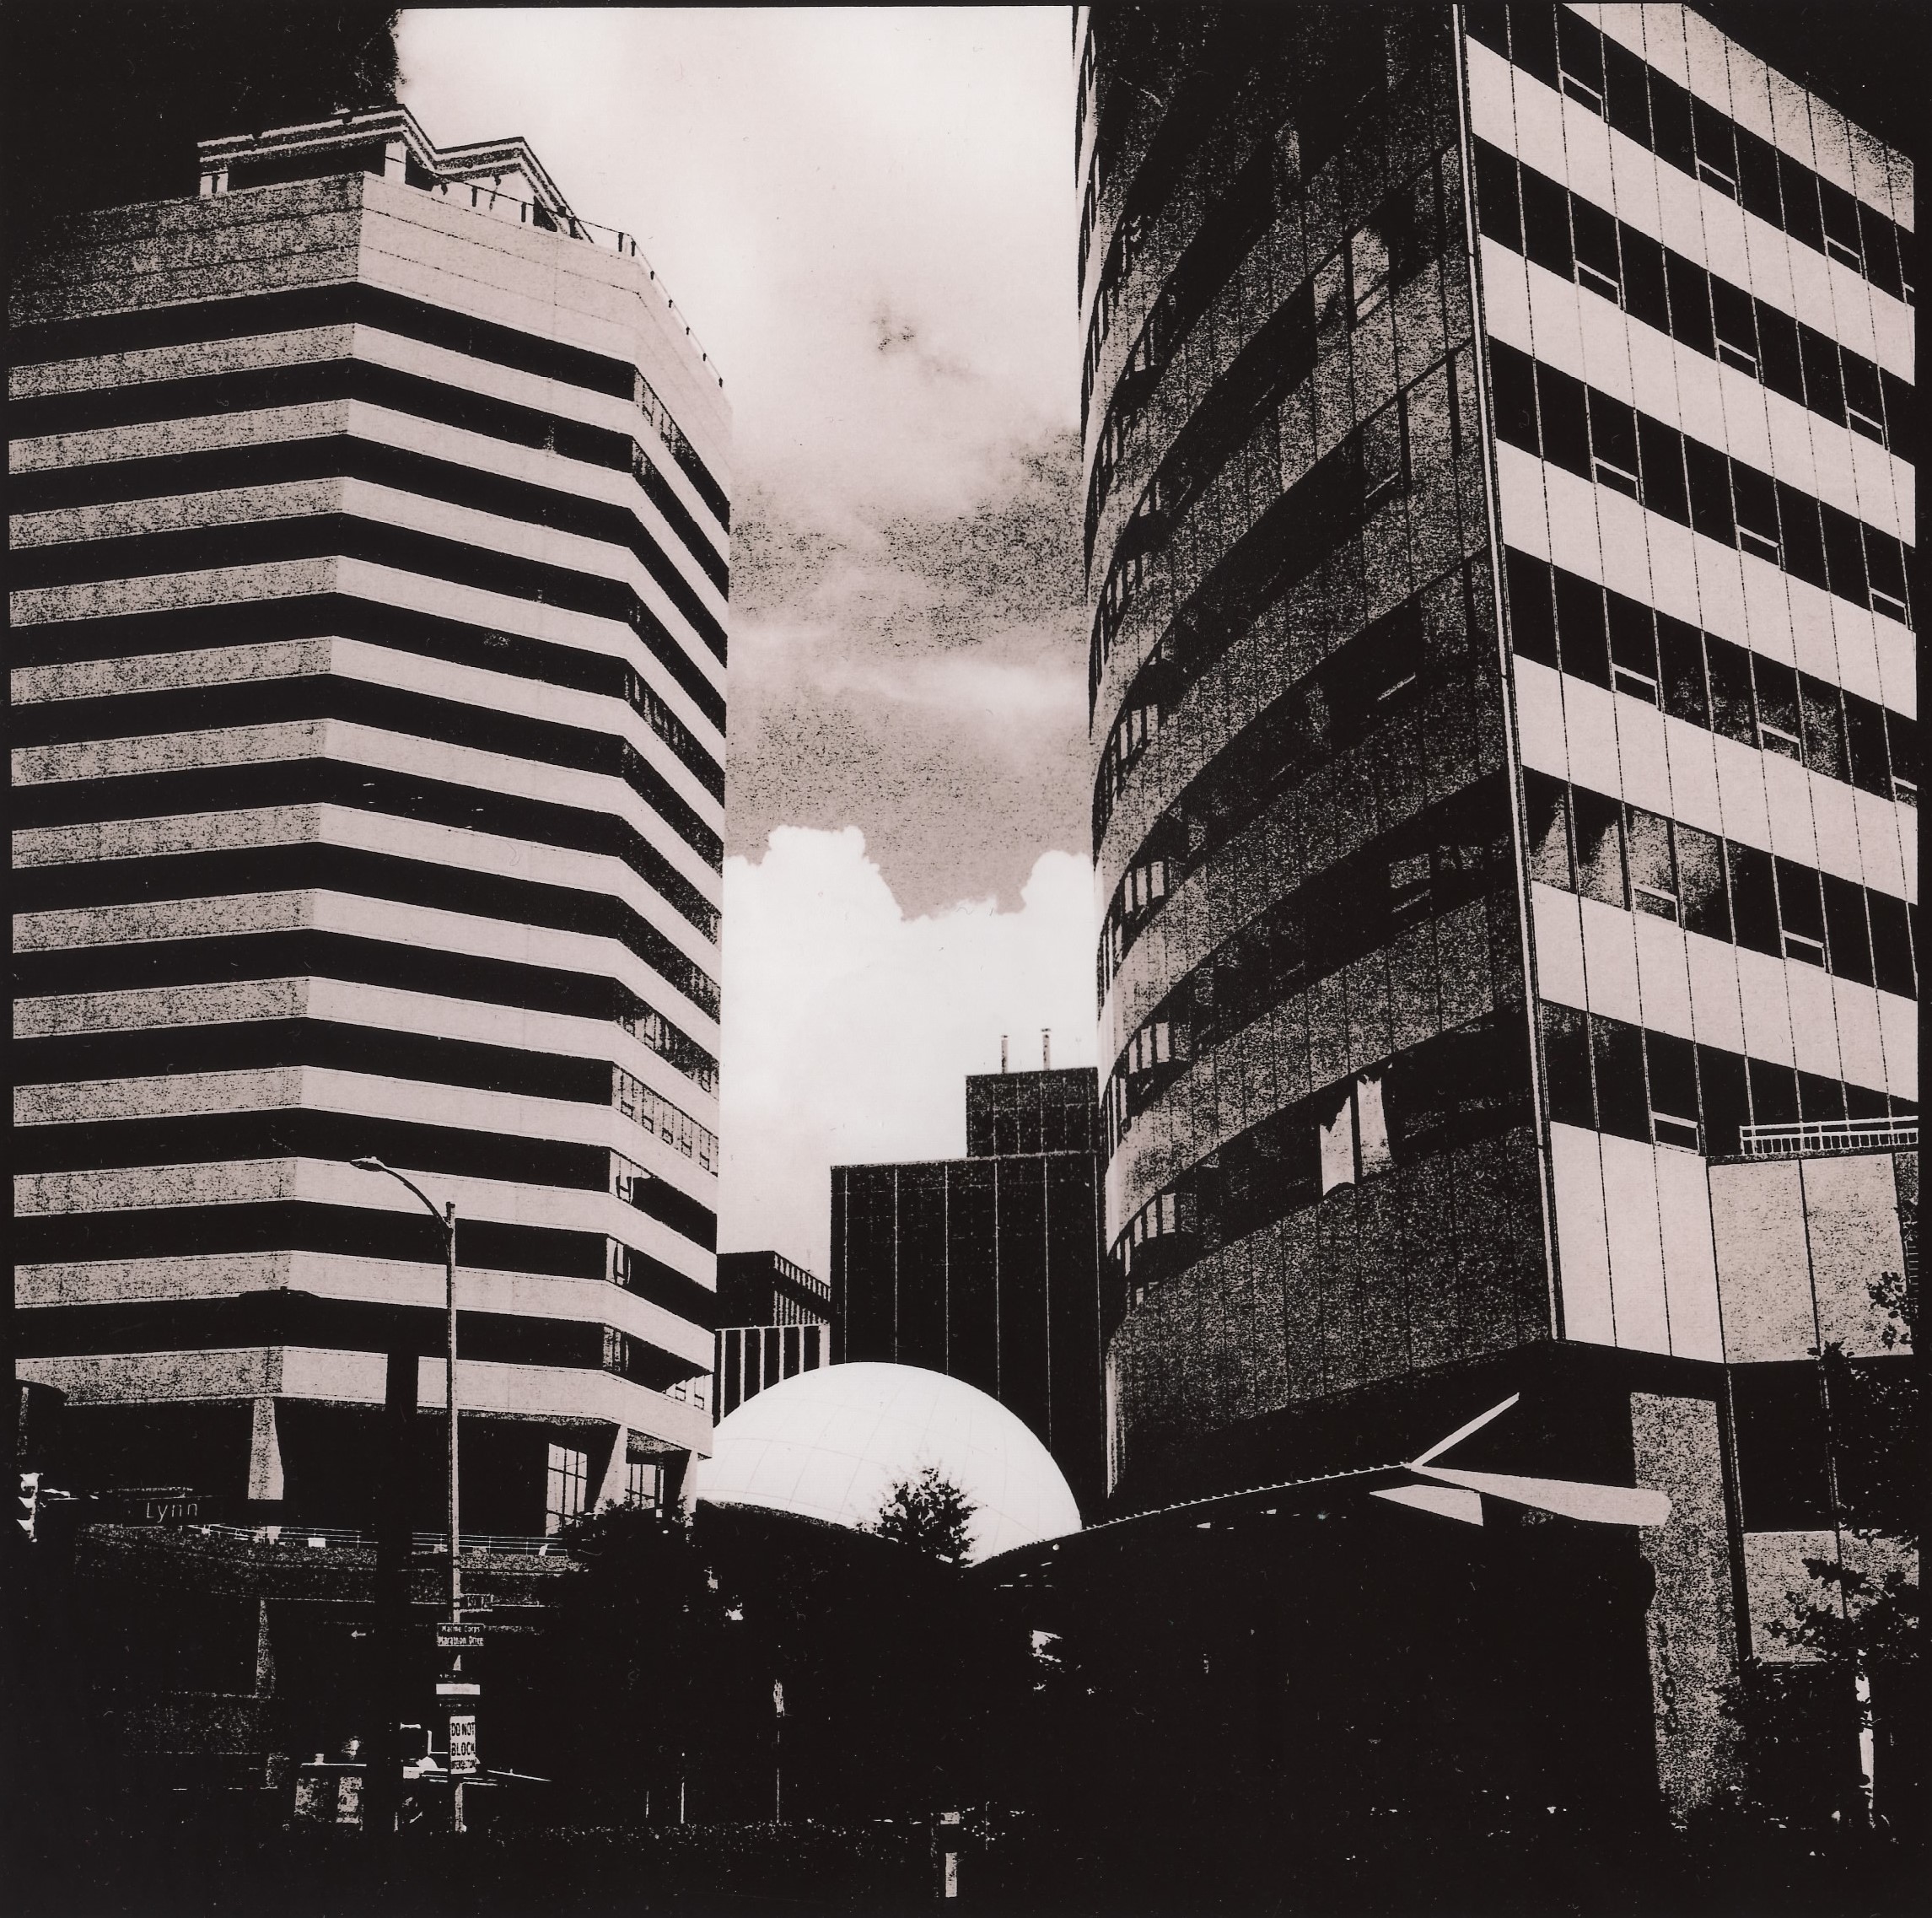
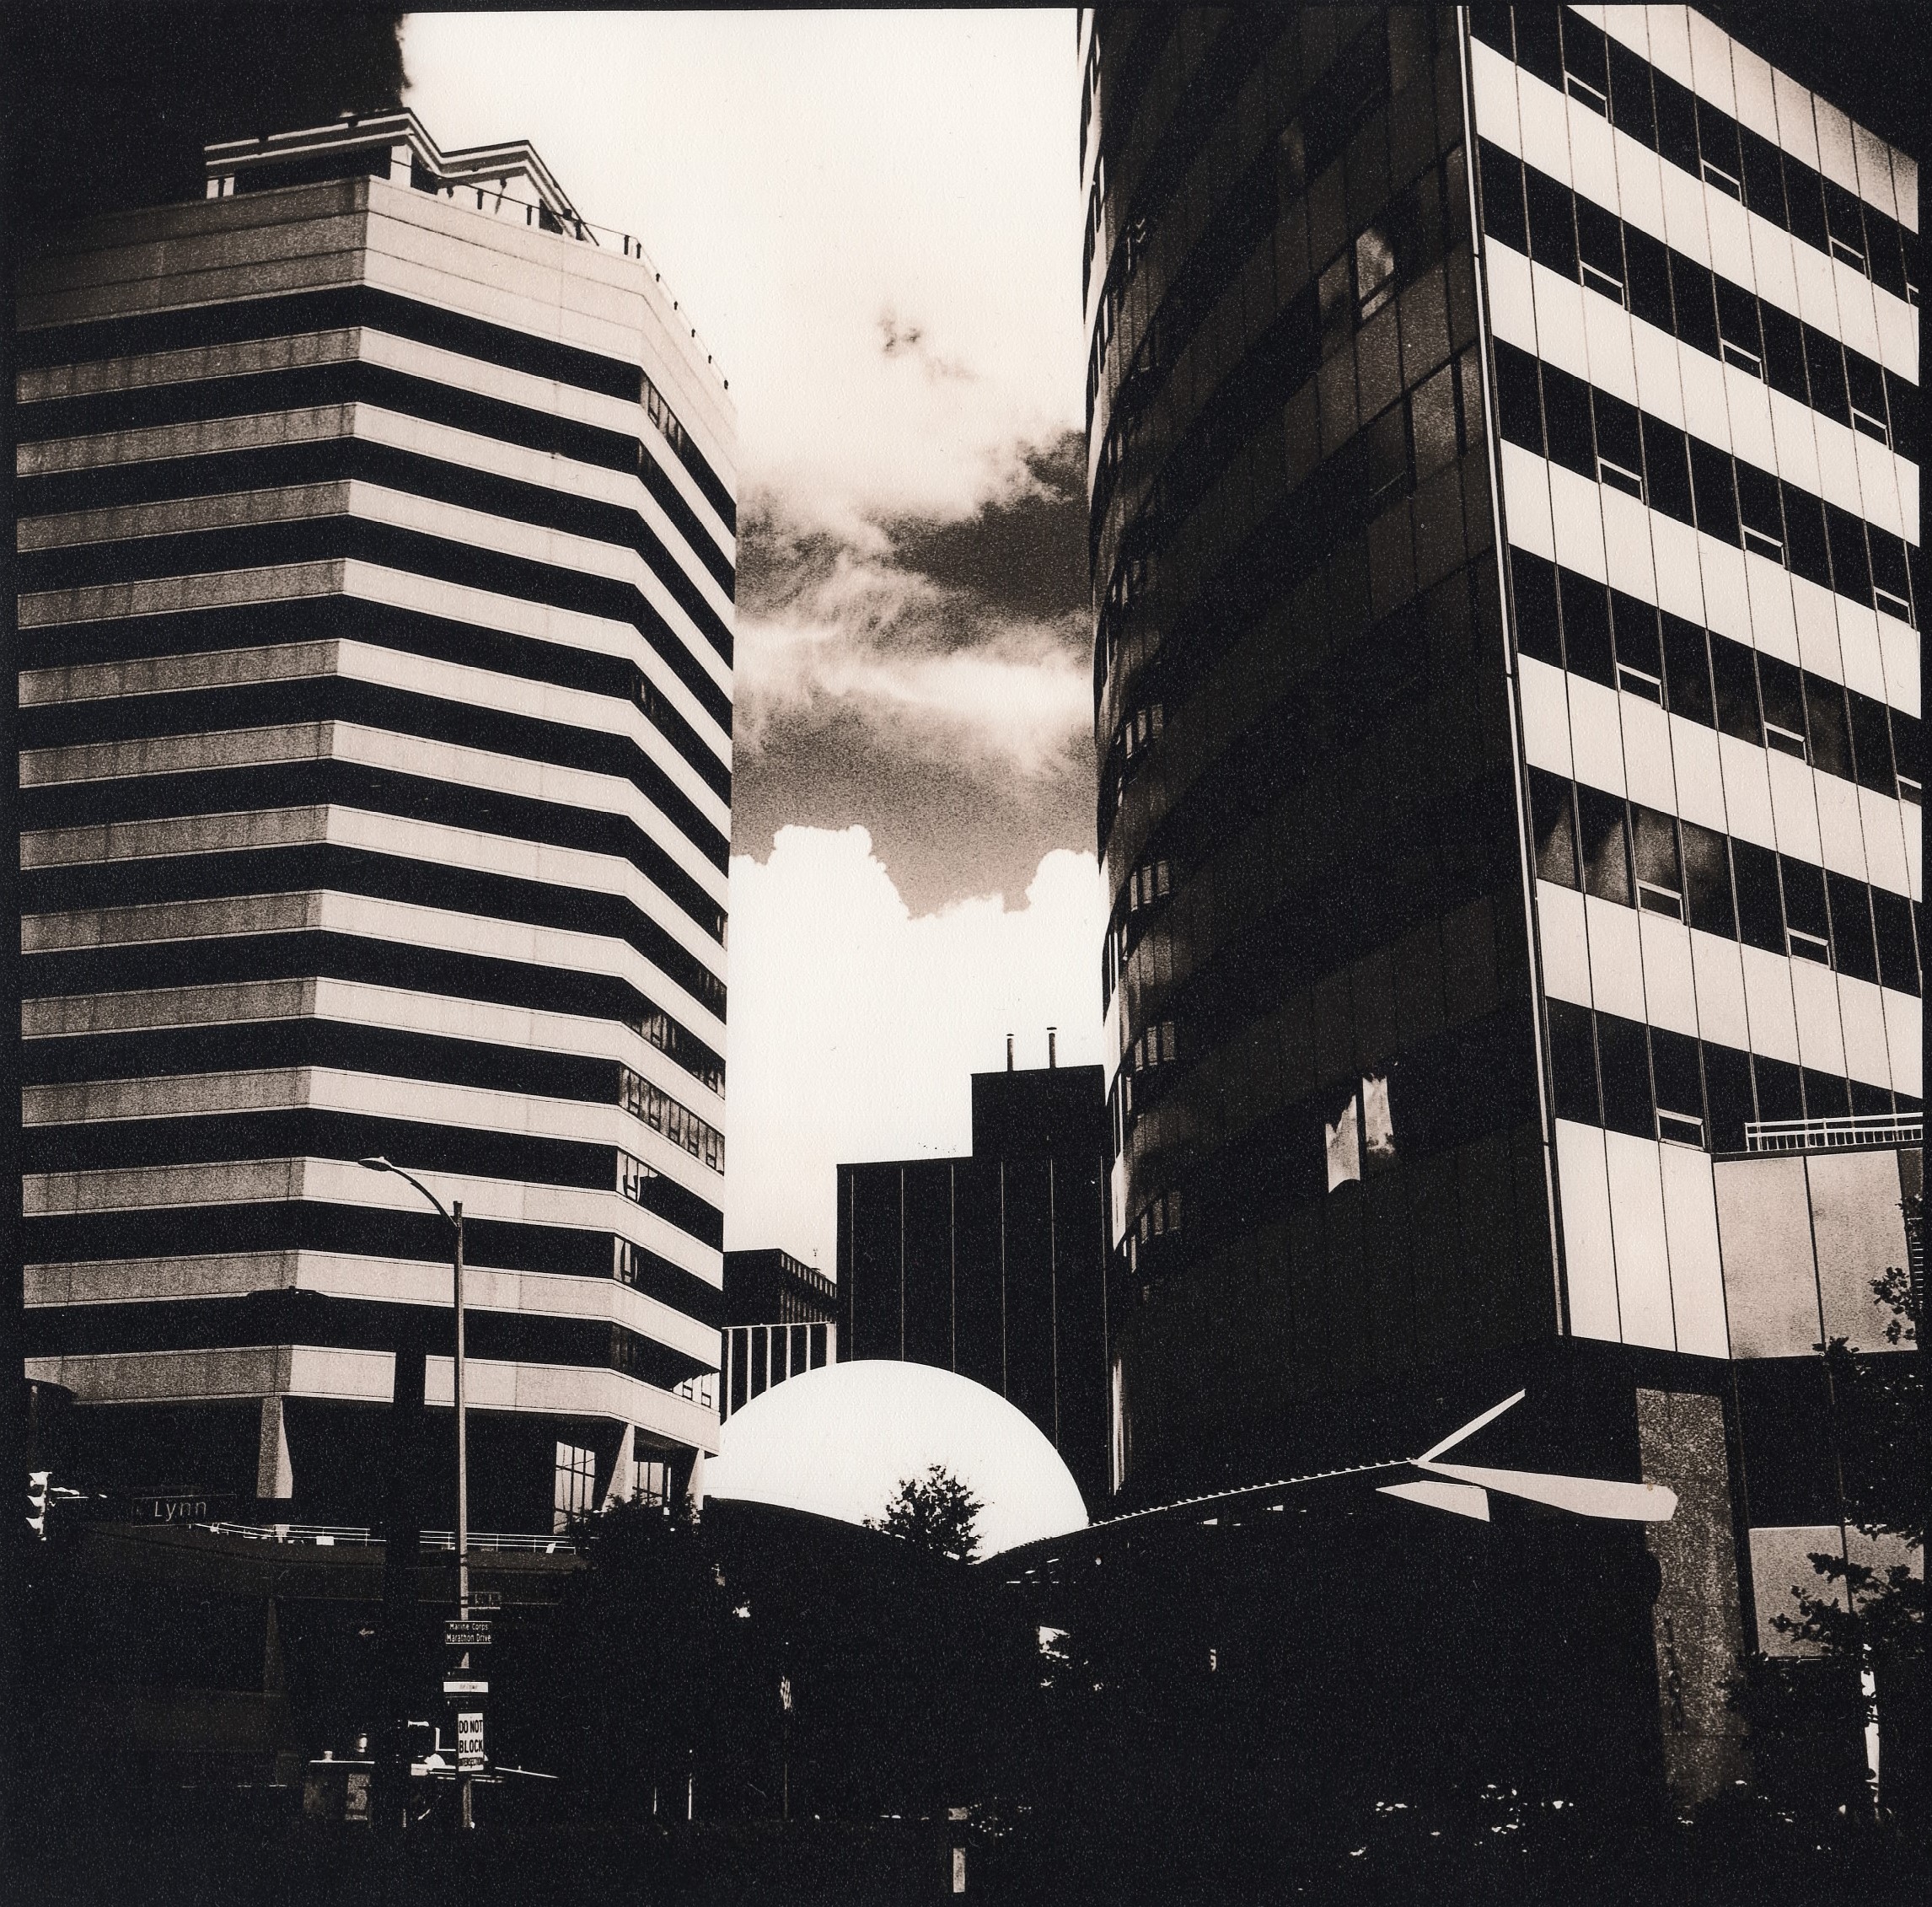
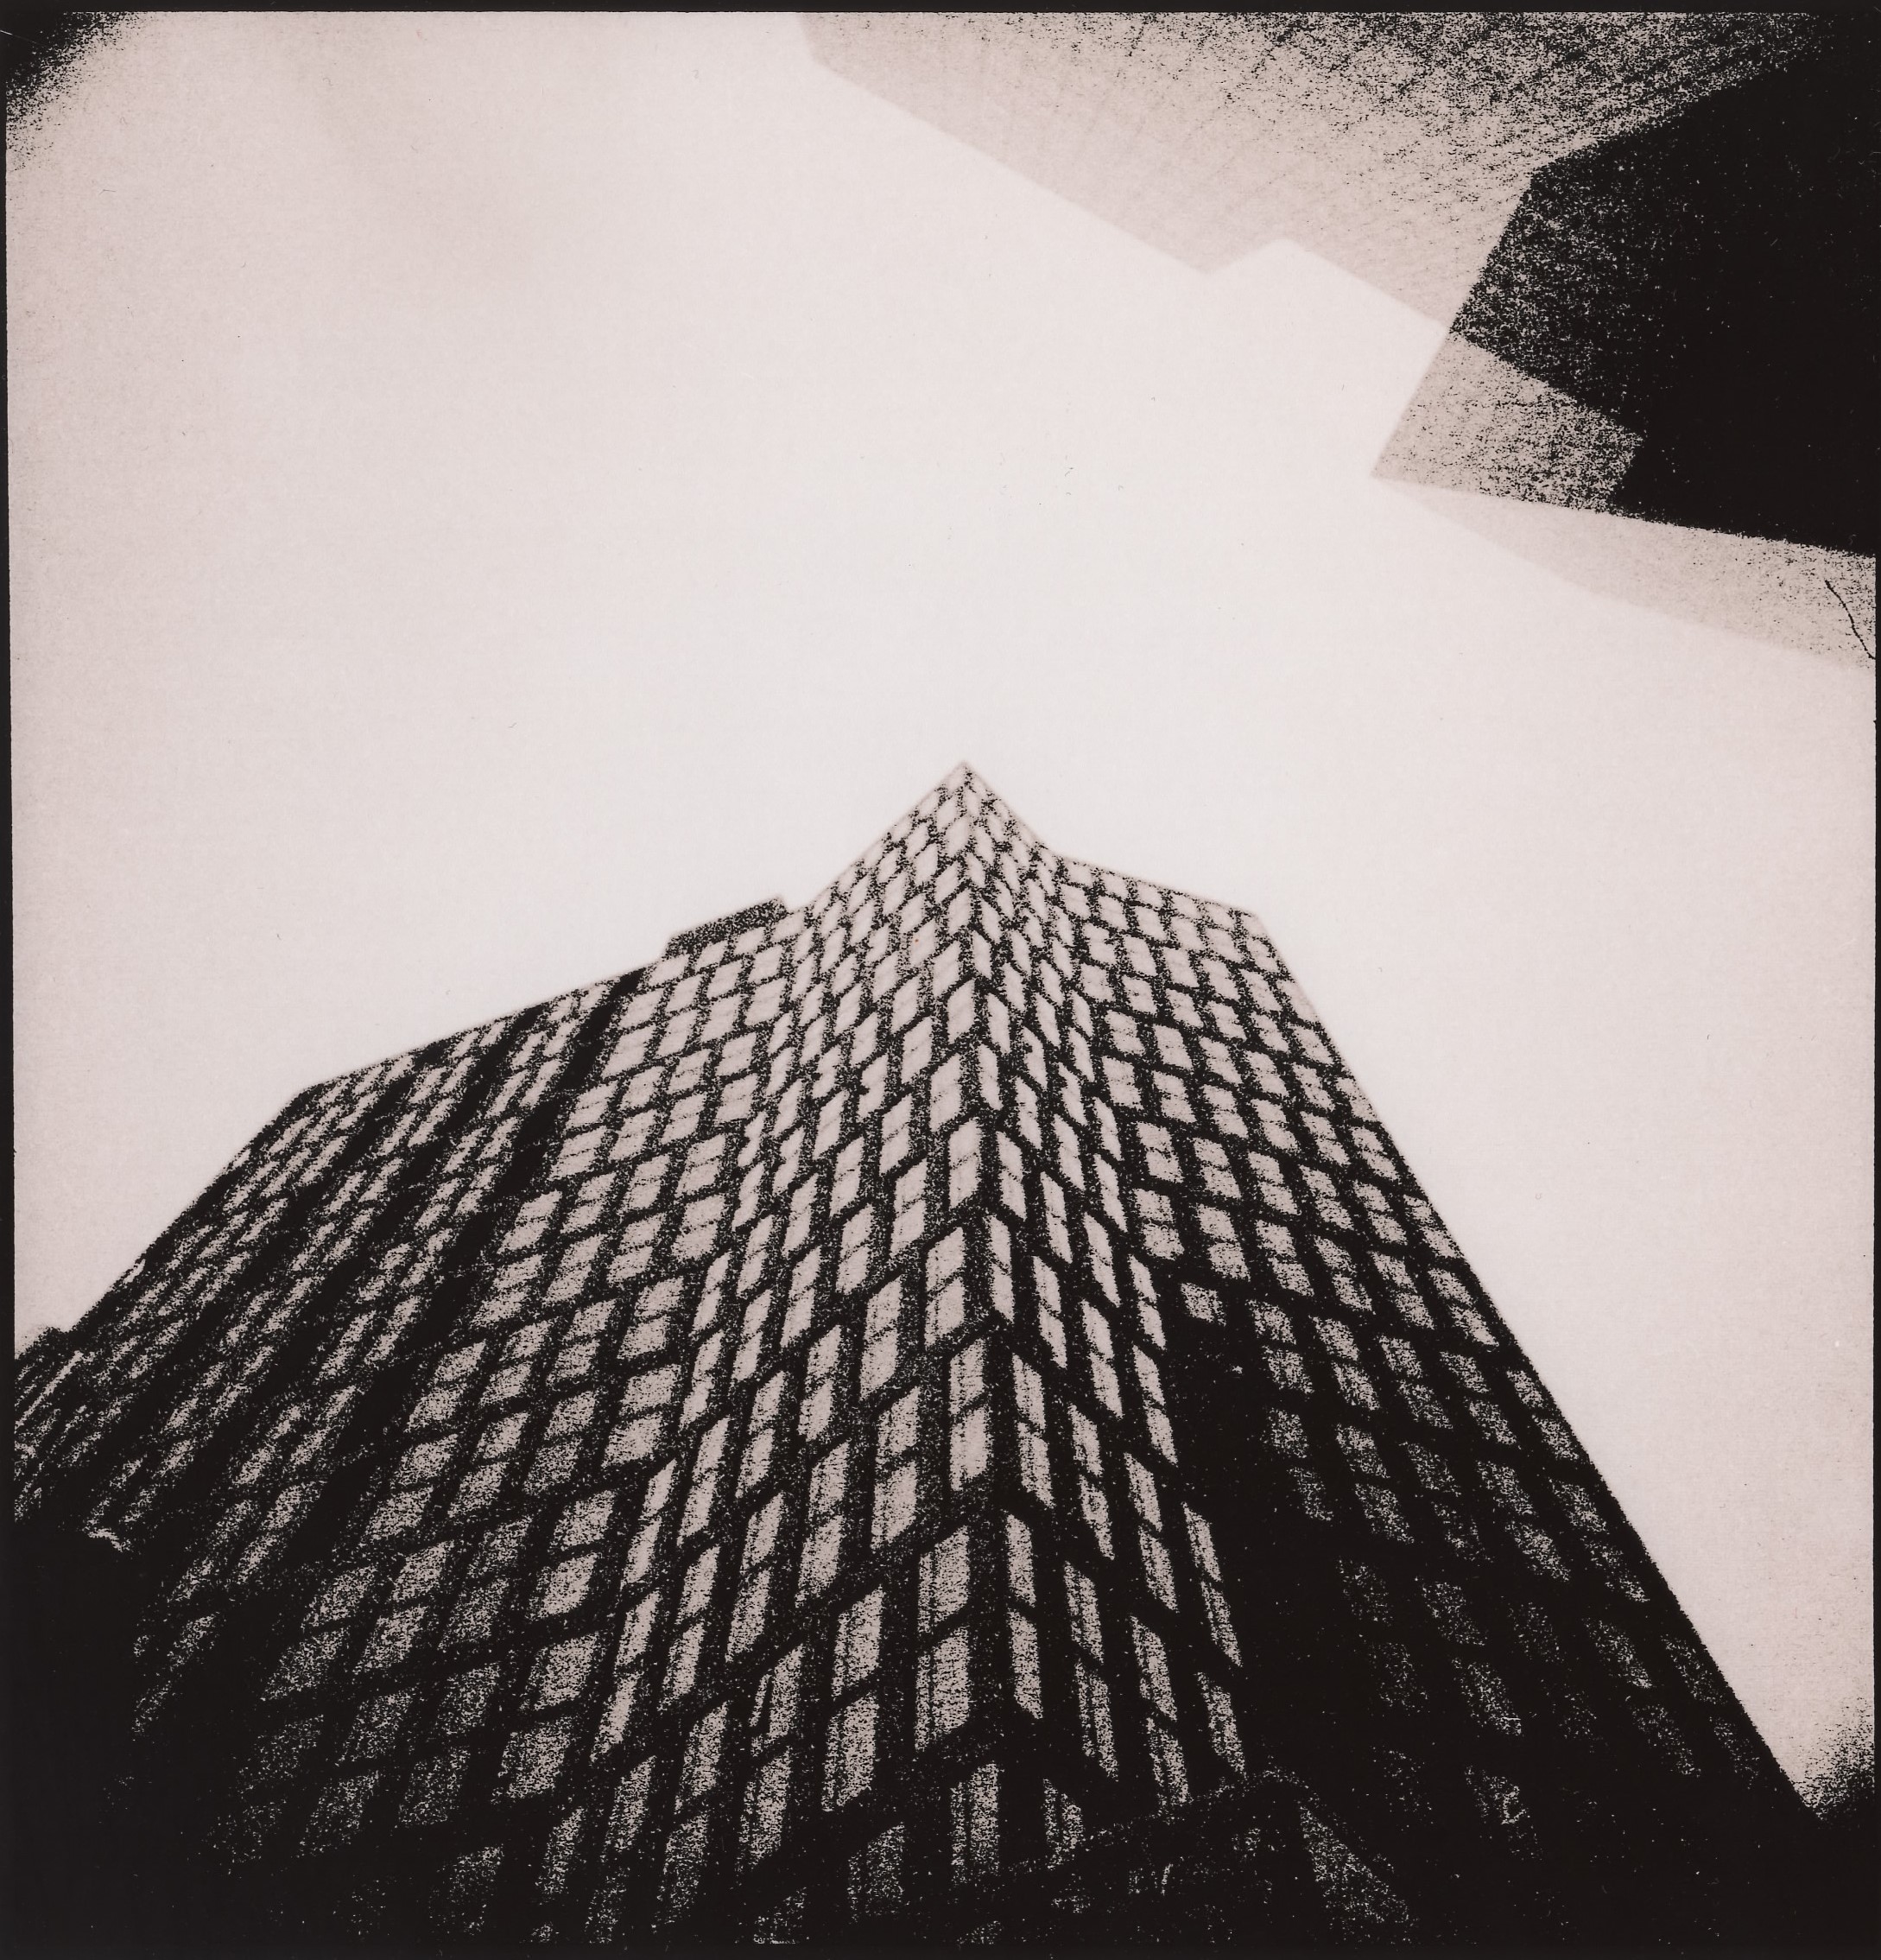
Lith Prints on Two Papers
In earlier posts I mentioned how the different chemistry in different brands of papers can yield radically different looks to the resulting images. The two photographs below were each printed twice using the same lith developer chemicals, once on one brand of paper and once on another.
The distorted photograph was shot using the slit scan box with the Minolta twin lens reflex camera.